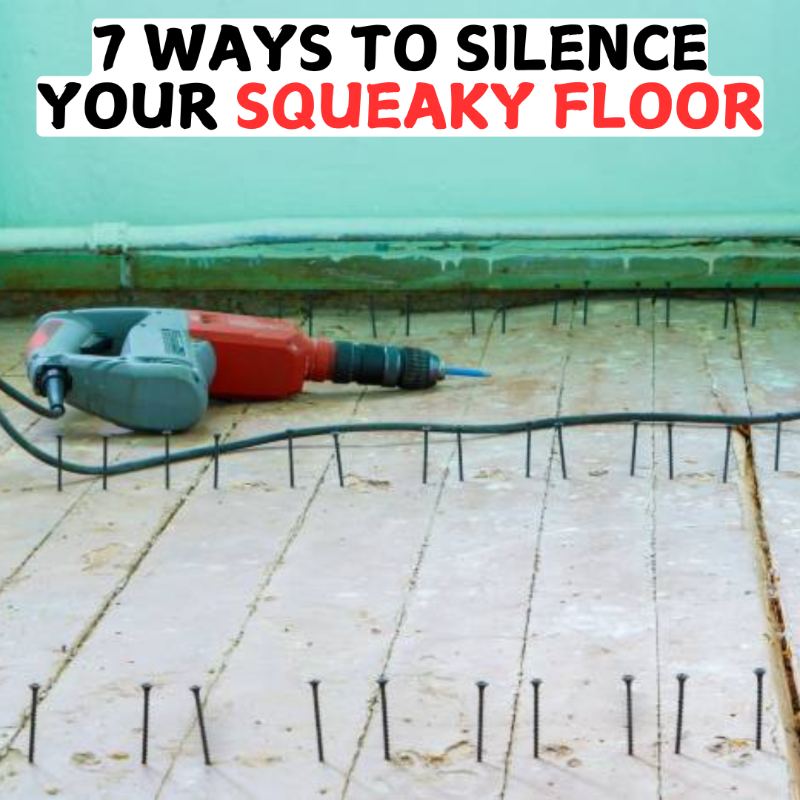
7 Ways To Silence Your Squeaky Floor

Make sure to like Living Green and Frugally on Facebook, Shop at amazon to help support my site and explore our PINTEREST BOARDS for innovative ways you can become self-sufficient.
Is there anything more annoying than that unmistakable, creaky sound that fills the room with each step you take? Squeaky floors may seem like a small issue, but they can be an ongoing source of frustration, especially in a quiet house.
Whether you’re trying to keep your home serene or just want to eliminate the disturbance of midnight creaks, this post will guide you through seven reliable ways to silence those squeaky floors for good. Let’s jump in!
Understanding the Cause of Floor Squeaks
Before diving into solutions, it helps to understand why floors become squeaky in the first place. Floor squeaks generally occur when there’s movement between the subfloor (the layer directly under the flooring) and the joists (the structural beams below). Over time, floors can shift or settle, nails can loosen, or wood can dry out, leaving gaps that lead to creaking when you walk on them. Armed with this knowledge, let’s look at seven solutions to eliminate floor squeaks.
1. Use Baby Powder or Graphite
How it Works:
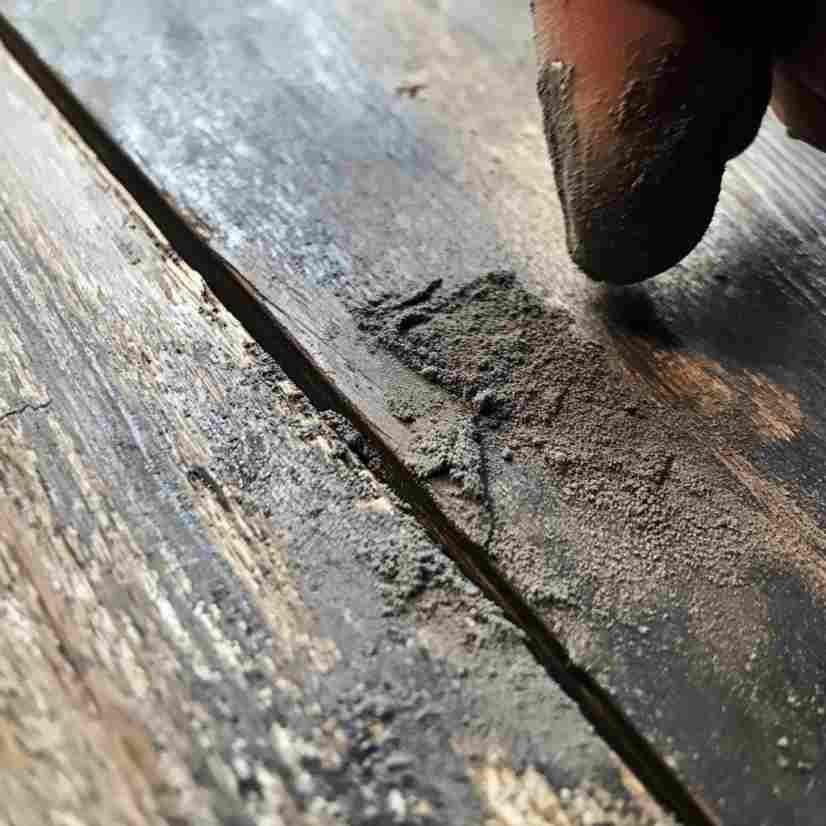
For minor squeaks caused by friction between floorboards, powdered graphite or baby powder can do the trick. By filling in gaps, these powders help reduce friction and silence minor creaks.
Steps:
- Sprinkle a small amount of baby powder or graphite powder on the squeaky spot.
- Use a soft cloth or brush to work the powder into the floor gaps.
- Walk over the area to help distribute the powder and see if the squeak has disappeared.
Tip: Make sure to clean up any leftover powder to avoid any slipping hazard.

2. Add Wood Shims to Secure Loose Joists
How it Works:
When floorboards shift, they can loosen from the joists below. Adding wood shims helps secure these loose floorboards.
Steps:
- Use a flashlight to locate the loose joist under the floor.
- Insert a thin wood shim in the gap between the joist and subfloor, tapping it gently until it’s snug.
- Be careful not to over-tighten, as this can lift the floorboard.
Tip: If the floor still squeaks, add construction adhesive to the shim for extra stability.
3. Tighten the Floor Using Screws
How it Works:
Adding screws will secure the floorboards more firmly to the joists, especially if the existing nails have loosened over time.
Steps:
- Locate the squeaky spot and find the nearest joist.
- Drill a pilot hole through the floorboard and into the joist.
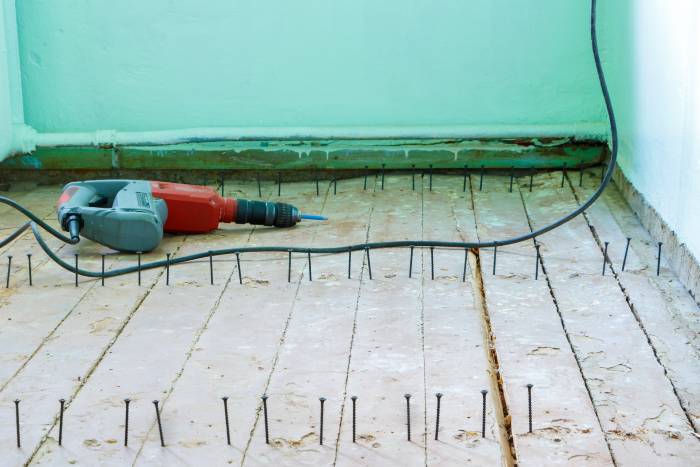
- Use screws (not nails) to attach the floor to the joist, as screws will hold longer.
Tip: If you’re concerned about visible screws, use a wood filler or matching color screw caps to blend in.

4. Apply Carpenter’s Glue to Gaps
How it Works:
Carpenter’s glue can seal minor gaps between the floorboards, minimizing movement and noise.
Steps:
- Identify the squeaky area and gently pull the floorboards apart if possible.
- Use a wood applicator to apply a thin layer of carpenter’s glue between the boards.
- Allow it to dry fully before walking over it.
Tip: For best results, use a clamp to hold the floorboards together as the glue sets.
5. Use a Squeak No More Kit
How it Works:
Specialized squeak kits, such as the “Squeak No More” kit, are designed for tackling squeaks without the need to remove carpet or floorboards.
Steps:
- Follow the instructions on the kit to locate squeaks and screw the provided screws into the floor.
- These screws are designed to snap below the surface level, making them invisible.
Tip:These kits are particularly helpful for squeaks under carpeted areas.
6. Re-Glue Subfloor with a Caulking Gun
How it Works:
For larger squeaks caused by subfloor separation, using a caulking gun with construction adhesive can reattach the subfloor to the joists.
Steps:
- Access the subfloor through the basement or crawlspace.
- Apply adhesive along the joist line beneath the squeaky area.
- Let it set and dry completely to secure the floor.
Tip: Use a heavy-duty construction adhesive for a long-lasting bond.
7. Consider Using Floor Repair Brackets
How it Works:
Floor repair brackets help stabilize floors from underneath, providing a more durable, long-term solution.
Steps:
- Secure a bracket along the joist directly under the squeaky spot.
- Attach the floorboard to the bracket with screws, ensuring the floor is held tightly in place.
Tip: Floor brackets work best in areas where you can access the subfloor from below, such as basements.
Frequently Asked Questions About Silencing Squeaky Floors
Q: How can I find the exact location of a squeak?
A: Walk slowly across the floor and listen closely, or try applying pressure with one foot while using your hand to feel for movement. In larger rooms, use chalk to mark squeaky spots.
Q: Is it okay to use nails instead of screws?
A: While nails can work temporarily, screws hold the floor in place much more securely, making them a better choice for long-term squeak prevention.
Q: Can I fix squeaky floors without removing the carpet?
A: Yes! Squeak kits like “Squeak No More” are designed specifically for fixing squeaks without lifting carpet. Simply follow the kit instructions to silence squeaks from above the carpet.
Q: Will fixing a squeaky floor increase my home’s resale value?
A: While it may not drastically affect the resale value, fixing squeaky floors does contribute to a better impression on buyers. Quiet, stable floors give a sense of quality and maintenance.
Q: Is baby powder a permanent solution?
A: Baby powder is a temporary fix and works best for minor squeaks. For more permanent solutions, consider using wood shims or screws.
Final Thoughts
A squeaky floor doesn’t have to be a permanent nuisance in your home. With a few simple tools and the right techniques, you can tackle those squeaks and enjoy peace and quiet once again. Whether you prefer quick fixes like baby powder or more durable solutions like screws and floor brackets, this guide has you covered. Start with the simplest options, and if the squeak persists, work your way through these methods until you find what works best for your floor type and situation.