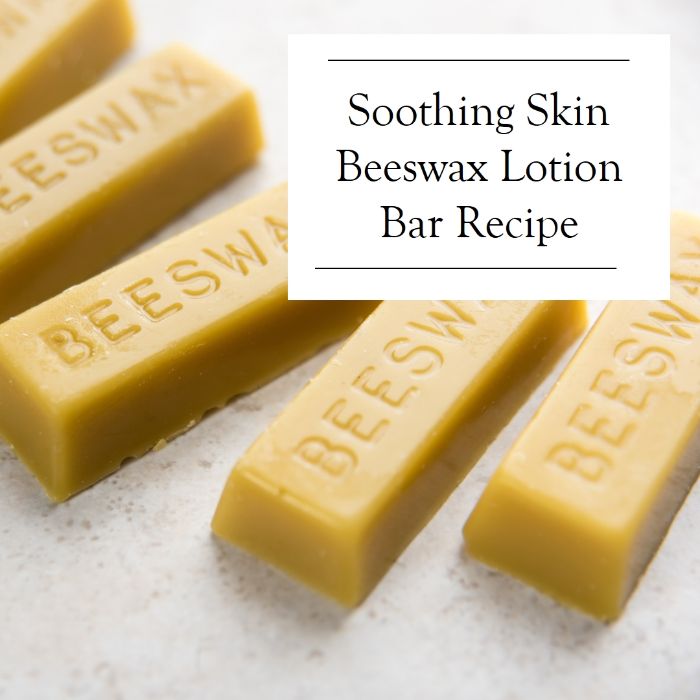
Soothing Skin Beeswax Lotion Bar Recipe

Make sure to like Living Green and Frugally on Facebook, Shop at Amazon to help support my site and explore our PINTEREST BOARDS for innovative ways you can become self-sufficient.
In the evolving world of skincare, a preference for natural, eco-conscious solutions is gaining traction. Among these, beeswax lotion bars have emerged as a delightful option, offering a luxurious touch to skincare routines and providing a straightforward DIY project that combines nourishing ingredients for a spa-like experience at home.
Understanding Beeswax Lotion Bars
Beeswax lotion bars are solid skincare products made from natural components like beeswax and carrier oils such as coconut oil or shea butter. These bars aim to deeply moisturize and shield the skin without leaving any residual stickiness.
The Benefits of Beeswax Lotion Bars
- Natural Formulation: These bars steer clear of synthetic ingredients, focusing solely on natural components that are gentle and beneficial for the skin.
- Intensive Moisturization: Beeswax acts as a natural barrier, helping the skin retain moisture, while oils and butter deeply nourish, leaving the skin velvety soft.
- Convenience: Their solid form makes them incredibly travel-friendly, eliminating concerns about spills or leaks associated with liquid lotions.
- Customizability: Crafting beeswax lotion bars at home allows for personalization. Whether it’s adding specific oils for skin concerns or selecting favorite scents with essential oils, customization options are abundant.

How to Make Your Own Beeswax Lotion Bars
Ingredients:
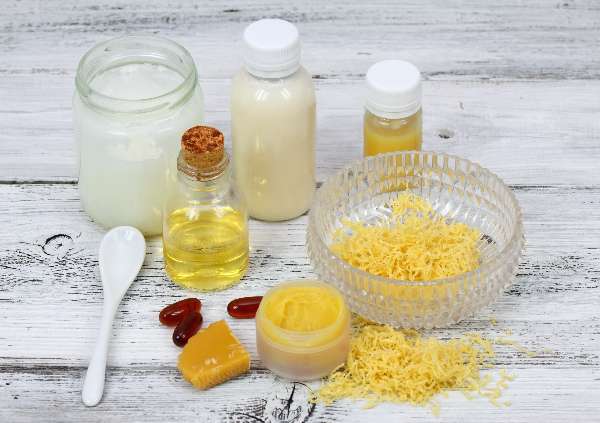
- 1/2 cup beeswax pellets
- 1/2 cup shea butter or cocoa butter
- 1/2 cup coconut oil or almond oil
- Optional: 15-20 drops of essential oils for fragrance (lavender, peppermint, etc.)
Instructions:
- Melting the Ingredients: Use a double boiler to melt the beeswax, shea/cocoa butter, and coconut/almond oil until fully liquefied.
- Incorporating Essential Oils: For a fragrant touch, add a few drops of preferred essential oils to the mixture and thoroughly combine.
- Pouring into Molds: Transfer the liquid mixture into silicone molds or containers. Allow it to solidify at room temperature or expedite the process by refrigerating.
- Removing from Molds: Once solidified, gently remove the bars from the molds and store them in a cool, dry place.
Storing and Application Tips for Beeswax Lotion Bars
To ensure the longevity and quality of your homemade lotion bars:
- Store them in airtight containers or tins to prevent moisture absorption and preserve efficacy.
- Shield the bars from direct sunlight or heat sources to prevent melting, particularly in warmer climates.
- Apply by gently rubbing the bars between your hands or directly onto the skin. The bars will melt slightly with body heat, facilitating easy application and absorption.
Conclusion
Beeswax lotion bars represent the harmonious blend of simplicity, luxury, and sustainability in skincare. Their natural composition, ease of crafting, and flexibility in customization make them a gratifying addition to personal beauty rituals. Enjoy the satisfaction of creating your bespoke skincare product and relish in the nourishment and pampering your skin deserves.
Indulge in the delightful experience of using beeswax lotion bars, savoring the soft, supple skin they help you achieve. Embrace the art of self-care and the joy of a DIY beauty routine, all in one beautifully crafted bar.