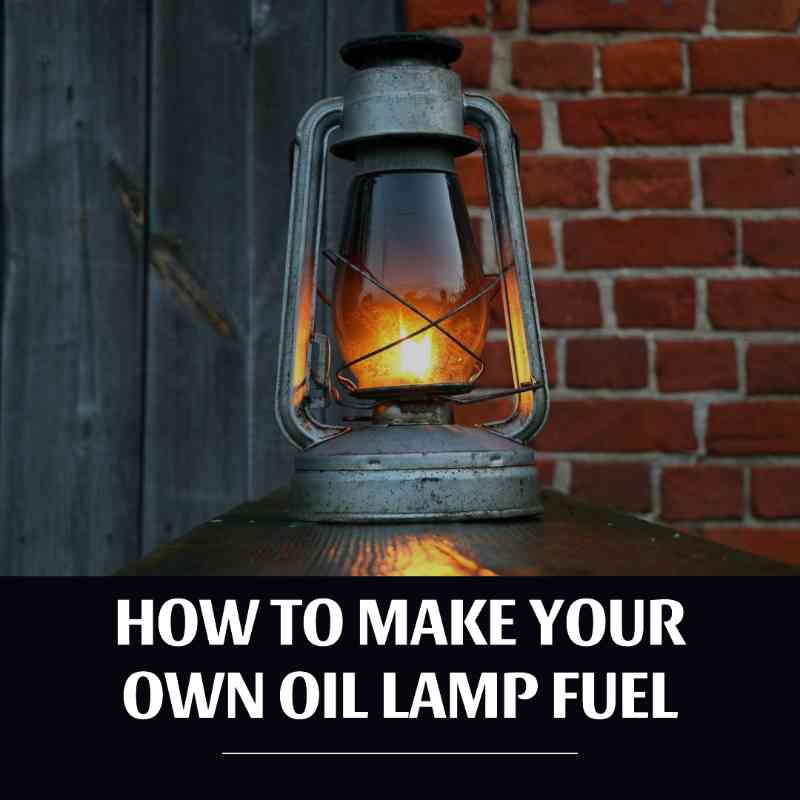
How To Make Your Own Oil Lamp Fuel

Make sure to like Living Green and Frugally on Facebook, Shop at amazon to help support my site and explore our PINTEREST BOARDS for innovative ways you can become self-sufficient.
Throughout history, oil lamps have illuminated homes, temples, and streets, providing a warm and inviting glow. Their timeless appeal lies not only in their practicality but also in the crafting of the fuel that powers these lamps. Creating oil lamp fuel is an art that dates back centuries, evolving through different cultures and utilizing various ingredients.
A Brief Historical Journey
The history of oil lamps can be traced back to ancient civilizations like the Greeks, Romans, and Egyptians. Initially, these lamps burned olive oil, which was readily available. As time progressed, other oils such as sesame, nut, fish, and whale oil were also used. The Middle Ages witnessed the use of animal fats and tallow, while the Renaissance era saw the introduction of vegetable oils like rapeseed and sunflower oil.
However, the modern age has diversified options, offering various oil choices for lamp fuel production. Here’s how you can craft your own oil lamp fuel with easily accessible ingredients:
Recipes for Oil Lamp Fuel
1. Olive Oil-Based Fuel:
Ingredients:
- 80% pure olive oil
- 20% distilled water
Method:
- Mix 80% pure olive oil with 20% distilled water.
- Stir thoroughly until well combined.
- Pour the mixture into your oil lamp, ensuring it’s clean and dry.
- Allow a few minutes for the wick to absorb the fuel before lighting.
This blend is easy to make and provides a clean burn, emitting a pleasant aroma.
2. Vegetable Oil Blend:
Ingredients:
- 70% vegetable oil (such as canola or sunflower oil)
- 30% rubbing alcohol
Method:
- Combine 70% vegetable oil with 30% rubbing alcohol.
- Stir until the ingredients are thoroughly mixed.
- Pour the mixture into the oil lamp.
- Let the wick soak the fuel for a few minutes before lighting.
This blend offers a brighter flame and a longer burning time compared to pure vegetable oil.
3. Beeswax and Coconut Oil Blend:
Ingredients:
- 60% beeswax
- 40% coconut oil
Method:
- Melt beeswax and coconut oil in a double boiler.
- Stir gently until thoroughly combined.
- Once melted, pour the mixture into the lamp.
- Allow it to cool and solidify before inserting the wick.
This blend yields a slower-burning fuel and emits a pleasant natural scent.
Crafting the Perfect Oil Burner
Creating your own oil burner can elevate the ambiance of any space. Here are a few simple ideas:
1. Glass Jar Oil Lamp:
- Take a clean glass jar.
- Fill it with your preferred oil lamp fuel mixture.
- Insert a wick into the fuel, ensuring it protrudes slightly above the jar’s mouth.
- Light the wick carefully.
2. Citrus Peel Oil Lamp:
- Take a hollowed-out citrus peel (like an orange or grapefruit half).
- Fill it with your chosen lamp fuel.
- Place a wick in the center of the peel, allowing it to soak up the oil.
- Light the wick for a natural, aromatic lamp.
3. Teacup Oil Lamp:
- Use an old teacup or small ceramic container.
- Pour your oil lamp fuel into the cup.
- Place a wick in the center and allow it to absorb the fuel.
- Light the wick for a charming and decorative oil burner.
Conclusion
Crafting oil lamp fuel is an age-old practice that combines functionality with creativity. Whether using traditional oils or experimenting with modern blends, the art of making lamp fuel enables you to create an inviting ambiance while paying homage to historical practices. So, gather your ingredients, ignite your creativity, and let the warm glow of your homemade oil lamp illuminate your space.
Disclaimer
The information provided in this article about crafting oil lamp fuel and creating unique oil burners is intended for educational and informational purposes only. The recipes and suggestions outlined here are based on commonly available ingredients and historical practices.
Readers are encouraged to exercise caution and adhere to safety guidelines when handling flammable materials such as oils, alcohol, and other related substances. Always perform a patch test or research individual allergies before handling or using any ingredients mentioned in the recipes.
Furthermore, the creation and use of oil lamp fuel and burners involve fire and combustion. It’s crucial to follow proper safety protocols, including but not limited to ensuring proper ventilation, using suitable containers, keeping flammable materials away from open flames, and being attentive when lighting and maintaining oil lamps.
The author and publisher of this article are not liable for any accidents, damages, or injuries that may occur as a result of following the suggestions, instructions, or using the recipes provided herein. Readers are advised to use their discretion, conduct additional research, and seek professional advice if needed before attempting to make oil lamp fuel or construct oil burners.
iv>