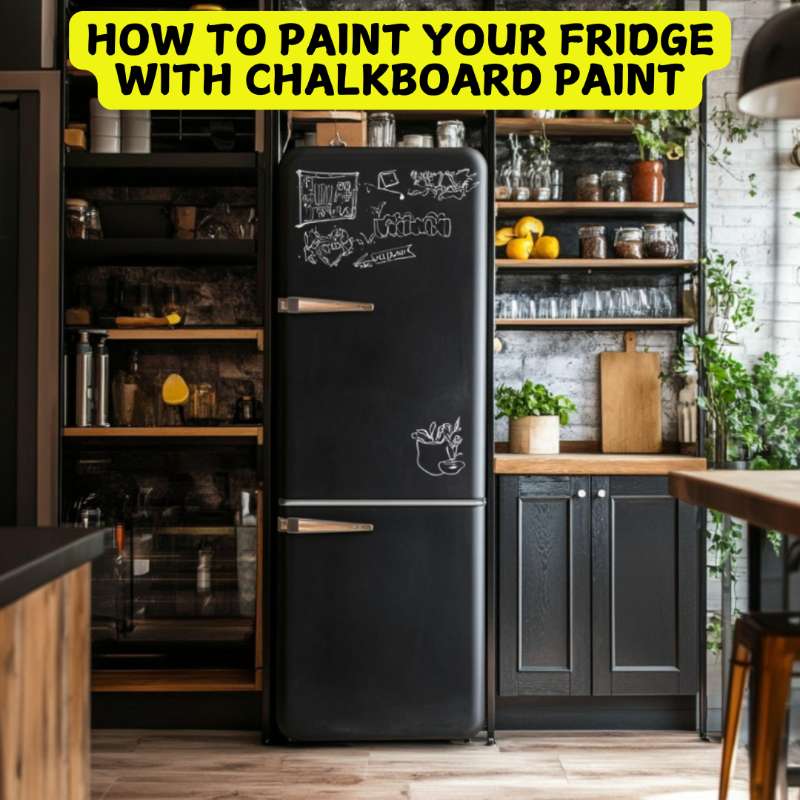
How To Paint Your Fridge With Chalkboard Paint
Make sure to like Living Green and Frugally on Facebook, Shop at amazon to help support my site and explore our PINTEREST BOARDS for innovative ways you can become self-sufficient.
Why Paint Your Fridge With Chalkboard Paint? 🤔
If you’re still wondering why you should do this, here are some awesome reasons:
✔ Interactive Kitchen Space – Write grocery lists, meal plans, or motivational quotes ✍️ ✔ Fun for Kids – Let your little ones draw while you cook 🍽️ ✔ Aesthetic Appeal – Sleek matte black gives a modern, trendy look 🖤 ✔ Budget-Friendly Upgrade – Cheaper than buying a fancy fridge! 💰 ✔ Easy to Clean – Just wipe with a damp cloth or chalk eraser 🧼
What You’ll Need 🛠️
Before diving in, gather these materials:
🔹 Chalkboard paint (Make sure it’s suitable for metal surfaces) 🔹 Sandpaper (120-220 grit) 🔹 Painter’s tape 🔹 Foam roller or paintbrush 🔹 Degreaser or rubbing alcohol 🔹 Chalk (for seasoning after painting)
Step-by-Step Guide: Painting Your Fridge 🖤✨
Step 1: Prep Your Fridge 🧽
🔹 Unplug the fridge for safety. 🔹 Clean the surface with a degreaser or rubbing alcohol to remove oil and grime. 🔹 Lightly sand the fridge to help the paint adhere better. 🔹 Wipe down with a damp cloth and let it dry.
Step 2: Tape Off the Edges 📏
Use painter’s tape around the handles, sides, and any areas you don’t want painted.
Step 3: Apply the Paint 🎨
🔹 Stir the chalkboard paint well. 🔹 Use a foam roller for a smooth finish or a brush for a textured look. 🔹 Apply a thin, even coat and let it dry for about 4 hours. 🔹 Apply at least two coats, letting each layer dry completely before adding the next.
Step 4: Let It Cure ⏳
Most chalkboard paints take 24-48 hours to fully cure. Be patient!
Step 5: Season the Surface 🖍️
Before writing on it, rub a piece of chalk all over the surface and wipe it off with a dry cloth. This prevents “ghosting” (faint chalk marks that won’t erase completely).
Pro Tips for a Perfect Chalkboard Fridge 🎯
✅ Use a foam roller – It gives a smoother, professional finish.
✅ Don’t rush drying time – Good things take time! ⏳
✅ Consider magnetic chalkboard paint – So you can still use magnets! 🧲
✅ Use high-quality chalk – Cheap chalk can be dusty and scratchy.
✅ Clean with a damp cloth – Avoid harsh chemicals that may ruin the finish.
Common Questions & Answers ❓
Q: Can I use chalk markers instead of regular chalk?
A: Absolutely! Just make sure they are erasable and suitable for chalkboard surfaces.
Q: Will the paint peel over time?
A: If applied correctly, it should last years! Sanding and proper priming help with durability.
Q: Can I use this on a stainless-steel fridge?
A: Yes! Just sand the surface well and use a primer if needed.
Q: What if I change my mind? Can I remove it?
A: Yes, but you’ll need to sand it down and repaint or apply a peel-and-stick wrap.
Q: Can I paint the fridge handles too?
A: You can, but frequent use might cause quicker wear and tear.
Final Thoughts 🏡
Painting your fridge with chalkboard paint is a fun, affordable, and stylish way to upgrade your kitchen. Whether you want a space to jot down reminders, entertain the kids, or just add a modern touch, this DIY is a game-changer! 🚀
Would you try this? Let us know in the comments!👇 Happy painting! 🖤