How to Make Your Own Natural Vapor-Rub

Make sure to like Living Green and Frugally on Facebook, Shop at Amazon to help support my site and explore our PINTEREST BOARDS for innovative ways you can become self-sufficient.
How to Make Your Own Natural Vapor Rub: A Soothing, DIY Alternative
When cold and flu season hits, many of us reach for a trusty vapor rub to ease congestion, sore throats, and coughs. While over-the-counter vapor rubs are effective, they often contain synthetic ingredients and petroleum-based products. Making your own natural vapor rub allows you to avoid unnecessary chemicals while still enjoying the same soothing effects. Plus, it’s a fun and easy DIY project that only requires a few ingredients!
In this guide, we’ll walk you through how to make your own natural vapor rub, offer tips for getting the best results, and answer common questions about creating and using this homemade remedy.
Why Make Your Own Natural Vapor Rub?
Creating your own vapor rub has several benefits:
- All-natural ingredients: You’ll know exactly what’s in the product you’re using on your skin, avoiding harsh chemicals, synthetic fragrances, or petroleum byproducts.
- Customizable: You can tailor the scent and intensity to your liking by experimenting with different essential oils.
- Affordable: With just a few simple ingredients, you can make large batches of vapor rub that last a long time, saving you money in the long run.
- Great for sensitive skin: Since you control the ingredients, this DIY option can be gentler for those with sensitive skin or allergies.
Essential Tips for Making Natural Vapor Rub
- Use high-quality essential oils: The effectiveness of your vapor rub largely depends on the essential oils you choose. Make sure to use pure, therapeutic-grade oils for the best results.
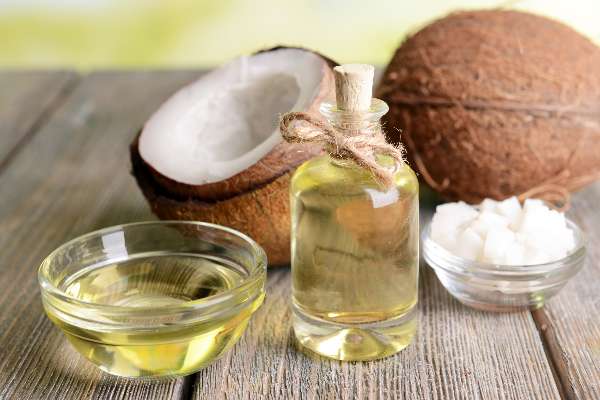
- Choose your carrier base carefully: Common carrier oils or butters like coconut oil, shea butter, and beeswax make an excellent base for vapor rub. Coconut oil is especially popular because it melts easily on the skin and absorbs quickly.
- Proper dilution: Essential oils are powerful, and some can be too strong for direct skin contact. Dilute them properly to avoid skin irritation, especially if you’re making the rub for children.
- Storage matters: Store your homemade vapor rub in a glass container with a tight lid, as essential oils can degrade plastic over time. Keep it in a cool, dark place to preserve the potency of the ingredients.

Recipe: Natural Vapor Rub
This simple vapor rub recipe uses soothing essential oils that are well-known for easing respiratory discomfort, such as eucalyptus and peppermint. The addition of beeswax helps the rub hold its shape, making it easy to apply.
Ingredients:
- ½ cup coconut oil (solid at room temperature)
- 2 tablespoons beeswax pellets (or grated beeswax)
- 10 drops eucalyptus essential oil
- 10 drops peppermint essential oil
- 10 drops lavender essential oil (optional for a calming effect)
- 5 drops rosemary essential oil (optional for additional respiratory support)
Instructions:
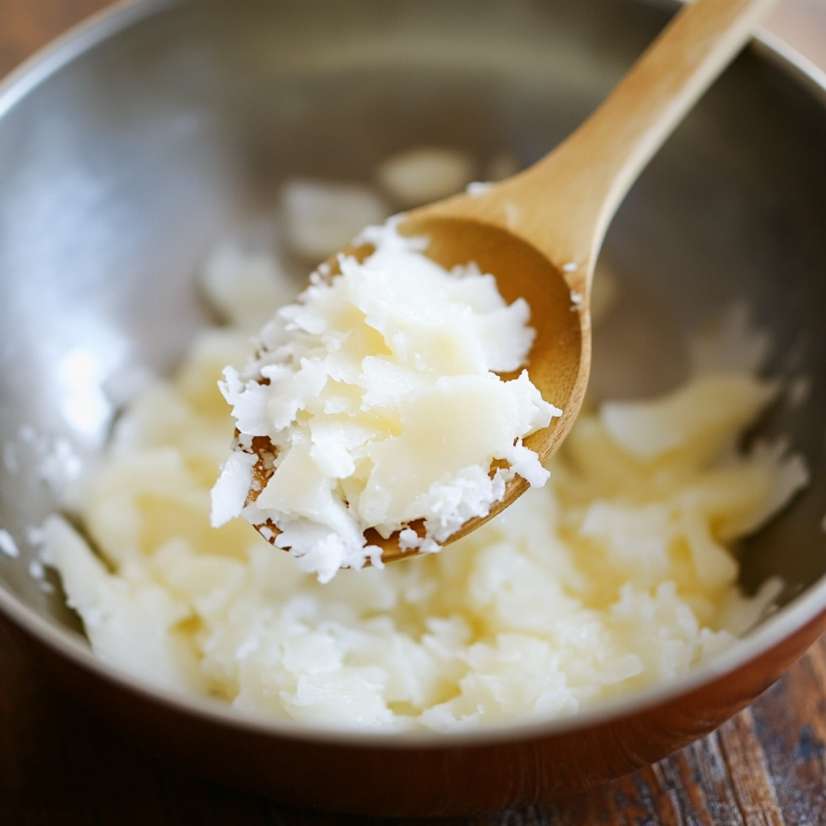
- In a double boiler or heat-safe bowl, melt the coconut oil and beeswax together over low heat. Stir occasionally to ensure they combine evenly.
- Once melted, remove from heat and let the mixture cool for a few minutes.
- Add the essential oils and stir well to combine.
- Pour the mixture into a small glass jar or tin and allow it to cool completely before sealing the lid.
- To use, rub a small amount on your chest, neck, or under your nose to help ease congestion and soothe your symptoms.

Common Questions About Making Natural Vapor Rub
1. Can I use this rub on children?
Yes, but be mindful of essential oil dilution and which oils you’re using. For children under two years old, avoid using strong oils like peppermint and eucalyptus. Instead, opt for more kid-friendly oils like lavender and chamomile. Also, be sure to use a lower concentration of essential oils (around 5 drops per ¼ cup of carrier oil) to ensure it’s gentle on their skin.
2. Can I substitute coconut oil?
Yes! If you’re allergic to coconut oil or simply don’t have any on hand, you can substitute it with another carrier oil like olive oil, jojoba oil, or shea butter. Just make sure to adjust the beeswax to keep the consistency right.
3. How long does homemade vapor rub last?
If stored properly in a cool, dry place, your natural vapor rub can last up to 6 months. However, the essential oils may lose their potency over time, so it’s best to use the rub within the first 3–4 months for maximum effectiveness.
4. Can I make this vapor rub vegan?
Absolutely! Simply replace the beeswax with candelilla wax or carnauba wax. These plant-based waxes will provide a similar texture and consistency without using animal products.
5. Can I add more essential oils to make the scent stronger?
You can, but be cautious! Essential oils are powerful, and too much can lead to skin irritation. Stick with the recommended amounts to ensure your vapor rub remains safe for skin application. If you’d like a stronger scent, simply inhale it directly from the jar or apply the rub to your shirt collar rather than directly on your skin.
Final Thoughts: A Natural Remedy You Can Trust
Making your own natural vapor rub is a great way to embrace a more holistic approach to self-care. With just a few simple ingredients, you can create a product that’s safe, effective, and customizable to your family’s needs. Plus, the soothing, refreshing scent of natural essential oils will have you breathing easier in no time.
So, the next time cold symptoms start creeping in, reach for your homemade vapor rub and rest easy knowing you’ve got a natural, DIY remedy on hand!
Pin for Later
