How To Make Vodka From Potatoes

Make sure to like Living Green and Frugally on Facebook, Shop at amazon to help support my site and explore our PINTEREST BOARDS for innovative ways you can become self-sufficient.
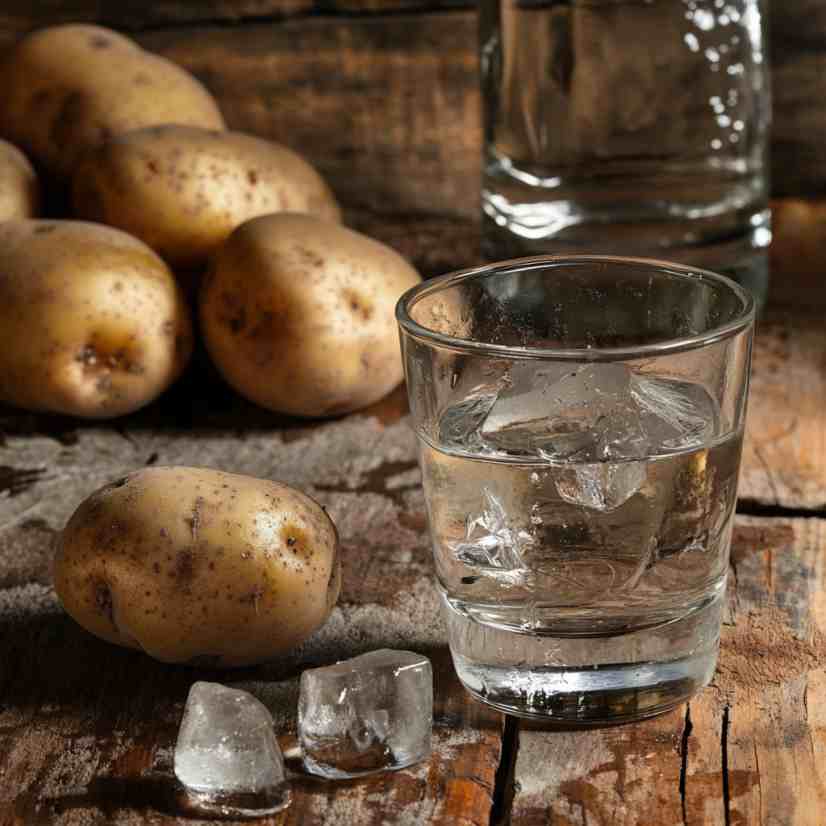
Vodka has long been a staple in bars and homes around the world, but did you know that you can make your own vodka at home using a common kitchen ingredient—potatoes? Potato vodka has a smooth, rich texture, and making it from scratch gives you complete control over the flavor and quality. While the process requires patience and care, the result is a homemade spirit that can rival store-bought brands.
In this blog post, we’ll guide you through the entire process, from preparing the potatoes to distilling your own vodka. Along the way, we’ll share tips, answer common questions, and show you how to create your own batch of potato vodka in your kitchen!

What You Need to Make Potato Vodka
Before diving into the step-by-step process, it’s essential to gather the necessary equipment and ingredients. Here’s a list of what you’ll need:
Ingredients:
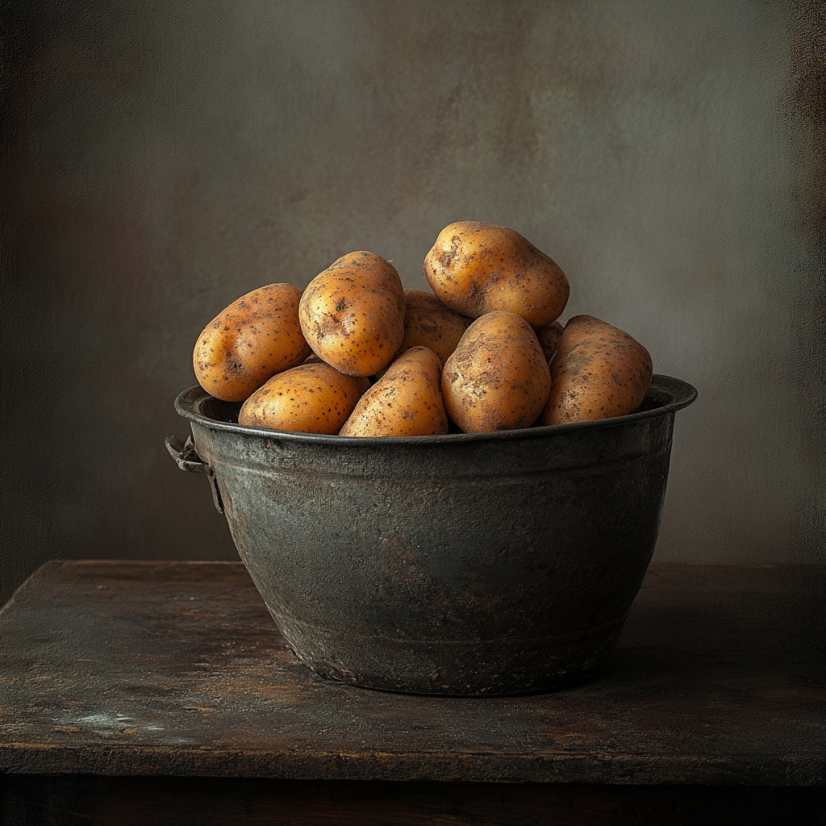
- 10-12 lbs of potatoes (any variety)
- 5-7 gallons of water
- 2-3 pounds of malted barley or cornmeal (for converting the starches into fermentable sugars)
- Yeast (preferably distiller’s yeast)
Equipment:
- Large pot (for boiling potatoes)
- Fermentation vessel (a large glass or plastic container)
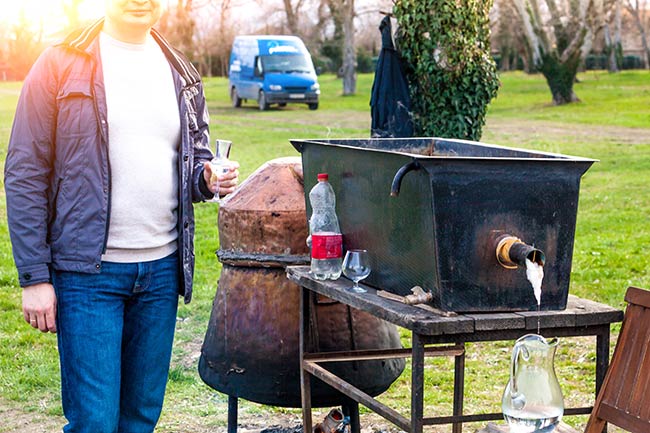
- Distillation unit (copper still or an at-home distiller)
- Siphon or tubing
- Hydrometer (optional, to measure alcohol content)
- Thermometer

Step-by-Step Guide to Making Potato Vodka
1. Prepare the Potatoes
Wash the potatoes thoroughly to remove any dirt or debris. There’s no need to peel them as the skins contribute to the flavor. Chop them into small cubes to ensure they cook evenly.
2. Boil the Potatoes
Place the chopped potatoes in a large pot and cover them with water. Boil the potatoes until they’re soft and mashable—this typically takes about an hour. Once cooked, mash the potatoes into a smooth consistency. This helps release the starches, which will eventually convert into sugars during fermentation.
3. Add the Malt
Once the potatoes are mashed, transfer them to your fermentation vessel. Add your malted barley or cornmeal to the mix. The malt contains enzymes that will break down the potato starches into sugars. Pour in 5-7 gallons of water to create a mash, stirring well to ensure everything is evenly distributed.
4. Allow the Mash to Cool
Let the mixture cool to around 150°F (65°C) before adding your yeast. At higher temperatures, the yeast could die off, and fermentation won’t occur.
5. Add the Yeast
Once the mash has cooled, add your distiller’s yeast and give the mixture a good stir. Seal the fermentation vessel with an airlock to allow gases to escape while keeping unwanted bacteria out.
6. Fermentation Process
Store the fermentation vessel in a dark, cool place for 1 to 2 weeks. During this time, the yeast will convert the sugars into alcohol. You’ll notice bubbles rising through the airlock, indicating that fermentation is in progress. Once the bubbling slows down or stops, fermentation is complete.
7. Distillation
Now comes the distillation phase. Using a distillation unit, slowly heat the fermented mash. As the mixture heats up, alcohol vapors will rise and pass through the distillation unit, where they are cooled and condensed into liquid form. Collect this liquid—this is your vodka! To achieve higher purity, you may need to distill the vodka more than once.
8. Optional: Charcoal Filtration
For a smoother finish, you can filter your vodka through activated charcoal. This removes impurities and gives the vodka a cleaner taste.
9. Bottle Your Vodka
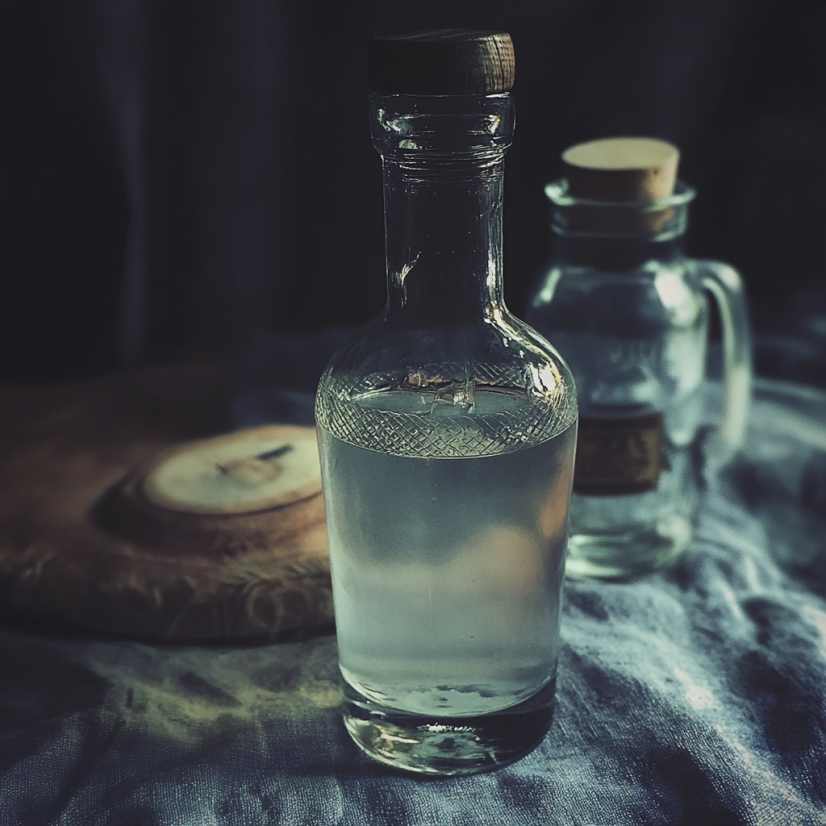
Once you’re satisfied with the taste and quality of your vodka, bottle it up and enjoy! You can store your homemade vodka in sealed glass bottles for several months.

Tips for Making High-Quality Potato Vodka
- Choose the right potatoes: Starchy potatoes, such as russet potatoes, work best for vodka production since they have more starch, which translates to more sugar for fermentation.
- Double distill for smoothness: Distilling your vodka at least twice will yield a higher proof and a cleaner taste.
- Patience is key: Fermentation can take up to two weeks, so don’t rush the process. Allow the yeast to do its job to ensure a good alcohol yield.
- Keep it clean: Sterilizing all equipment is crucial to prevent bacteria or other contaminants from spoiling your batch.
Common Questions About Making Potato Vodka
1. Can I use other types of potatoes?
Yes! While starchy potatoes like russets are ideal, you can experiment with different varieties, including sweet potatoes or Yukon Golds. Just be aware that the flavor profile might change slightly depending on the potato type.
2. How long does it take to make potato vodka?
The entire process, from boiling the potatoes to distillation, takes around 2 to 3 weeks. This includes 1 to 2 weeks for fermentation and a few days for the distillation process.
3. Can I use bread yeast instead of distiller’s yeast?
While bread yeast can work, it’s not recommended. Distiller’s yeast is specifically designed for alcohol production, leading to a higher yield and a cleaner flavor.
4. Is it legal to distill vodka at home?
Distilling alcohol at home is subject to legal restrictions in many countries, including the U.S. and U.K. Always check your local laws before attempting to make vodka or any other distilled spirits.
5. What should I do if my vodka tastes harsh?
Harsh flavors in vodka are usually due to impurities. You can filter the vodka through activated charcoal or re-distill it to smooth it out.
6. Can I flavor my homemade vodka?
Absolutely! Once you’ve distilled your vodka, you can infuse it with fruits, herbs, or spices to create flavored vodka. Popular choices include lemon, vanilla, or even chili pepper.
Conclusion
Making your own potato vodka is a rewarding process that allows you to create a custom spirit at home. While it does take time and precision, the satisfaction of sipping your own homemade vodka is unparalleled. By following the steps outlined in this guide and keeping your equipment sanitized, you’ll be well on your way to producing smooth, high-quality vodka. Just remember to enjoy responsibly and always check local laws regarding home distillation.
Pin for later!
