How To Make Bread The Old Fashioned Way (without a bread machine)

Make sure to like Living Green and Frugally on Facebook, Shop at Amazon to help support my site and explore our PINTEREST BOARDS for innovative ways you can become self-sufficient.
There’s something magical about making bread the old-fashioned way—feeling the dough form beneath your hands, the intoxicating aroma filling your kitchen as it bakes, and, of course, the satisfaction of slicing into a loaf you crafted entirely from scratch. In a world filled with gadgets like bread machines, there’s still something to be said about going back to basics and making bread the way it’s been made for centuries.
Why Make Bread Without a Machine?
While bread machines can be incredibly convenient, making bread by hand allows for greater control over every aspect of the process. You can feel when the dough is perfect, shape the loaf just the way you like, and experience a deeper connection to the craft of bread-making. Plus, it requires minimal equipment, and the hands-on approach often yields a superior texture and flavor that’s hard to beat.
Tips for Successful Old-Fashioned Bread Making
- Use Fresh Ingredients: Fresh flour and yeast are key to a great loaf. If your yeast is old, your bread won’t rise properly.
- Be Patient: Bread-making without a machine requires time. Don’t rush the process—especially during rising.
- Knead Thoroughly: Kneading develops the gluten in the dough, which gives your bread its structure. Don’t skimp on this step.
- Mind the Temperature: Warm water (around 100°F or 38°C) helps activate the yeast, but too hot and it’ll kill it. Pay attention to temperature when proofing the yeast and rising the dough.
- Practice Makes Perfect: Your first loaf might not be perfect, and that’s okay. Like all things, bread-making improves with practice.

The Recipe: Old-Fashioned Homemade Bread
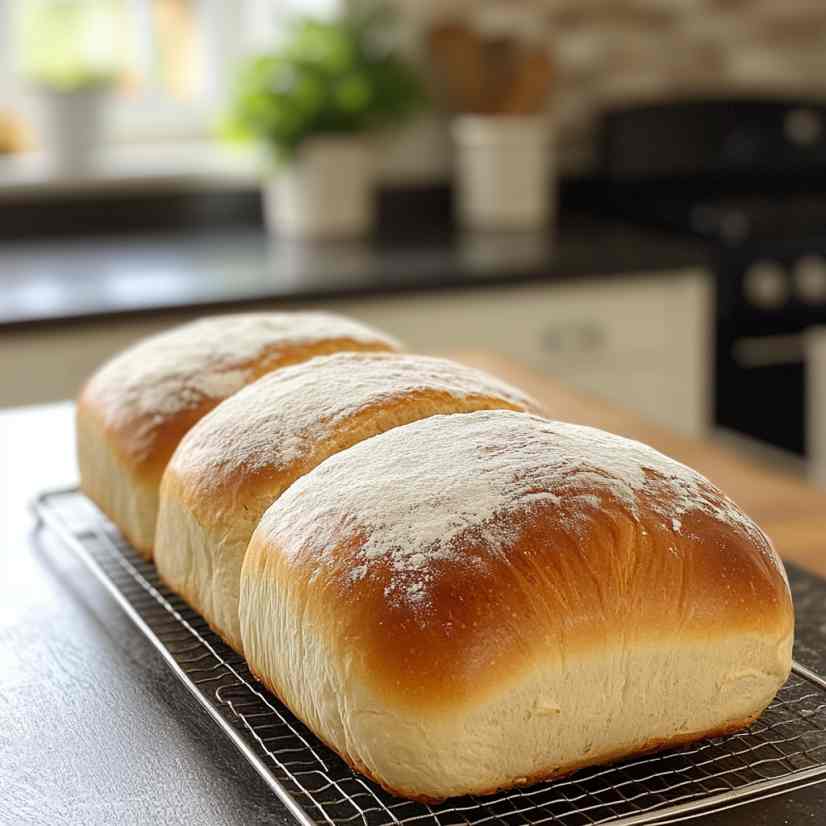
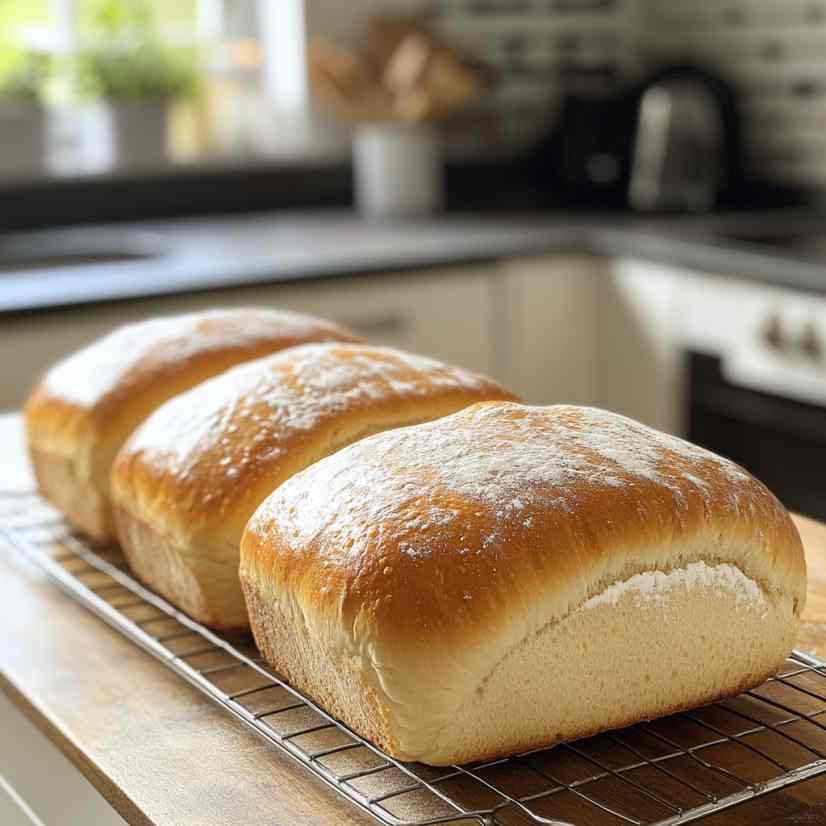
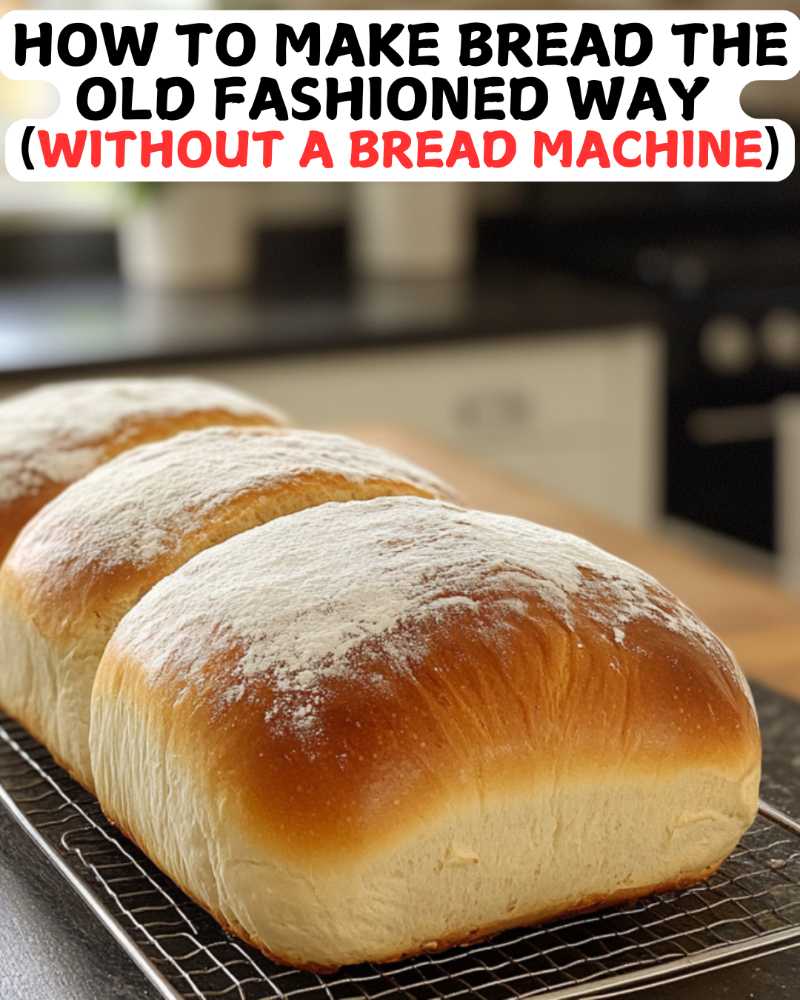
This basic bread recipe is perfect for beginners or seasoned bakers looking to return to traditional methods. It yields two delicious, golden-brown loaves with a soft, chewy interior and slightly crisp crust.
Ingredients:
- 4 cups all-purpose flour (you can substitute with bread flour for a chewier loaf)
- 2 teaspoons active dry yeast
- 2 teaspoons sugar
- 1 teaspoon salt
- 1 ½ cups warm water (around 100°F or 38°C)
- 2 tablespoons olive oil (optional, for added richness)
Instructions:
- Activate the Yeast: In a small bowl, combine the warm water, yeast, and sugar. Stir gently and let it sit for 5–10 minutes until it becomes frothy. This step is crucial for ensuring your yeast is active. If the mixture doesn’t foam, your yeast may be expired.
- Mix the Dough: In a large bowl, combine the flour and salt. Slowly pour in the activated yeast mixture, stirring with a wooden spoon. If using olive oil, add it at this stage. Continue stirring until the dough begins to come together.
- Knead the Dough: Transfer the dough to a lightly floured surface. Knead the dough by pressing it forward with the heel of your hand, folding it over, and turning it 90 degrees. Repeat for about 8–10 minutes. The dough should become smooth and elastic. If it’s too sticky, sprinkle in a bit more flour; if it’s too dry, add a tablespoon of water at a time.
- First Rise: Place the dough in a lightly oiled bowl, cover it with a damp cloth or plastic wrap, and let it rise in a warm, draft-free spot for about 1–2 hours, or until it doubles in size. A good place to rise bread is inside a turned-off oven with the light on.
- Shape the Loaves: Once the dough has risen, punch it down to release the air. Divide it into two equal parts. Shape each portion into a loaf by flattening the dough and folding the edges in. Roll it up tightly, pinch the seam closed, and place each loaf seam-side down in a greased bread pan.
- Second Rise: Cover the loaves with a towel and let them rise for another 30–45 minutes, or until they’ve risen slightly over the edges of the pans.
- Bake: Preheat your oven to 375°F (190°C). Bake the loaves for 30–35 minutes, or until they are golden brown and sound hollow when tapped on the bottom. If the tops brown too quickly, you can tent them with aluminum foil.
- Cool and Enjoy: Remove the loaves from the pans and let them cool on a wire rack for at least 20 minutes before slicing. Enjoy your bread fresh with butter, or store it wrapped in a towel or bread bag.

Common Questions & Answers
Q: Can I use whole wheat flour instead of all-purpose flour? A: Yes! You can substitute whole wheat flour for up to half of the all-purpose flour for a heartier loaf. Keep in mind that whole wheat flour absorbs more water, so you may need to add an extra tablespoon or two of water to get the right dough consistency.
Q: How do I know if my dough is kneaded enough? A: A well-kneaded dough will be smooth, elastic, and slightly tacky but not sticky. You can test by poking the dough—if it springs back, it’s ready. Another test is the “windowpane test”: take a small piece of dough and stretch it. If it forms a thin, transparent layer without tearing, you’ve kneaded enough.
Q: What if my dough doesn’t rise? A: If your dough hasn’t risen after the allotted time, your yeast might be dead. Make sure your water was the right temperature, and check the yeast expiration date before using it. You can also try letting it rise in a warmer spot.
Q: Can I freeze the dough? A: Absolutely! After the first rise, shape the dough into loaves, wrap them tightly in plastic wrap, and freeze. When you’re ready to bake, let the dough thaw and rise before popping it into the oven.
Q: How do I store homemade bread? A: Store your bread at room temperature in a bread bag or wrapped in a towel. Homemade bread doesn’t contain preservatives, so it will stay fresh for about 3–4 days. You can also freeze the baked loaves for up to 3 months.
Making bread the old-fashioned way is a rewarding experience that gives you control over every step. Not only will you create a healthier, more delicious loaf, but you’ll also connect to an age-old tradition that brings warmth and comfort into the home. Give it a try—you’ll be amazed at what your hands can make!
Pin for later!
