Homemade Thin Mint Cookies Recipe

Make sure to like Living Green and Frugally on Facebook, Shop at Amazon to help support my site and explore our PINTEREST BOARDS for innovative ways you can become self-sufficient.
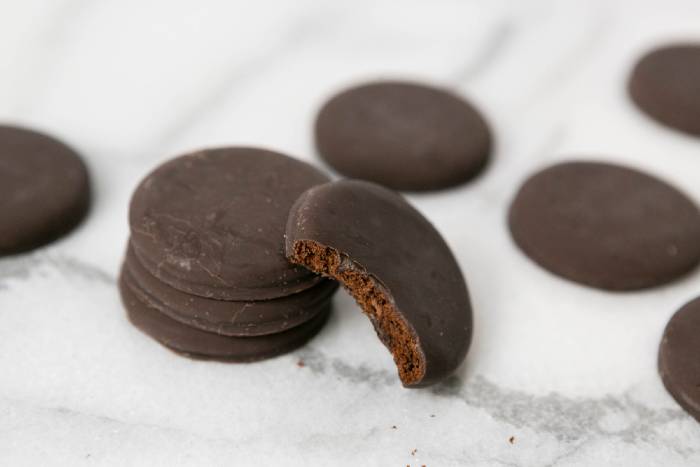
As a fervent lover of the iconic Girl Scout Thin Mint Cookies, the mere mention of those thin, crisp, minty chocolate wafers coated in a delightful chocolatey glaze is enough to trigger a craving. Those nostalgic moments of savoring these delectable treats, either stealthily enjoying a whole sleeve in one sitting or relishing them with friends during childhood, are etched fondly in my memory.
Inspired by the irresistible allure of those store-bought Thin Mints, I embarked on a mission—to recreate these heavenly cookies within the confines of my own kitchen. The idea of whipping up a batch of these minty wonders at home, armed with simple ingredients and a passion for baking, became an exciting challenge. Armed with determination and a palate yearning for that familiar mint-chocolate combination, I sought to replicate the magic of Girl Scout Thin Mints right in my own oven.
With the desire to bring forth that familiar taste and texture while indulging in the joy of baking, I delved into the process of crafting a homemade version of this beloved cookie. The journey was as much about reliving the flavors that had once captivated my taste buds as it was about the sheer joy of creating something cherished from scratch.
Join me in this culinary adventure as I share my recipe for homemade Thin Mints—a labor of love born from a deep-seated appreciation for these iconic cookies and a quest to recreate that delightful experience at home.

Homemade Thin Mints Recipe
Preparation Time: 1 hour 15 minutes (plus chilling time)
Cooking Time: 10-18 minutes
Total Time: Approximately 1 hour 30 minutes
Servings: Makes about 4 dozen cookies
Ingredients:
For the Homemade Thin Mint Cookies:
- 1 cup gluten-free all-purpose flour mix (or substitute all-purpose flour)
- 1/2 cup unsweetened cocoa powder
- 1/2 teaspoon baking powder
- 1/2 teaspoon baking soda
- 1/2 teaspoon salt
- 3/4 cup granulated sugar
- 5 tablespoons (2 1/2 oz) shortening (or substitute butter), at room temperature
- 1 large egg plus 1 large egg yolk, at room temperature
- 1 teaspoon vanilla extract
- 1 1/2 to 2 teaspoons peppermint extract (adjust to taste)
- Confectioners’ sugar, for dusting
For the Chocolate Glaze:
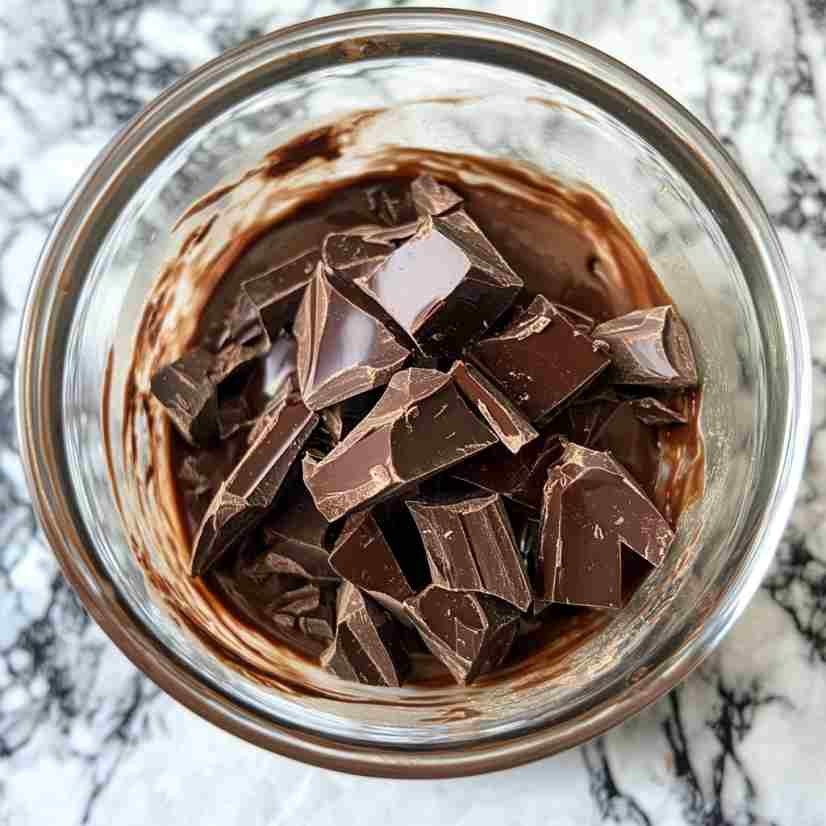
- 12 to 16 ounces semisweet chocolate, finely chopped (such as Guittard or Callebaut)
Instructions:
Make the Homemade Thin Mint Cookies:
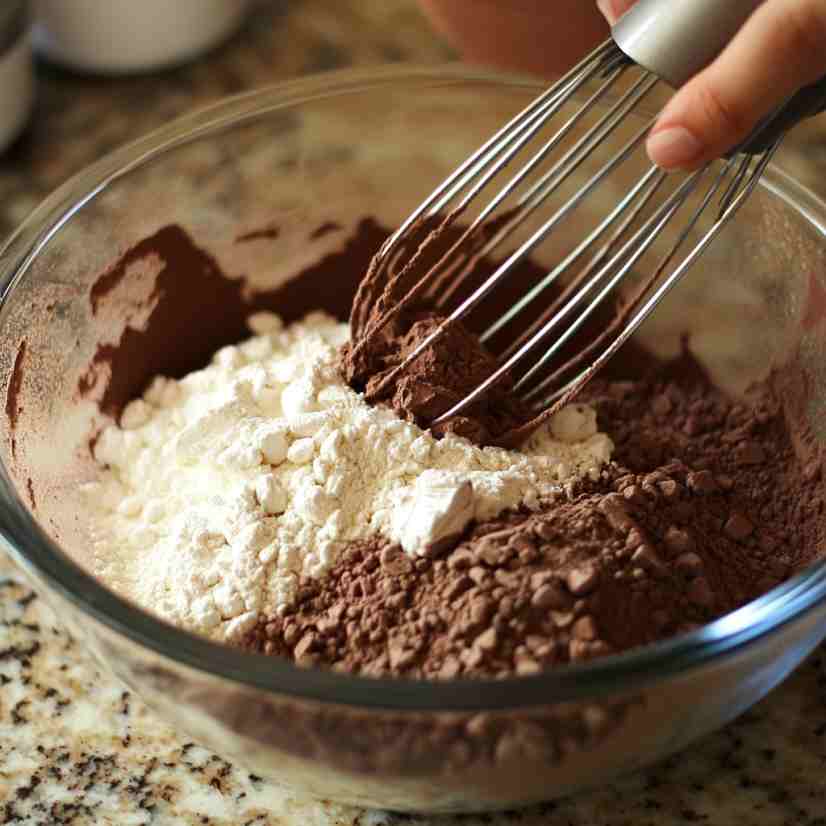
- In a medium-sized bowl, whisk together the flour, cocoa powder, baking powder, baking soda, and salt until well combined.
- Using a stand mixer or an electric mixer in a large bowl on medium speed, beat together the sugar and shortening (or butter) until creamy and thoroughly combined, approximately 1 minute.
- Reduce the mixer speed to medium-low and add the egg followed by the egg yolk, ensuring thorough beating after each addition. Incorporate the vanilla and peppermint extracts into the mixture. Slowly add the flour mixture, beating until just combined; the dough will be sticky.
- Lightly dust the cookie dough, your hands, and a piece of parchment paper with confectioners’ sugar. Shape the dough into a disk and place it on the parchment paper. If the dough is too sticky to shape, refrigerate it for 30 minutes to manage it better.
- Wrap the cookie dough disk in plastic wrap and refrigerate until firm for at least 30 minutes or overnight.
- Preheat the oven to 350°F (177°C) and position the oven racks in the middle and upper third positions. Line 2 baking sheets with parchment paper.
- Roll out the chilled dough on the parchment paper until it’s 1/8 to 1/4 inch thick. Allow the dough to soften a bit at room temperature if necessary for easier rolling.
- Using a 1 1/2-inch round cutter, cut out cookies from the dough and place them 1/2 inch apart on the prepared baking sheets. Re-roll any leftover scraps to cut out more cookies. Place the baking sheets in the freezer for about 15 minutes.
- Bake the Thin Mints straight from the freezer, rotating the baking sheets halfway through, until dry, crisp, and firm around the edges. This usually takes anywhere from 10 to 18 minutes, depending on cookie thickness. Cool the cookies slightly on the baking sheets before transferring them to wire racks to cool completely.

Make the Chocolate Glaze:
- While the cookies are cooling, prepare the chocolate glaze. Melt the semisweet chocolate in a microwave-safe bowl in short intervals, stirring each time until smooth. Alternatively, use a double boiler for melting.
- Once the cookies have cooled completely, dip each cookie into the melted chocolate, ensuring it’s fully coated. Place the dipped cookies on parchment paper or a wire rack to allow the chocolate to set.
- Let the chocolate set completely before serving or storing the cookies in an airtight container. Enjoy these delightful homemade Thin Mints with a glass of cold milk or as a treat on their own!
These homemade Thin Mints make for a wonderful homemade version of the classic Girl Scout cookies, perfect for indulging your sweet tooth or sharing with friends and family.