Homemade Colby Cheese Recipe

Make sure to like Living Green and Frugally on Facebook, Shop at Amazon to help support my site and explore our PINTEREST BOARDS for innovative ways you can become self-sufficient.
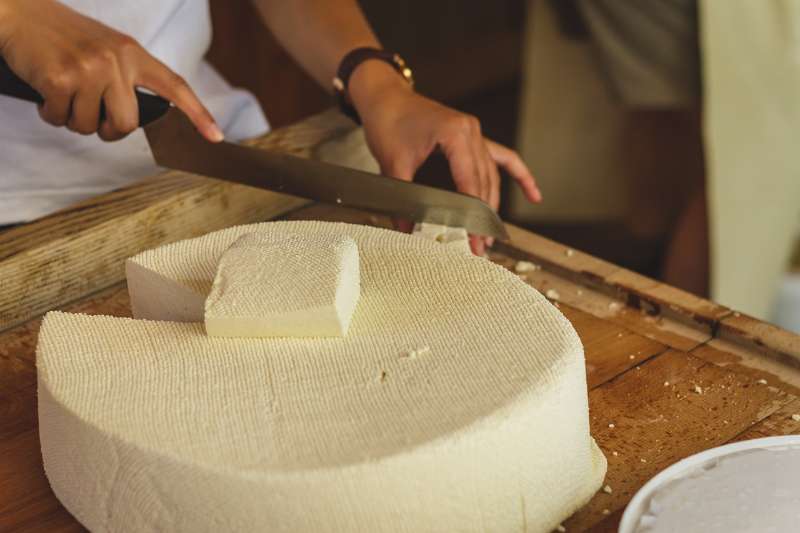
Colby cheese, a mild, creamy, and semi-hard cheese, is a favorite among many for its smooth texture and mild flavor. Originally from Colby, Wisconsin, this cheese is similar to cheddar but has a more elastic texture and a slightly milder taste. Making Colby cheese at home can be a rewarding and satisfying endeavor. Here’s a comprehensive guide to crafting your own Colby cheese.
Ingredients:
- 2 gallons whole milk (preferably raw or non-homogenized)
- 1/4 tsp mesophilic starter culture
- 1/4 tsp calcium chloride (if using pasteurized milk)
- 1/2 tsp liquid rennet diluted in 1/4 cup cool, non-chlorinated water
- 2 tbsp cheese salt (non-iodized)
Equipment:
- Large pot (Stainless steel or enamel-coated)
- Cheese thermometer
- Long knife or curd cutter
- Colander
- Cheesecloth
- Cheese mold and follower
- Cheese press
- Large bowl
- Slotted spoon
Instructions:
1. Prepare the Milk:
- Pour the milk into a large pot and slowly heat it to 86°F (30°C). Stir gently to ensure even heating.
- If using pasteurized milk, add the calcium chloride solution and stir thoroughly.
2. Add the Starter Culture:
- Sprinkle the mesophilic starter culture over the surface of the milk. Let it rehydrate for about 2 minutes.
- Stir the culture into the milk using an up-and-down motion for about a minute.
3. Ripen the Milk:
- Cover the pot and let the milk ripen for 30 minutes, maintaining the temperature at 86°F (30°C).
4. Add the Rennet:
- Add the diluted rennet to the milk, stirring gently for 1 minute.
- Cover the pot and let the milk sit undisturbed for 30-45 minutes, or until a firm curd forms.
5. Cut the Curd:
- Once the curd is set, cut it into 1/2-inch cubes using a long knife or curd cutter.
- Let the curds rest for 5 minutes to firm up.
6. Cook the Curds:
- Slowly heat the curds to 102°F (39°C), increasing the temperature by no more than 2°F every 5 minutes. This should take about 30 minutes.
- Stir gently to keep the curds from matting.
- Maintain the curds at 102°F (39°C) for 30 minutes, stirring occasionally.
7. Wash the Curds:
- Drain off the whey to the level of the curds.
- Add warm water (about 140°F/60°C) to the curds to bring the temperature to 80°F (27°C). Stir gently.
- Let the curds settle for 5 minutes, then drain the water.
8. Salt the Curds:
- Sprinkle the cheese salt over the curds and stir gently to ensure even distribution.
9. Press the Cheese:
- Line a cheese mold with cheesecloth and fill it with the curds.
- Fold the cheesecloth over the top and place the follower on top.
- Press the cheese at 20 pounds of pressure for 20 minutes.
- Remove the cheese from the mold, unwrap it, flip it, rewrap it, and press at 30 pounds of pressure for 12 hours.
10. Air Dry and Age the Cheese:
- Remove the cheese from the press and unwrap it.
- Place the cheese on a cheese mat and let it air dry at room temperature for 1-2 days, or until a dry rind forms.
- Wax the cheese or vacuum seal it for aging.
- Age the cheese at 55°F (13°C) with 80-85% humidity for 1-3 months, turning it every few days to ensure even aging.
Tips for Success:
- Quality Milk: The quality of your milk greatly affects the final cheese. Raw milk or non-homogenized milk yields the best results.
- Sanitation: Ensure all equipment is thoroughly sanitized to prevent unwanted bacteria from contaminating the cheese.
- Patience: Cheese making is an art that requires patience. Don’t rush the process, especially during the curd-setting and aging stages.
Making Colby cheese at home is not only a fun culinary project but also a way to connect with traditional cheese-making practices. Enjoy the process and the delicious results!