How to Grow Cucamelons from Seed: A Comprehensive Guide

Make sure to like Living Green and Frugally on Facebook, Shop at Amazon to help support my site and explore our PINTEREST BOARDS for innovative ways you can become self-sufficient.
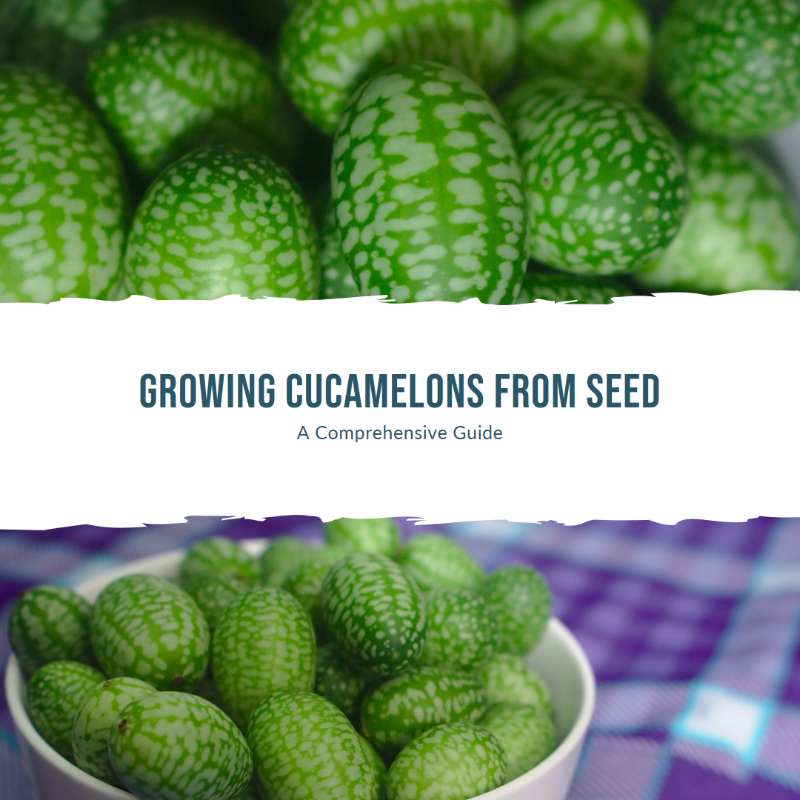
Cucamelons, also known as Mexican sour gherkins or mouse melons, are charming and unique fruits that resemble miniature watermelons but taste like cucumbers with a hint of lime. These delightful and easy-to-grow plants are perfect for gardeners looking to add a unique twist to their vegetable garden.
This guide will walk you through the entire process of growing, caring for, and harvesting cucamelons from seed.
What You Need to Know About Growing Cucamelons
Botanical Name: Melothria scabra
Common Names: Cucamelon, Mexican sour gherkin, mouse melon
Plant Type: Perennial vine (grown as an annual in cooler climates)
Sun Requirements: Full sun
Soil Type: Well-drained, rich in organic matter
Water Needs: Moderate
Growing Cucamelons from Seed
1. Starting Seeds Indoors
Timing: Cucamelons have a long growing season. Start seeds indoors about 4-6 weeks before the last expected frost date in your area.
Materials:
- Seed starting trays or pots
- Seed starting mix
- Plastic wrap or a seed starting dome
- Grow light or sunny windowsill
Steps:
- Fill Containers: Fill your seed starting trays or pots with a high-quality seed starting mix.
- Plant Seeds: Sow cucamelon seeds about 1/4 inch deep in the soil. Place one or two seeds per cell or pot.
- Water: Water the soil lightly to moisten it without making it soggy.
- Cover: Cover the trays or pots with plastic wrap or a seed starting dome to retain moisture.
- Provide Light and Warmth: Place the trays in a warm location with a temperature of about 70-75°F (21-24°C). Once the seeds germinate, which typically takes 7-14 days, move them to a location with plenty of light, such as under grow lights or on a sunny windowsill.
2. Transplanting Seedlings
Timing: Transplant seedlings outdoors after the danger of frost has passed and the soil has warmed to at least 60°F (15°C).
Steps:
- Harden Off Seedlings: Gradually acclimate your seedlings to outdoor conditions by placing them outside for a few hours each day, increasing the time over a week.
- Prepare the Garden Bed: Choose a sunny location with well-draining soil. Amend the soil with compost to improve fertility.
- Planting: Space the seedlings about 12 inches apart in rows or on a trellis, as cucamelons are vigorous climbers.
- Watering: Water the seedlings well after transplanting.
View this post on Instagram
Caring for Cucamelon Plants
1. Watering
Cucamelons prefer consistently moist soil. Water the plants regularly, providing about 1 inch of water per week, more during dry spells. Mulch around the plants to help retain soil moisture and suppress weeds.
2. Fertilizing
Cucamelons benefit from regular feeding. Use a balanced fertilizer, such as a 10-10-10, applied according to the package instructions. Alternatively, side-dress the plants with compost or well-rotted manure mid-season.
3. Supporting
Since cucamelons are vining plants, they need support to grow vertically. Install a trellis, cage, or fence for the vines to climb. This will also improve air circulation around the plants, reducing the risk of diseases.
4. Pruning and Training
Guide the vines to climb the support structure and pinch back any unruly growth to encourage bushier plants and more fruit production. Regularly check for and remove any yellowing or diseased leaves.
View this post on Instagram
Harvesting Cucamelons
1. Timing
Cucamelons are typically ready to harvest about 60-70 days after transplanting. The fruits are best picked when they are about the size of a grape, which is when they are most tender and flavorful.
2. How to Harvest
Gently twist or snip the cucamelons from the vine using scissors or pruning shears. Handle them carefully to avoid damaging the delicate fruits.
3. Storage
Cucamelons can be stored in the refrigerator for up to a week. For longer storage, consider pickling them, which enhances their tangy flavor.
Common Pests and Problems
1. Pests
Cucamelons are relatively pest-resistant but can occasionally be affected by aphids, spider mites, and cucumber beetles. Use insecticidal soap or neem oil to manage these pests if necessary.
2. Diseases
Cucamelons are prone to the same diseases as cucumbers, such as powdery mildew and downy mildew. Ensure good air circulation, avoid overhead watering, and apply fungicides if needed.
Conclusion
Growing cucamelons from seed is a rewarding experience that adds a unique touch to your garden and your culinary creations. By following these steps for planting, caring, and harvesting, you’ll enjoy a bountiful harvest of these delightful little fruits. Happy gardening!