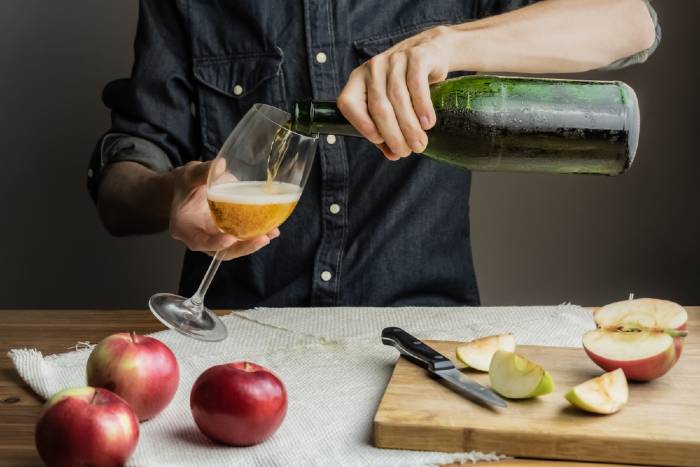
Easy Way To Make Hard Cider

Make sure to like Living Green and Frugally on Facebook, Shop at Amazon to help support my site and explore our PINTEREST BOARDS for innovative ways you can become self-sufficient.
Easy Way To Make Hard Cider: A Beginner’s Guide
If you love the crisp, refreshing taste of hard cider and have ever thought, “I wish I could make this at home,” you’re in for a treat. Making your own hard cider is easier than you think, and the results are worth every minute spent. Whether you want a delicious drink to share with friends or a fun project to try at home, this guide will walk you through the entire process, step by step.
Why Make Your Own Hard Cider?
Hard cider has been a beloved beverage for centuries, and it’s easy to see why. It’s naturally gluten-free, has a wide range of flavors, and can be as sweet or dry as you like. By making your own, you can customize the taste, save money compared to store-bought versions, and gain the satisfaction of crafting something unique. Plus, it’s an excellent way to use up excess apples or apple juice from the orchard or grocery store.
What You’ll Need
Here’s a quick checklist of the essentials:
- Apple Juice: Choose 100% pure, preservative-free juice. Freshly pressed juice is ideal, but store-bought works as long as it doesn’t contain preservatives like potassium sorbate, which can inhibit fermentation.
- Yeast: Champagne yeast or cider-specific yeast works best for a clean finish. You can experiment with ale yeast for different flavors.
- Airlock and Fermentation Vessel: A glass carboy or food-grade plastic bucket with a lid will do the trick.
- Sanitizer: To clean all your equipment and prevent unwanted bacteria.
- Optional Additions: Sugar (for higher alcohol content), spices like cinnamon or cloves (for flavor), and pectic enzyme (to clarify the cider).
Step-by-Step Instructions
1. Sanitize Everything
Cleanliness is crucial when brewing. Use a food-grade sanitizer to clean all your equipment, including the fermentation vessel, airlock, and any utensils.
2. Prepare the Juice
Pour your apple juice into the fermentation vessel. If you’re adding sugar to boost the alcohol content, dissolve it in a small amount of warm water before mixing it into the juice. Use about 1 cup of sugar per gallon for a slightly stronger cider.
3. Add the Yeast
Sprinkle the yeast directly into the juice or rehydrate it according to the packet’s instructions. Gently stir to ensure even distribution.
4. Install the Airlock
Seal your fermentation vessel with the lid and attach the airlock. Fill the airlock with sanitized water to prevent contamination while allowing carbon dioxide to escape.
5. Ferment
Place the vessel in a dark, cool location (65-75°F is ideal). Fermentation will typically take 1-2 weeks, during which you’ll notice bubbling in the airlock. Once the bubbling stops, fermentation is complete.
6. Rack and Age (Optional)
For a clearer cider, siphon the liquid into a clean vessel, leaving behind the sediment (called lees). Let it age for a few weeks to a few months to develop deeper flavors.
7. Bottle and Enjoy
Transfer the cider into sanitized bottles. If you prefer sparkling cider, add a small amount of sugar (about 1 teaspoon per bottle) before sealing to create natural carbonation. Let the bottles sit at room temperature for another 1-2 weeks before chilling and serving.
Tips for Success
- Taste Test: Before bottling, taste your cider. If it’s too dry, you can back-sweeten with a non-fermentable sweetener like stevia or erythritol.
- Experiment: Add fruits, spices, or even hops during fermentation to create unique flavors.
- Label Your Bottles: Include the date and any notes about the batch. It’s easy to forget which one’s which!
Common Questions and Answers
Q: Can I use apples instead of juice?
A: Absolutely! If you have access to fresh apples, press them into juice and proceed with the recipe. Make sure to filter out any pulp before fermentation.
Q: How long does homemade hard cider last?
A: Properly bottled cider can last for up to a year, but it’s so tasty it probably won’t stick around that long.
Q: Why isn’t my cider fermenting?
A: Check the temperature, ensure your yeast is viable, and make sure the juice doesn’t contain preservatives.
Q: Can I make this alcohol-free?
A: This recipe is specifically for hard cider, but you can enjoy non-alcoholic cider by skipping the fermentation process.
Final Thoughts
Making hard cider at home is a rewarding project that’s as fun as it is delicious. With just a few ingredients and some patience, you can craft a drink that rivals any store-bought version. So gather your supplies, give it a try, and raise a glass to your cider-making success!