DIY Beeswax Food Wraps: A Sustainable Alternative to Plastic

Say goodbye to single-use plastic wrap and hello to a more eco-friendly kitchen! Beeswax food wraps are a fantastic, sustainable alternative for covering bowls, wrapping snacks, or storing leftovers. Not only are these wraps reusable and biodegradable, but they also bring a touch of charm and creativity to your food storage routine. Best of all? You can make them yourself at home with just a few simple materials and steps. Let’s dive into this fun and practical DIY project!
Why Beeswax Food Wraps Are a Game-Changer
Plastic wrap has long been a go-to for food storage, but it comes at an environmental cost. Millions of tons of plastic waste end up in landfills and oceans every year, where it takes centuries to break down. Beeswax wraps offer a sustainable solution that is both effective and versatile.
Benefits of Beeswax Wraps:
- Reusable: With proper care, a single wrap can last up to a year.
- Eco-Friendly: Made from natural materials, they’re biodegradable and compostable.
- Cost-Effective: Save money in the long run by ditching disposable plastic.
- Easy to Use: Simply mold them to your dish or food using the warmth of your hands.
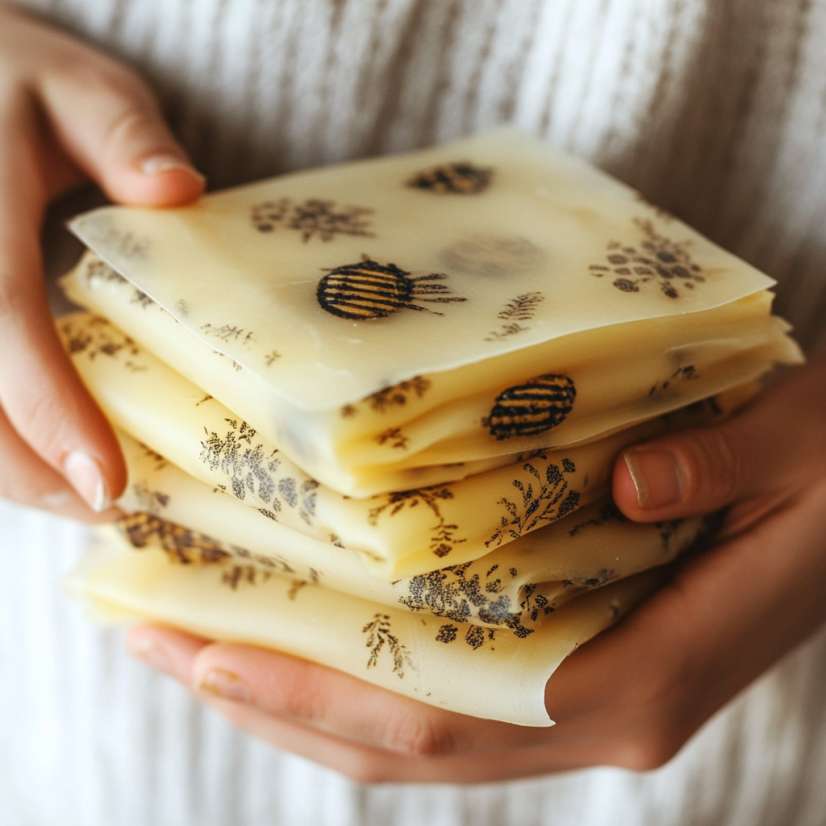
- Customizable: Choose your favorite fabric patterns to make wraps that are uniquely yours!

Materials You’ll Need
To make your own beeswax wraps, gather these supplies:
Ingredients:
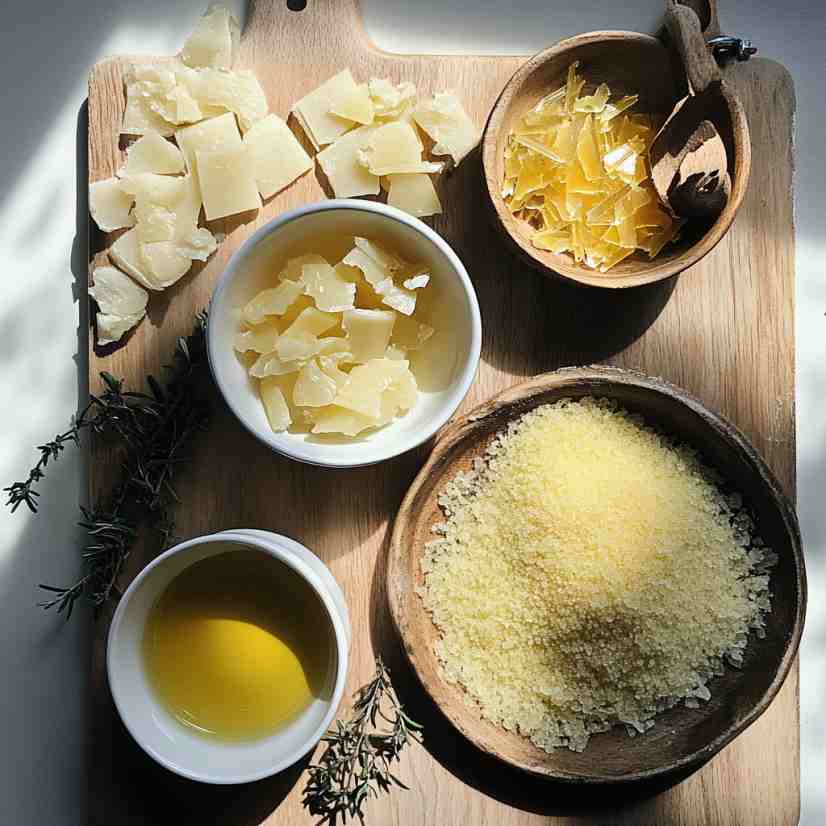
- Beeswax pellets or grated beeswax (100% pure, food-grade)
- Pine resin (optional but adds stickiness)
- Jojoba oil (optional for flexibility and durability)
Tools:
- 100% cotton fabric (pre-washed and cut into desired sizes, such as 8×8” for small wraps, 12×12” for medium, or 14×14” for large)
- Pinking shears (to prevent fraying)
- Baking sheet
- Parchment paper or silicone baking mat
- Paintbrush (dedicated to this project, as it’ll get waxy)
- Oven or double boiler for melting wax

Step-by-Step Instructions
1. Prepare Your Workspace
Cover your work surface with parchment paper to catch any spills. Preheat your oven to 200°F (93°C).
2. Cut Your Fabric
Use pinking shears to cut your cotton fabric into desired sizes. Popular sizes include:
- Small: Perfect for covering half an avocado or a small snack.
- Medium: Ideal for wrapping sandwiches or bowls.
- Large: Great for covering casseroles or larger produce.
3. Mix the Wax Solution
Combine your beeswax, pine resin, and jojoba oil (if using) in a double boiler. A common ratio is:
- 1 part pine resin
- 4 parts beeswax
- 1 part jojoba oil
Heat the mixture until fully melted, stirring occasionally.
4. Apply the Wax
Lay a piece of fabric on your baking sheet. Use a paintbrush to evenly spread the melted wax mixture over the fabric, ensuring full coverage. Alternatively, sprinkle beeswax pellets over the fabric if you’re skipping the resin/oil blend.
5. Melt and Distribute
Place the baking sheet in the oven for 2-3 minutes to melt the wax. Once melted, use your paintbrush to smooth out any uneven areas.
6. Cool and Set
Carefully remove the fabric from the baking sheet (it will be hot!) and hold it up to let it cool. This process only takes a few seconds. Once cooled, the wrap will be ready to use!

Tips for Success
- Choose High-Quality Materials: Use 100% cotton fabric and food-grade beeswax for the best results.
- Experiment with Sizes: Make a variety of wrap sizes to suit different storage needs.
- Avoid Too Much Wax: Over-saturating the fabric can make the wraps stiff.
- Revive Worn Wraps: If your wraps lose their stickiness, refresh them by repeating the waxing process.
Common Questions and Answers
How do I clean beeswax wraps?
Wash them in cool water with mild dish soap. Avoid hot water, which can melt the wax. Hang them to air dry.
Can I use beeswax wraps for raw meat?
It’s not recommended to wrap raw meat directly. Use a container and cover it with a wrap instead.
What if my wrap is too stiff or sticky?
This can happen if there’s too much wax. Try melting and spreading the wax more evenly or use less next time.
Are beeswax wraps microwave-safe?
No, beeswax wraps should not be used in microwaves or ovens, as the heat will melt the wax.
Why This DIY Project is Worth Trying
Making your own beeswax food wraps is more than just a fun craft; it’s a small step toward a greener lifestyle. By reducing your reliance on plastic wrap, you’re helping to protect the environment and embracing a sustainable way to store food. Plus, you’ll have the satisfaction of creating something both beautiful and practical.
So, grab your supplies and start crafting! Your kitchen (and the planet) will thank you. Don’t forget to share your creations with us in the comments below or tag us on social media!