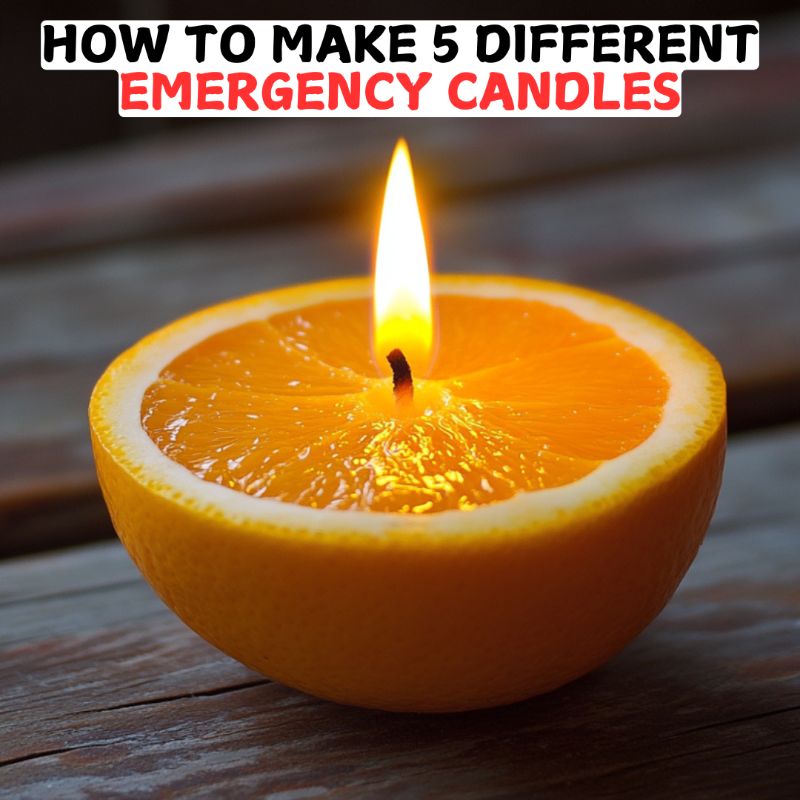
How To Make 5 Different Emergency Candles
Make sure to like Living Green and Frugally on Facebook, Shop at Amazon to help support my site and explore our PINTEREST BOARDS for innovative ways you can become self-sufficient.
How to Make 5 Different Emergency Candles: A Step-By-Step Guide
When the power goes out unexpectedly, having reliable sources of light is crucial. Flashlights and batteries are great, but they don’t last forever. That’s where emergency candles come to the rescue. Not only are they practical, but they can also be easily made at home using simple, affordable materials. Whether you’re prepping for a storm, camping off-grid, or just looking for a fun DIY project, learning how to make emergency candles is a skill that can serve you well.
In this guide, we’ll explore five different types of emergency candles you can make. Each method caters to different needs and available resources, so you’re sure to find one (or more!) that works for you.
Why Make Your Own Emergency Candles?
There are plenty of reasons to learn this skill:
- Self-Reliance: You’ll be prepared even when store-bought candles aren’t available.
- Cost-Effective: Homemade candles often cost a fraction of the price of store-bought alternatives.
- Customizable: Adjust burn time, scent, and size to meet your needs.
- Eco-Friendly: Use recycled or natural materials to reduce waste.
Materials You’ll Need:
Before diving in, here are some basics you might need for these projects:
- Wax (paraffin, soy, or beeswax)
- Wicks (store-bought or DIY using cotton string)
- Containers (glass jars, tins, or cans)
- Household items like crayons, shortening, or vegetable oil
- Tools: Scissors, hot glue, double boiler or microwave-safe container for melting wax
1. Classic Wax Jar Candles
Perfect for: Long-lasting light in a compact, portable form.
What You’ll Need:
- Glass jars or small mason jars
- Wax (soy wax is a great beginner option)
- Pre-tabbed candle wicks
- Hot glue gun
- Double boiler
How To Make It:
- Clean and dry your jars thoroughly.
- Attach the wick to the bottom center of the jar using hot glue.
- Melt your wax in a double boiler over low heat.
- Once melted, pour the wax into the jar, holding the wick upright with a pencil or chopstick.
- Let the wax cool completely before trimming the wick to 1/4 inch.
Tips:
- For a longer burn time, use a larger jar and thicker wick.
- Add essential oils for a pleasant scent, but avoid fragrances if using in enclosed spaces.
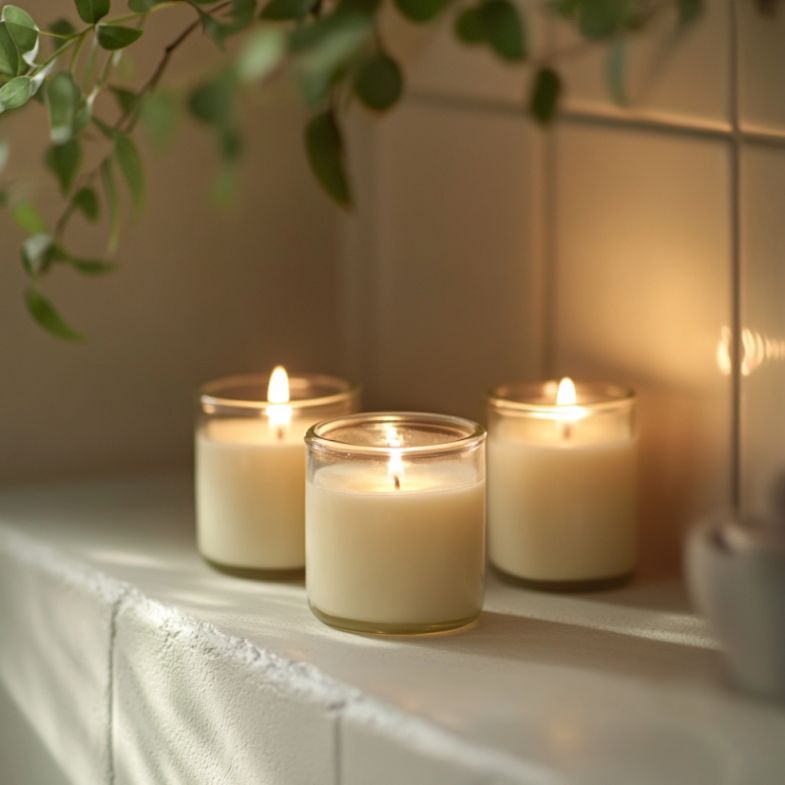
2. Vegetable Shortening Candles
Perfect for: Quick, inexpensive, and versatile emergency light.
What You’ll Need:
- A can of vegetable shortening
- Cotton string or pre-made wick
- A small container
How To Make It:
- Scoop the shortening into your container, leaving about 1/2 inch of space at the top.
- Insert the wick into the center, ensuring it reaches the bottom.
- Press the shortening around the wick to secure it.
- Trim the wick to 1/4 inch.
Why It Works:
Shortening is primarily made of fat, which burns slowly, making it an excellent fuel source.
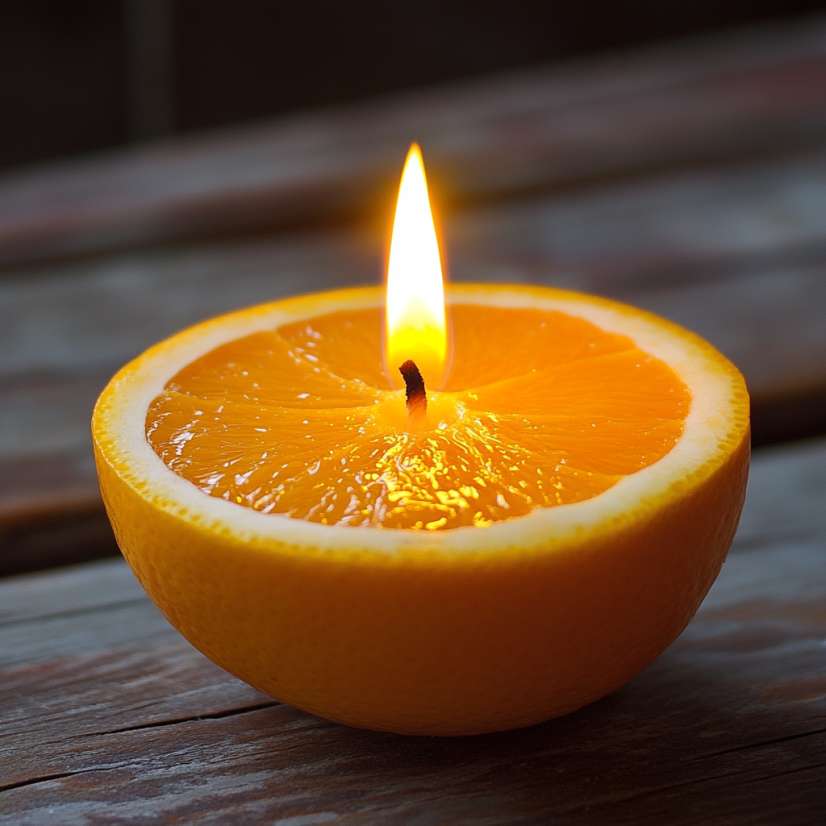
3. Citrus Candles
Perfect for: A natural, eco-friendly option with a delightful scent.
What You’ll Need:
- An orange or grapefruit
- Olive oil or vegetable oil
- Knife
- Cotton string or DIY wick
How To Make It:
- Cut the fruit in half and scoop out the pulp, leaving the white pith in the center intact. This will act as the wick.
- Fill the hollowed-out fruit with oil, stopping just below the pith.
- Light the pith, and voila!
Tips:
- Use a grapefruit for a longer burn time.
- Keep a fire extinguisher nearby, as these can be unpredictable.
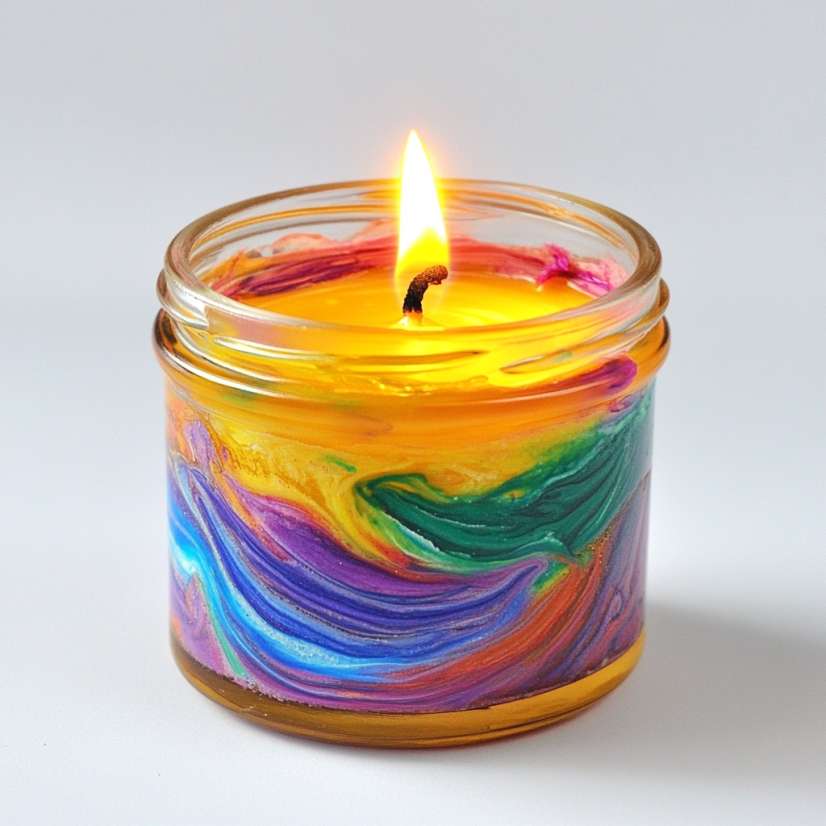
4. Crayon Wax Candles
Perfect for: A colorful, kid-friendly project in a pinch.
What You’ll Need:
- Broken crayons
- Wax (optional, for longer burn time)
- Small tin or glass container
- Wick
How To Make It:
- Peel the paper off the crayons and melt them in a double boiler.
- Mix in some wax if desired to extend the burn time.
- Pour the melted crayon mixture into a container with the wick in place.
- Let it cool and harden.
Tips:
- Layer different colors for a fun, striped effect.
- Crayons alone burn faster, so pair them with wax for a more functional candle.
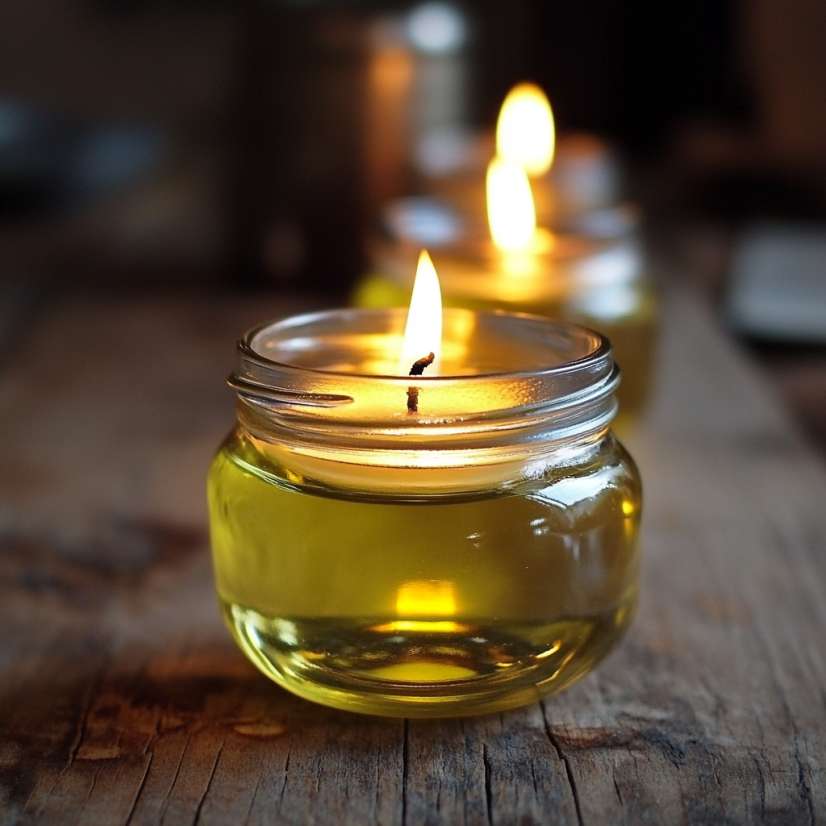
5. Oil Lamp Candles
Perfect for: A reusable, minimalist option.
What You’ll Need:
- Glass jar or tin
- Olive oil or vegetable oil
- Cotton wick (or rolled-up paper towel as a temporary wick)
- Metal washer
How To Make It:
- Fill the jar about halfway with oil.
- Thread the wick through the washer and rest it on the mouth of the jar.
- Light the wick, and you’re good to go.
Why It Works:
The oil is a slow-burning fuel, and the washer helps keep the wick steady.
Common Questions About Emergency Candles
Q: How long will these candles burn?
A: Burn times vary by type. For example, a vegetable shortening candle can burn up to 30 hours, while citrus candles typically last a few hours.
Q: Are homemade candles safe?
A: Yes, but always monitor them while burning and keep them away from flammable objects or materials.
Q: Can I reuse materials?
A: Absolutely! Jars, tins, and even leftover wax from old candles can be repurposed for new ones.
Final Thoughts
Making emergency candles is not only practical but also a rewarding DIY project. By learning these five methods, you’ll be ready to tackle any power outage or survival scenario with confidence. Plus, it’s a great way to upcycle household items and save money.
Have you tried making your own emergency candles? Share your experience or tips in the comments below! And don’t forget to check out our other self-reliance projects for even more inspiration.