How To Make Your Own Aloe Vera Gel

Make sure to like Living Green and Frugally on Facebook, Shop at Amazon to help support my site and explore our PINTEREST BOARDS for innovative ways you can become self-sufficient.
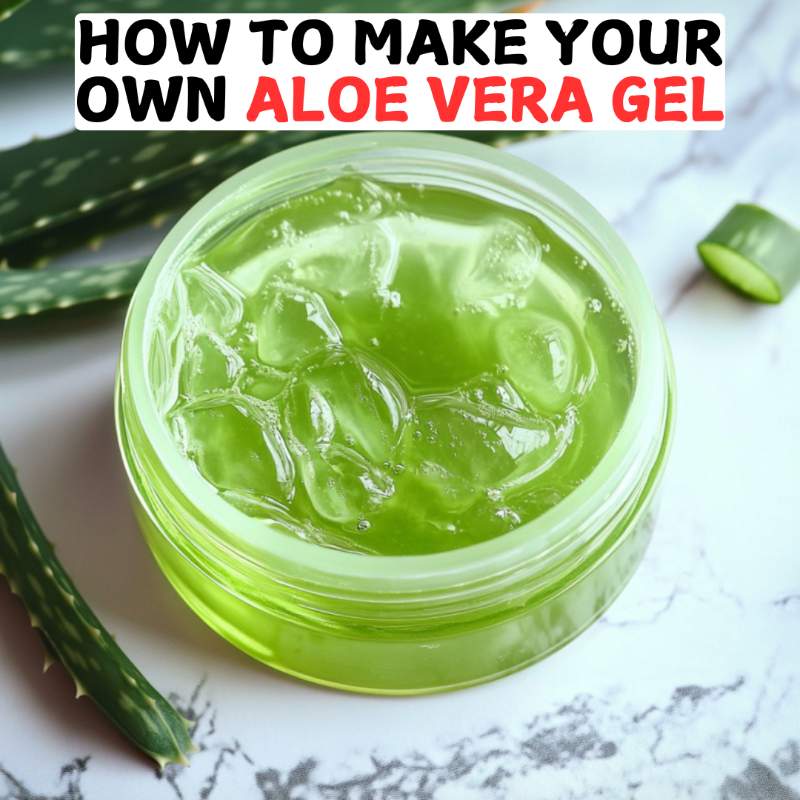
Aloe vera gel is a versatile and beneficial substance that can be used for skincare, haircare, and even as a health supplement. Making your own aloe vera gel at home ensures you get a pure, natural product free from additives and preservatives. Here’s a detailed guide on how to extract, prepare, use, and store aloe vera gel.
Step-by-Step Guide to Making Aloe Vera Gel
Step 1: Harvesting the Aloe Vera Leaves
- Select the Right Plant: Choose a mature aloe vera plant with thick, fleshy leaves. The leaves of mature plants contain more gel.
- Harvesting: Using a sharp knife or scissors, cut the outermost leaves at the base of the plant. These leaves are usually the oldest and contain the most gel.

Step 2: Preparing the Leaves
- Wash the Leaves: Rinse the leaves thoroughly under running water to remove dirt and debris.
- Drain the Aloin: Place the leaves upright in a bowl or sink for about 15-20 minutes. This allows the yellow, bitter aloin (latex) to drain out. Aloin can be irritating to the skin and is a natural laxative, so it’s essential to remove it.
Step 3: Extracting the Gel
- Trim the Edges: Use a knife to cut off the serrated edges on both sides of the leaf.
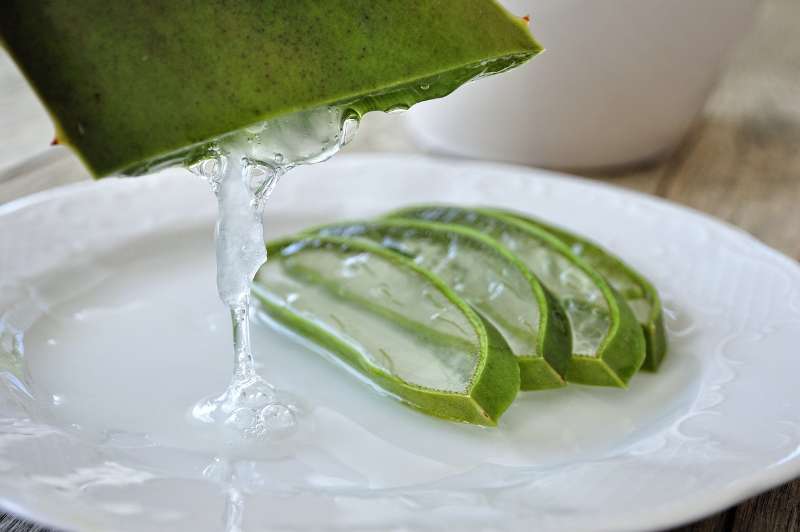
- Peel the Leaf: Lay the leaf flat and slice off the top layer of skin lengthwise to expose the clear gel inside.
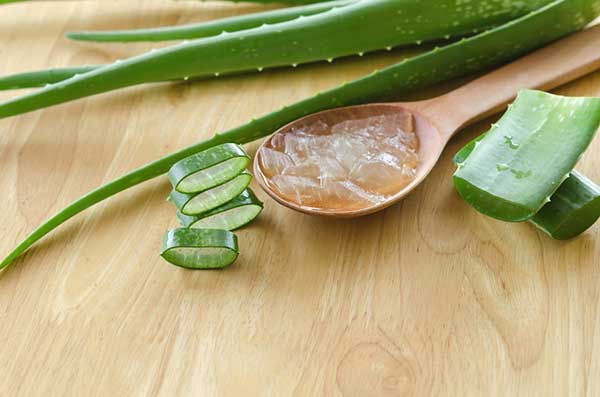
- Scoop Out the Gel: Use a spoon to scoop out the gel from the leaf. Place the gel in a clean bowl.
Step 4: Blending and Preserving
- Blend the Gel: Transfer the gel to a blender and blend until smooth. This process helps break down the gel’s natural fibers, creating a more consistent texture.
- Optional Preservatives: To extend the shelf life of the gel, you can add natural preservatives. Mix in a few drops of vitamin E oil or a teaspoon of vitamin C powder. These antioxidants help preserve the gel and add additional skin benefits.
Step 5: Storing the Gel
- Sterilize Storage Containers: Ensure your storage containers (preferably glass jars or bottles) are sterilized by boiling them in water and letting them dry completely.
- Refrigeration: Pour the blended gel into the sterilized containers and store them in the refrigerator. Aloe vera gel can typically last for about 1-2 weeks in the fridge.
- Freezing: For longer storage, you can freeze the gel in ice cube trays. Once frozen, transfer the aloe vera cubes to a zip-lock bag and keep them in the freezer for up to six months. Simply thaw a cube as needed.
Using Aloe Vera Gel
For Skincare
- Moisturizer: Apply a thin layer to your face or body as a natural moisturizer. Aloe vera gel is especially beneficial for soothing dry or irritated skin.
- After-Sun Care: Use the gel on sunburned skin to reduce redness and inflammation.
- Acne Treatment: Apply directly to acne-prone areas to help reduce redness and swelling. Aloe vera has antibacterial properties that can help clear up acne.

For Haircare
- Scalp Treatment: Massage the gel into your scalp to reduce dandruff and promote healthy hair growth.
- Conditioner: Use it as a natural hair conditioner. Apply to your hair, leave it on for about 30 minutes, then rinse thoroughly.
For Health
- Digestive Aid: Aloe vera gel can be consumed in small quantities to aid digestion. Ensure you use a pure, preservative-free gel and consult with a healthcare provider before ingesting.
- Immune Support: Aloe vera contains vitamins and antioxidants that can help boost your immune system. Again, consult with a healthcare provider for appropriate dosage and usage.
Conclusion
Making your own aloe vera gel at home is a simple and rewarding process. Not only do you get to enjoy the pure, natural benefits of aloe vera, but you also avoid the additives and preservatives found in commercial products. By following this guide, you can extract, prepare, use, and store aloe vera gel effectively. Whether for skincare, haircare, or health purposes, aloe vera gel is a versatile addition to your natural remedy toolkit.
Pin for Later
