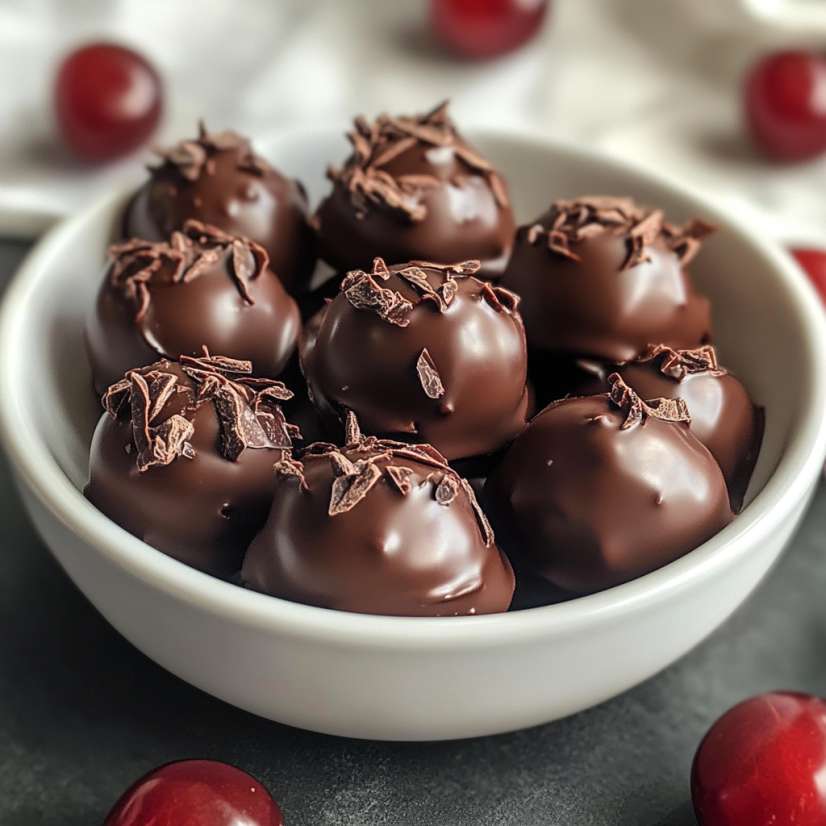
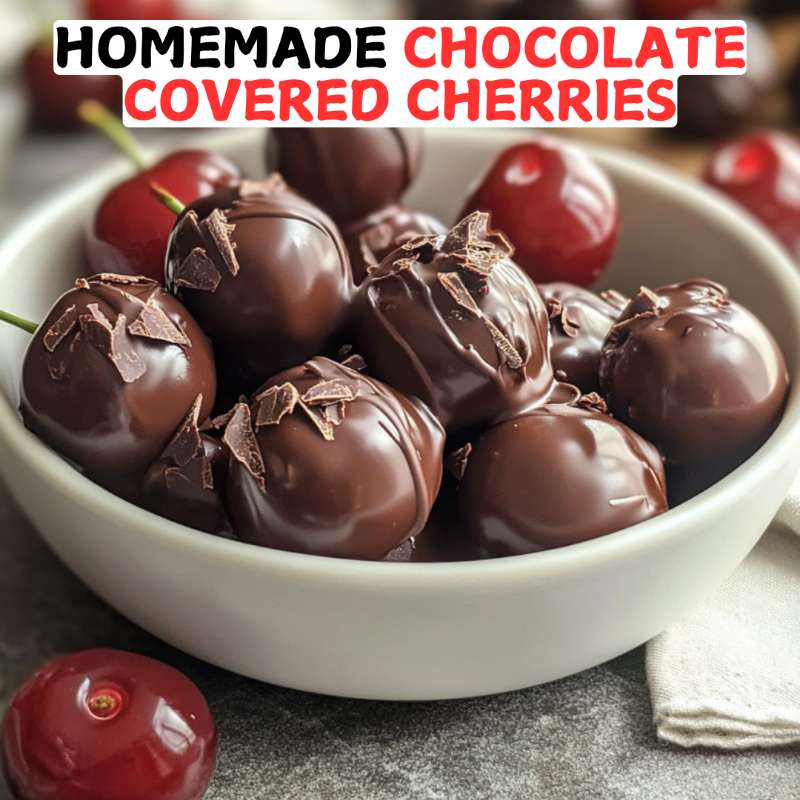
Homemade Chocolate Covered Cherries

Make sure to like Living Green and Frugally on Facebook, Shop at Amazon to help support my site and explore our PINTEREST BOARDS for innovative ways you can become self-sufficient.
There’s something magical about chocolate-covered cherries. The burst of juicy sweetness from the cherry, paired with the smooth, rich coating of chocolate, makes it a treat that’s hard to resist. These little delights are perfect for gifting, sharing at parties, or keeping in your secret stash for a well-deserved mom moment. Making them at home is surprisingly simple, and I’m here to guide you through the process with some handy tips and tricks.
Why Make Chocolate Covered Cherries at Home?
Store-bought chocolate-covered cherries are nice, but there’s a sense of pride in creating them yourself. Plus, when you make them at home, you control the quality of ingredients. Want organic cherries? Check. Prefer dark chocolate? No problem. Love an extra gooey center? Done and done. Not to mention, homemade treats always make thoughtful gifts that come straight from the heart.

Recipe: Homemade Chocolate Covered Cherries
Prep Time: 30 minutes (plus setting time)
Servings: Makes about 20 pieces
Ingredients:
- 20 fresh cherries (preferably with stems, but pitted if desired)
- 1 ½ cups semi-sweet chocolate chips or chopped chocolate
- 1 tbsp coconut oil or shortening
- 1 cup powdered sugar
- 2 tbsp unsalted butter, softened
- 1 tbsp milk or cherry liqueur (optional, for a creamy center)
Instructions:
- Prepare the Cherries:
Wash and thoroughly dry the cherries. Any moisture can cause the chocolate to seize, so take your time. - Make the Fondant Center (Optional):
- In a small bowl, mix powdered sugar, butter, and milk or cherry liqueur until smooth.
- Wrap a small amount of the mixture around each cherry, creating a thin layer. This step adds that luscious, gooey sweetness you find in store-bought versions.
- Melt the Chocolate:
- Combine chocolate and coconut oil in a microwave-safe bowl. Microwave in 20-second intervals, stirring between, until smooth. Alternatively, use a double boiler for gentle melting.
- Dip the Cherries:
- Hold each cherry by the stem (or use a fork or toothpick for pitted cherries) and dip it into the melted chocolate, covering it completely.
- Let excess chocolate drip off, then place the cherry on a parchment-lined baking sheet.
- Set the Chocolate:
- Allow the cherries to set at room temperature or place them in the fridge for quicker results.
- Optional Decoration:
Drizzle white chocolate or sprinkle finely chopped nuts over the top for an extra touch of flair.
Tips for Success
- Dry Cherries Are Happy Cherries:
Pat your cherries dry with a paper towel. Water and chocolate don’t mix! - Choose the Right Chocolate:
High-quality chocolate melts better and gives a smoother finish. Opt for semi-sweet or dark chocolate for a less sugary treat. - Work Quickly:
If you’re making a large batch, keep your chocolate warm to prevent it from hardening. - Experiment with Fillings:
Add a dollop of marzipan or peanut butter for a fun twist on the classic.
Common Questions About Chocolate Covered Cherries
1. How long do homemade chocolate-covered cherries last?
If stored in an airtight container in the fridge, they can last up to 2 weeks. However, they’re best enjoyed within the first few days for the freshest taste.
2. Can I use frozen cherries?
Fresh cherries work best because frozen ones can release too much moisture as they thaw, which can ruin the chocolate coating.
3. What can I use instead of coconut oil?
You can substitute shortening or a neutral vegetable oil to help thin the chocolate for dipping.
4. Can I make these ahead of time?
Absolutely! In fact, letting them rest for a day or two allows the fondant (if using) to soften and meld with the cherry, enhancing the flavor.
5. Can I make these dairy-free?
Yes! Use a dairy-free chocolate and swap the butter in the fondant for a plant-based alternative.
Make It Your Own
One of the best parts about this recipe is how customizable it is. From different types of chocolate to experimenting with fillings, the possibilities are endless. Whether you’re making these for a holiday platter, a thoughtful gift, or a rainy day project with the kids, chocolate-covered cherries are a simple yet impressive treat that everyone will love.
So, grab your apron and let’s get dipping! Don’t forget to snap a picture and share your creations with me—I’d love to see how your batch turns out.
Happy cherry-dipping,
