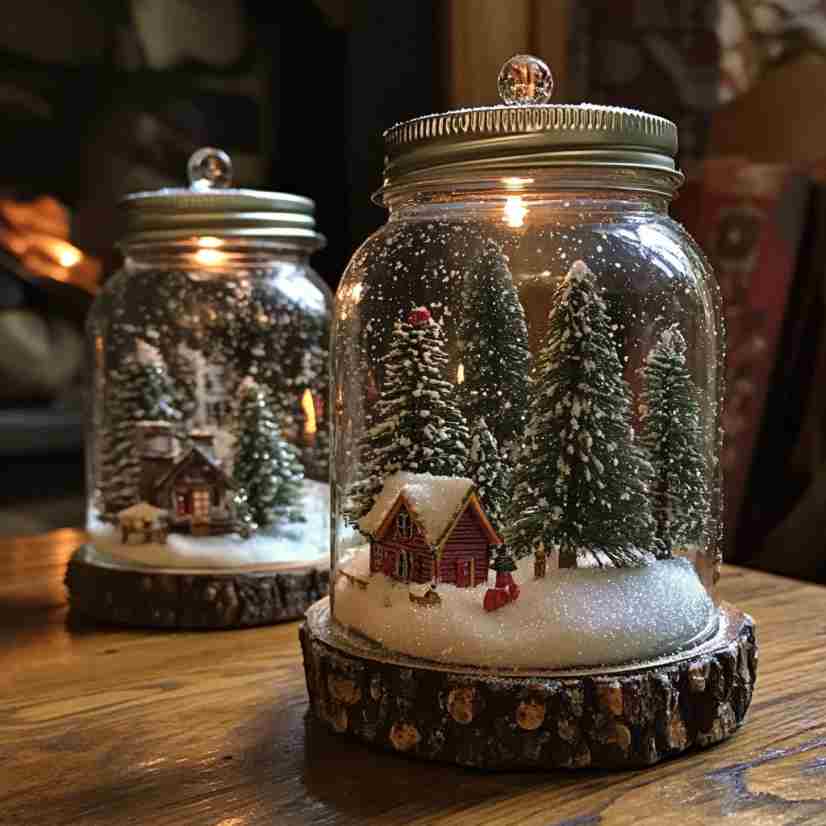
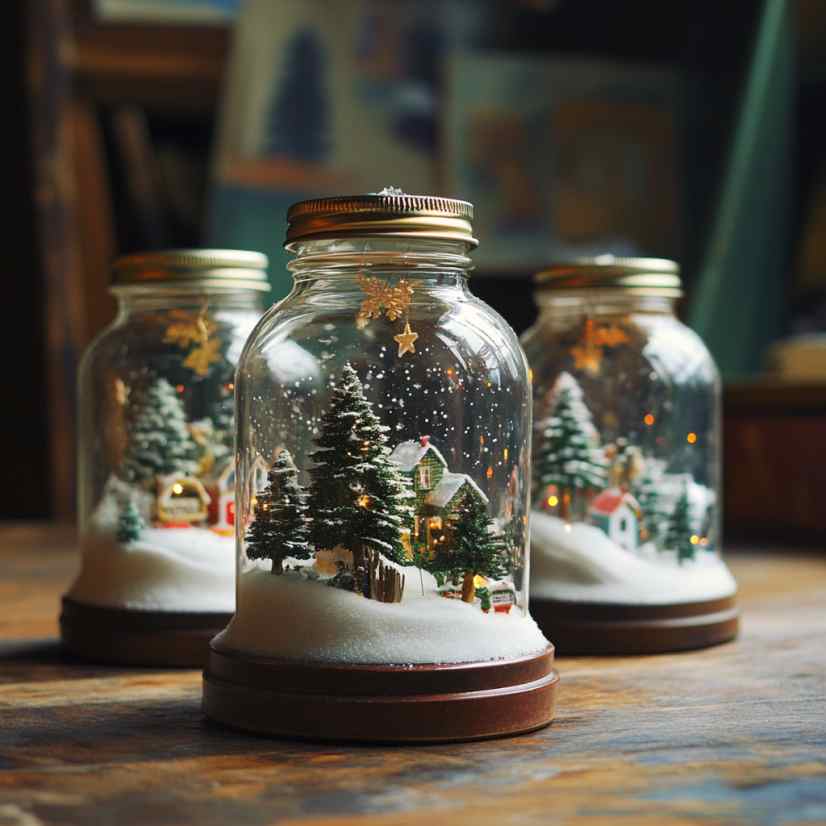
How To Make Mason Jars Snow Globes

Make sure to like Living Green and Frugally on Facebook, Shop at Amazon to help support my site and explore our PINTEREST BOARDS for innovative ways you can become self-sufficient.
How To Make Mason Jar Snow Globes: A Magical DIY Craft for All Ages!
There’s something so enchanting about snow globes, isn’t there? They bring a touch of winter magic right into your hands. Whether it’s the sparkle of glitter mimicking snowfall or the cozy scene inside, snow globes are timeless keepsakes that never fail to spark joy.
As a mom who loves crafting with my kids (and sneaking in some “me-time” creativity), I’ve discovered that Mason Jar Snow Globes are one of the easiest and most versatile crafts you can make. They’re budget-friendly, completely customizable, and make for gorgeous gifts or festive decorations. Plus, they’re fun for kids to help with, making them a perfect family project!
In this post, I’ll walk you through everything you need to know to make Mason Jar Snow Globes—step-by-step instructions, tips for the perfect snow globe, and answers to common questions. Let’s dive in!
Why Make Mason Jar Snow Globes?
Here’s why you’ll love this project:
- Budget-Friendly: Most of the materials are inexpensive and easy to find.
- Personalized: You can tailor each snow globe to suit the recipient’s personality or a specific holiday theme.
- Eco-Friendly: Repurpose Mason jars and small trinkets you already own.
- Memory-Making: It’s a craft that kids, friends, or even grandkids can enjoy making together.
- Year-Round Uses: While they’re perfect for the holidays, you can create themes for other seasons or celebrations too!

Materials You’ll Need
Here’s what you’ll need to create your own magical snow globes:
Essentials:
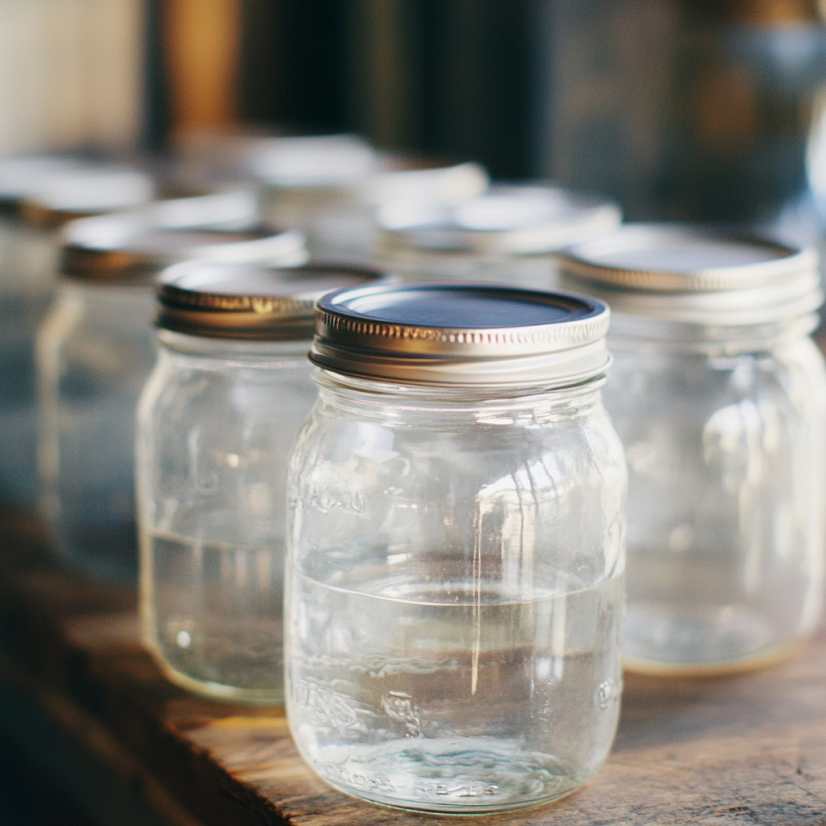
- Mason jars with lids (any size works, but wide-mouth jars are easier to work with)
- Distilled water (optional, if adding liquid)
- Glycerin (available at craft stores or online; helps glitter “float” more slowly)
- Clear-drying glue or a hot glue gun
- Glitter (white, silver, or any color of your choice)
- Small figurines, bottlebrush trees, or decorative miniatures
- Waterproof spray paint (if you want to paint the jar lids)
Optional Decorations:
- Ribbon or twine for embellishment
- Faux snow for dry globes
- Washi tape to decorate the rim of the lid
Step-by-Step Instructions
1. Prepare the Lid
- Clean and dry your Mason jar and lid thoroughly.
- If you’d like, spray-paint the lid in a festive color and let it dry completely.
2. Attach Your Scene
- Plan your design by arranging your figurines or decorations on the inside of the jar lid.
- Use clear-drying glue or a hot glue gun to secure the items firmly to the lid. Be generous with the glue—your decorations need to stay put! Let it dry completely before moving to the next step.
3. Fill the Jar
For Wet Snow Globes:
- Fill the jar almost to the top with distilled water.
- Add 1–2 teaspoons of glycerin (this makes the glitter fall more slowly, like real snow).
- Sprinkle in your glitter—don’t be shy, the more sparkle, the better!
For Dry Snow Globes:
- Skip the water and glycerin. Add a layer of faux snow or glitter directly into the jar.
4. Assemble Your Globe
- Carefully lower the decorated lid into the jar, ensuring the scene faces outward.
- Screw the lid on tightly. If you used water, make sure there’s no leakage—tighten as needed or add a bead of glue along the lid for extra security.

5. Shake and Enjoy!
Turn your jar upside-down, give it a shake, and watch the magic happen!
Pro Tips for Perfect Mason Jar Snow Globes
- Use Waterproof Glue: Especially for wet snow globes, so your decorations don’t float off.
- Seal It Up: For a leak-proof jar, run a line of glue or silicone around the rim before screwing the lid on.
- Test Glitter Amounts: Start with a little and add more if needed—too much glitter can make the water murky.
- Kid-Friendly Tip: Pre-assemble the lids with decorations, so younger kids can focus on filling the jars and adding glitter.
- Creative Themes: Don’t limit yourself to Christmas! Try beach scenes, spring flowers, or even tiny dinosaurs for a fun twist.
Common Questions About Mason Jar Snow Globes
Q: Can I use tap water instead of distilled water?
A: You can, but distilled water prevents mineral buildup and cloudiness over time.
Q: What if I don’t have glycerin?
A: You can use clear baby oil or simply make a dry snow globe instead.
Q: My glitter keeps clumping. What should I do?
A: Use fine, lightweight glitter and mix well before sealing the jar. A few extra shakes usually fix the clumps.
Q: How long do these last?
A: With proper sealing, wet snow globes can last several years. Dry ones can last indefinitely!
Q: Can I use Mason jar snow globes as gifts?
A: Absolutely! Add a ribbon or gift tag, and you’ve got a handmade, heartfelt present.
Wrapping It Up
Making Mason Jar Snow Globes is such a delightful way to bring a little magic into your home. Whether you’re crafting with kids or creating thoughtful gifts, the possibilities are endless. And trust me, once you start making them, you won’t want to stop—you’ll be finding reasons to make one for every occasion!
So grab your glitter, gather your miniatures, and start crafting some holiday cheer. I’d love to hear how your snow globes turn out! Share your photos or tips in the comments below.
Happy crafting!
-Mom of Two, Glitter Everywhere, and Loving It
Pin for Later
