Artisan Bread: The Easiest Bread You Will Ever Make

Make sure to like Living Green and Frugally on Facebook, Shop at Amazon to help support my site and explore our PINTEREST BOARDS for innovative ways you can become self-sufficient.
Artisan bread has surged in popularity over the last decade, praised for its rich flavors, rustic appearance, and the satisfaction it brings to both bakers and eaters alike. Unlike mass-produced bread, artisan bread is made with simple, high-quality ingredients, and a more hands-on, traditional method that dates back centuries.
What Makes a Bread “Artisan”?
The term “artisan bread” refers to bread that is crafted with care, using traditional methods and high-quality ingredients. Here are some key characteristics that define artisan bread:
- Natural Ingredients: Artisan bread typically contains only a few basic ingredients: flour, water, yeast, and salt. Some recipes might include additional ingredients like olive oil, herbs, or seeds, but the focus remains on natural, unprocessed components.
- No Preservatives: Unlike commercial bread, artisan bread doesn’t contain preservatives or artificial additives. This results in a shorter shelf life, but a far superior taste and texture.
- Long Fermentation Process: Artisan bread often undergoes a long fermentation process, allowing the dough to develop complex flavors and a chewy texture. This slow rise, often using a pre-ferment like a poolish or a sourdough starter, helps create the characteristic airy crumb and slightly tangy flavor.
- Handcrafted: The hands-on approach is a hallmark of artisan bread. This includes hand-kneading the dough, shaping it, and scoring the top to allow for controlled expansion during baking.
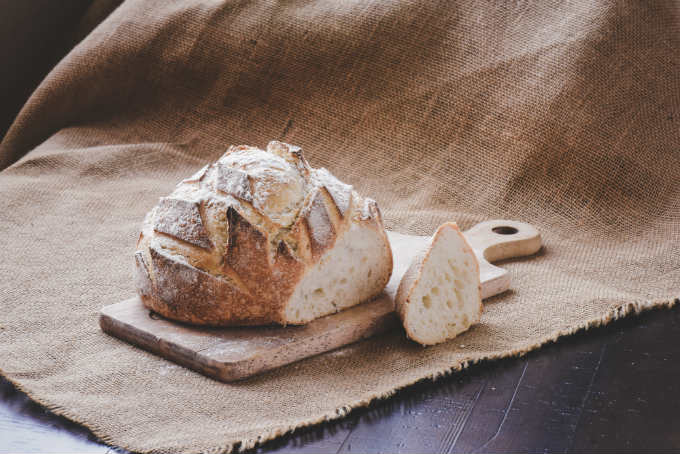
- Rustic Appearance: Artisan bread usually has a thick, crusty exterior with an irregular shape and a golden-brown color. The crumb inside is open and airy, with large holes resulting from the long fermentation process.
View this post on Instagram
Ingredients and Their Importance
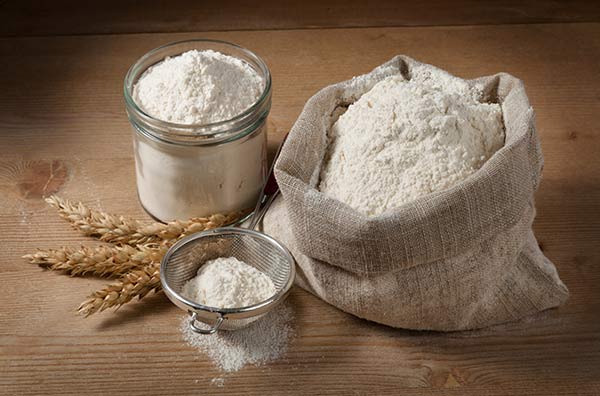
- Flour: The foundation of any bread, flour provides the structure. Bread flour, which has a higher protein content, is preferred for artisan bread because it develops more gluten, giving the bread its chewy texture. All-purpose flour can also be used for a lighter crumb.
- Water: Hydration is key in artisan bread. The high water content (known as hydration percentage) in artisan bread dough helps create a moist, open crumb and aids in the development of gluten.
- Yeast: Yeast is the leavening agent that makes the bread rise. For a more pronounced flavor, some artisan bread recipes use a smaller amount of yeast and rely on a long fermentation process to let the yeast work slowly.
- Salt: Salt is essential in bread-making. It controls the fermentation process, strengthens the gluten, and enhances the flavor.
- Optional Ingredients: Additional ingredients like olive oil, herbs, or seeds can be added for extra flavor, but the core of an artisan loaf remains the same.
Easy Artisan Bread Recipe
Ingredients:
- 3 cups bread flour (or all-purpose flour)
- 1 ½ cups warm water (about 110°F)
- 2 teaspoons kosher salt
- ¼ teaspoon active dry yeast

Instructions:
- Mix the Dough: In a large mixing bowl, combine the flour, salt, and yeast. Gradually add the warm water while stirring with a wooden spoon until a rough, sticky dough forms. The dough will be shaggy and wet, which is what you want.
- First Rise (Fermentation): Cover the bowl with plastic wrap or a clean kitchen towel and let the dough rise at room temperature for 12 to 18 hours. The long fermentation process allows the dough to develop flavor and structure. You’ll know it’s ready when the dough has doubled in size and has bubbles on the surface.
- Shape the Dough: After the first rise, turn the dough out onto a lightly floured surface. With floured hands, gently shape it into a ball by folding the edges toward the center. Don’t overwork the dough; the goal is to retain as much of the air inside as possible.
- Second Rise: Place the dough ball on a piece of parchment paper, cover it with a kitchen towel, and let it rise for another 1 to 2 hours. During this time, the dough will become puffy.
- Preheat the Oven: About 30 minutes before baking, preheat your oven to 450°F (230°C) with a Dutch oven (or any heavy pot with a lid) inside. Heating the pot ensures a burst of steam when you place the dough in it, which is essential for a crispy crust.
- Bake the Bread: Carefully remove the hot pot from the oven. Using the parchment paper as a sling, transfer the dough into the pot. Cover with the lid and bake for 30 minutes.
- Finish Baking: After 30 minutes, remove the lid and bake for an additional 10 to 15 minutes, until the crust is deep golden brown. The bread should sound hollow when tapped on the bottom.
- Cool: Remove the bread from the pot and let it cool on a wire rack for at least an hour before slicing. This allows the crumb to set and makes slicing easier.
Final Thoughts
Making artisan bread at home is a rewarding process that connects you to traditional baking methods. The simplicity of the ingredients, combined with the time and care taken in the fermentation and baking process, results in a loaf that is far superior to anything you can find in a supermarket. Enjoy the process, and the delicious results!