How To Make Eczema Relief Lotion Bars

Make sure to like Living Green and Frugally on Facebook, Shop at Amazon to help support my site and explore our PINTEREST BOARDS for innovative ways you can become self-sufficient.
If you’ve ever struggled with eczema, you know how frustrating and uncomfortable it can be. The constant itching, redness, and dry patches can feel never-ending, and finding a gentle, effective remedy is a must. While there are numerous over-the-counter creams available, many contain harsh chemicals or fragrances that can aggravate sensitive skin. That’s where DIY eczema relief lotion bars come in! These all-natural bars are soothing, moisturizing, and free from irritants, offering relief for eczema-prone skin without any harmful additives.
In this post, we’ll show you how to make your own eczema relief lotion bars from scratch using natural ingredients that are gentle and effective. Plus, we’ll share helpful tips, answer common questions, and provide a recipe that’s customizable to your skin’s needs.
Why Lotion Bars for Eczema?
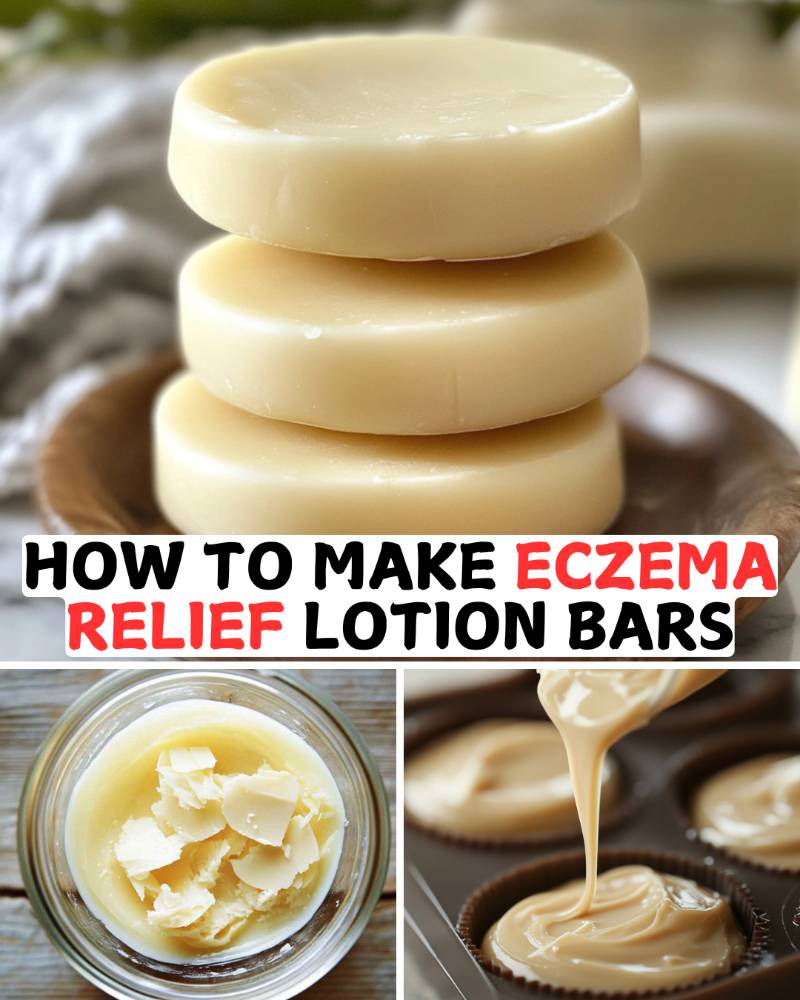
Lotion bars are solid moisturizers made from oils, butters, and waxes that melt upon contact with the warmth of your skin. They offer an easy, mess-free way to deeply moisturize your skin while protecting it from environmental irritants that may trigger eczema flare-ups. Unlike lotions, lotion bars don’t contain water, which means you won’t need preservatives. This makes them an ideal option for anyone looking to avoid synthetic ingredients.
Key ingredients in eczema lotion bars include skin-soothing butters like shea butter, nourishing oils like coconut or olive oil, and beeswax to provide a protective barrier. You can also add ingredients like colloidal oatmeal or essential oils known for their skin-calming properties.

Tips for Making Effective Eczema Relief Lotion Bars
- Use Natural Ingredients: Stick to raw, unrefined butters and oils. Organic shea butter and coconut oil are excellent options that nourish the skin without causing irritation.
- Incorporate Calming Additives: Add ingredients like colloidal oatmeal or calendula oil, which are known for reducing itchiness and inflammation in eczema-prone skin.
- Avoid Fragrance: Essential oils can be beneficial, but it’s important to avoid fragrances or essential oils that can irritate sensitive skin. Lavender, chamomile, and tea tree oil in small amounts are generally well-tolerated.
- Test Your Ingredients: If this is your first time making lotion bars, do a patch test on a small area of skin to ensure no allergic reactions occur.
- Store Properly: Keep your lotion bars in a cool, dry place to ensure they stay solid and last longer. A metal or tin container works well for storage.
DIY Eczema Relief Lotion Bars Recipe
Ingredients:
- 1/4 cup shea butter (unrefined)
- 1/4 cup cocoa butter
- 1/4 cup coconut oil (unrefined)
- 1/4 cup beeswax (pastilles or grated)
- 1 tablespoon calendula oil (optional)
- 1 tablespoon colloidal oatmeal (optional, helps soothe itchy skin)
- 10 drops lavender essential oil (optional)
Instructions:
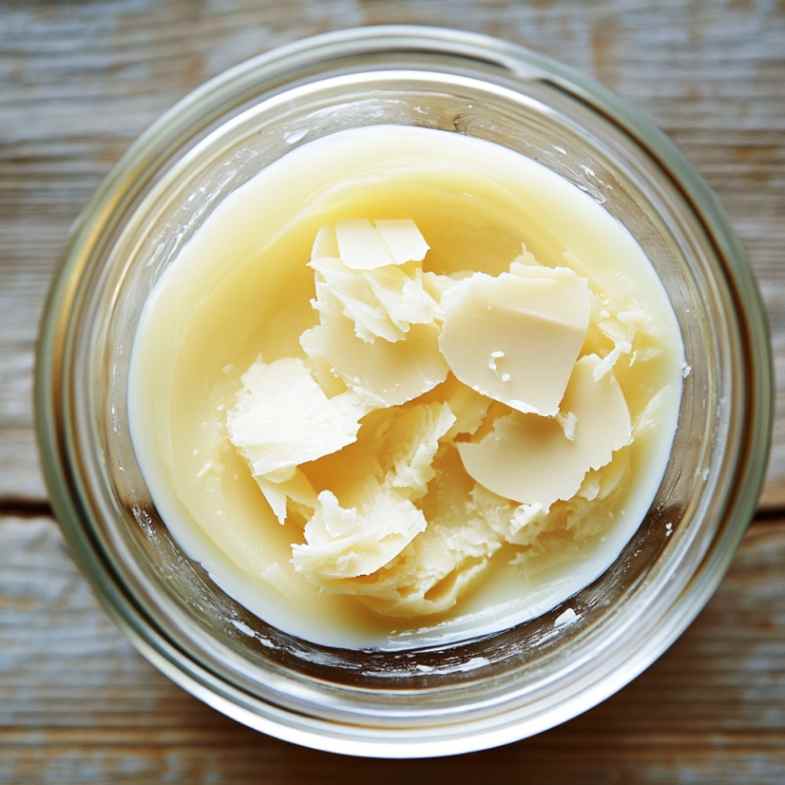
- Melt the Ingredients: In a double boiler or heat-safe glass bowl over a pot of simmering water, melt the shea butter, cocoa butter, coconut oil, and beeswax together. Stir occasionally until fully melted.
- Add Soothing Ingredients: Once melted, remove from heat and add the calendula oil, colloidal oatmeal, and essential oils (if using). Stir well to ensure everything is evenly distributed.
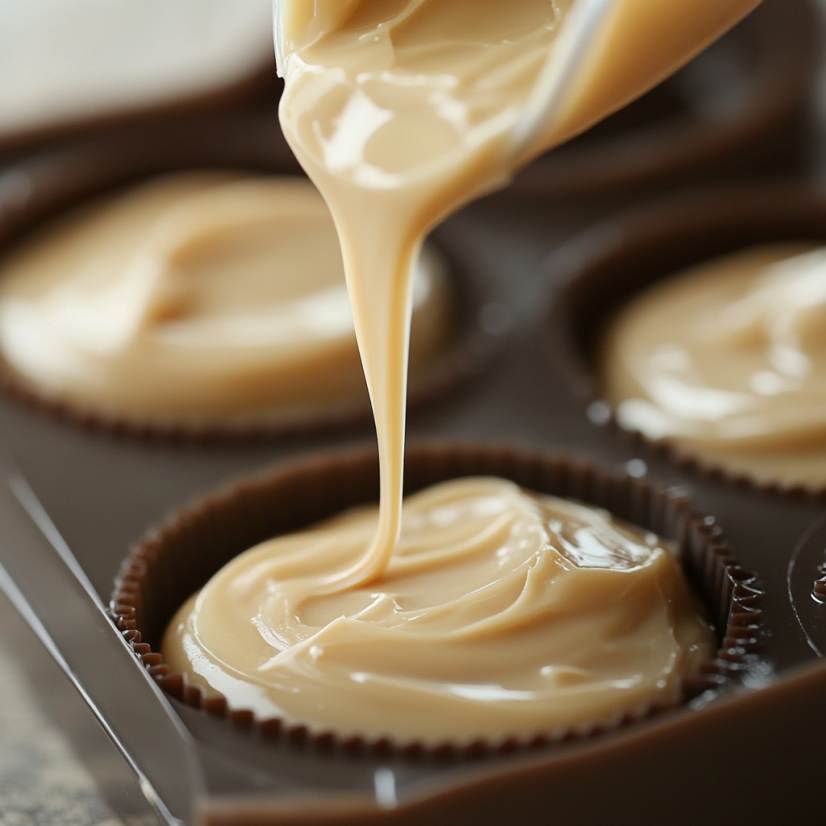
- Pour into Molds: Carefully pour the melted mixture into silicone molds. You can use soap molds, muffin tins, or even small candy molds to shape your lotion bars.
- Cool and Solidify: Let the lotion bars sit at room temperature for about 30 minutes before transferring them to the refrigerator to fully harden. This will ensure they solidify evenly.
- Remove and Store: Once fully hardened, pop the lotion bars out of the molds and store them in an airtight container. They will keep for up to 6 months in a cool, dry place.

FAQs About DIY Eczema Relief Lotion Bars
Q: Are these lotion bars safe for children with eczema?
A: Yes, these lotion bars can be safe for children, but it’s important to omit or use very minimal amounts of essential oils, as young children can be sensitive to them. Always perform a patch test on your child’s skin before using the lotion bar regularly.
Q: Can I substitute the beeswax in the recipe?
A: Absolutely! If you’re looking for a vegan alternative, candelilla wax is a great substitute for beeswax. It has similar properties but is derived from a plant source.
Q: How often should I use the lotion bar on my eczema?
A: You can use these lotion bars as needed, especially after bathing or anytime your skin feels dry or itchy. Applying after a shower or bath helps lock in moisture.
Q: Will these lotion bars feel greasy on my skin?
A: These bars are rich and moisturizing, so they may initially feel a bit oily, but they absorb into the skin quickly, especially if you use it on damp skin. The beeswax helps lock in the moisture, leaving a protective barrier without feeling overly greasy.
Q: Can I customize the recipe for different skin needs?
A: Yes! If you prefer a lighter consistency, you can reduce the amount of beeswax. For added moisture, increase the amount of shea butter or coconut oil. You can also experiment with other skin-friendly oils like jojoba or almond oil.
Conclusion
Making your own eczema relief lotion bars is a simple yet effective way to manage the symptoms of eczema with natural, skin-loving ingredients. With the ability to customize the recipe to your skin’s needs, you can create a soothing treatment free from harsh chemicals and synthetic preservatives. These lotion bars are not only beneficial for eczema-prone skin but can also serve as a deeply moisturizing solution for dry skin in general. Give them a try and experience the natural relief these bars offer!