10 Shelters You Can Make From a Tarp
(Step-by-Step Guide)

Make sure to like Living Green and Frugally on Facebook, Shop at Amazon to help support my site and explore our PINTEREST BOARDS for innovative ways you can become self-sufficient.
A tarp is one of the most versatile and lightweight pieces of equipment you can carry on any outdoor adventure. Whether you’re stuck in a survival situation or simply need a temporary shelter, tarps can be configured into various shelters with minimal effort and gear. In this guide, we’ll walk you through 10 shelters you can easily make from a tarp, including step-by-step instructions.
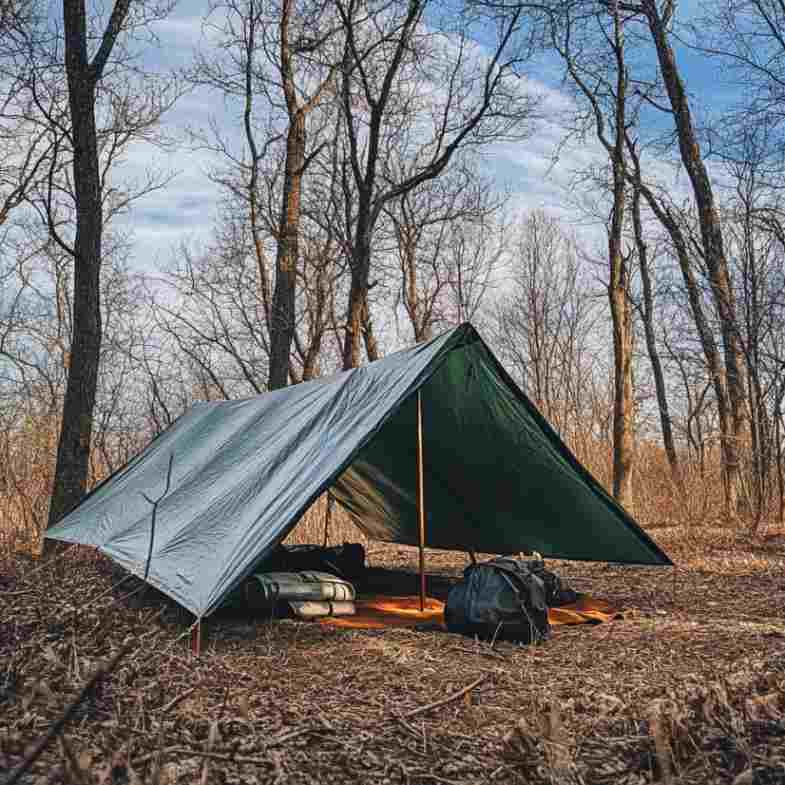
1. A-Frame Shelter
The A-Frame shelter is one of the simplest and most effective setups for general weather protection. It’s perfect for rainy or windy conditions.
What You Need:
- 1 tarp (10×10 or larger)
- 2 trees or poles
- 2 lengths of rope or paracord
- 4-6 stakes
Instructions:
- Find two trees about 10-12 feet apart.
- Tie a rope between the trees at chest height to form a ridgeline.
- Drape your tarp over the rope, centering it evenly.
- Stake down the four corners of the tarp to the ground, creating a triangular tent shape.
- Adjust the tension to make sure the tarp is taut, offering a solid wind barrier.
2. Lean-To Shelter
A lean-to is ideal for creating shelter from wind and rain on one side while keeping an open space on the other for a fire.
What You Need:
- 1 tarp (10×10)
- 1 long rope
- 4 stakes or sturdy sticks
Instructions:
-
- Tie a rope between two trees about 6-8 feet high.
- Attach one long edge of the tarp to the rope using a series of knots or clips.
- Stretch the opposite edge of the tarp to the ground and stake it down.
- Adjust the tarp so it leans at a 45-degree angle from the rope, providing solid wind and rain protection.
3. C-Fly Wedge
This is a great option for solo campers who want compact and low-profile shelter. It protects you from wind on one side and offers a bit of overhang to keep out rain.
What You Need:
- 1 tarp
- 1 length of rope or paracord
- 4 stakes
Instructions:
- Tie a ridgeline about waist height between two trees.
- Drape the tarp over the line with one edge touching the ground.
- Stake down the side of the tarp that is touching the ground.
- Pull the opposite side of the tarp and secure it at an angle to create a wedge shape with a steep slope for runoff.
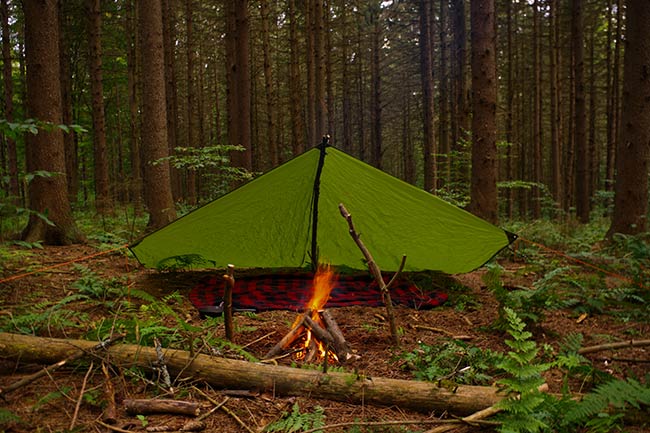
4. Plow Point Shelter
This shelter requires fewer stakes and ropes and is quick to set up, making it ideal for emergency use.
What You Need:
- 1 tarp (10×10)
- 1 length of rope
- 3 stakes
Instructions:
- Secure one corner of the tarp to a tree or high point.
- Spread the tarp out, forming a triangle with the tied corner at the peak.
- Stake the other two corners of the tarp directly into the ground to create a slanted, triangular shelter.
- The fourth corner will act as the entry point, with the sides providing coverage from wind and rain.
5. Tarp Tent
This setup mimics a traditional tent, providing excellent protection from the elements.
What You Need:
- 1 tarp (preferably 10×12 or larger)
- 4 stakes
- 2 lengths of rope
Instructions:
-
- Form a Ridge Line: Tie one length of rope between two trees at a height that allows the tarp to drape downwards on either side.
- Drape the Tarp: Fold the tarp in half lengthwise and drape it over the rope.
- Stake the Edges: Pull the bottom corners of the tarp down and stake them into the ground. This will create a tent-like structure.
- Add a Door: For added privacy, you can leave one side open or create a flap using extra tarp or even a jacket.
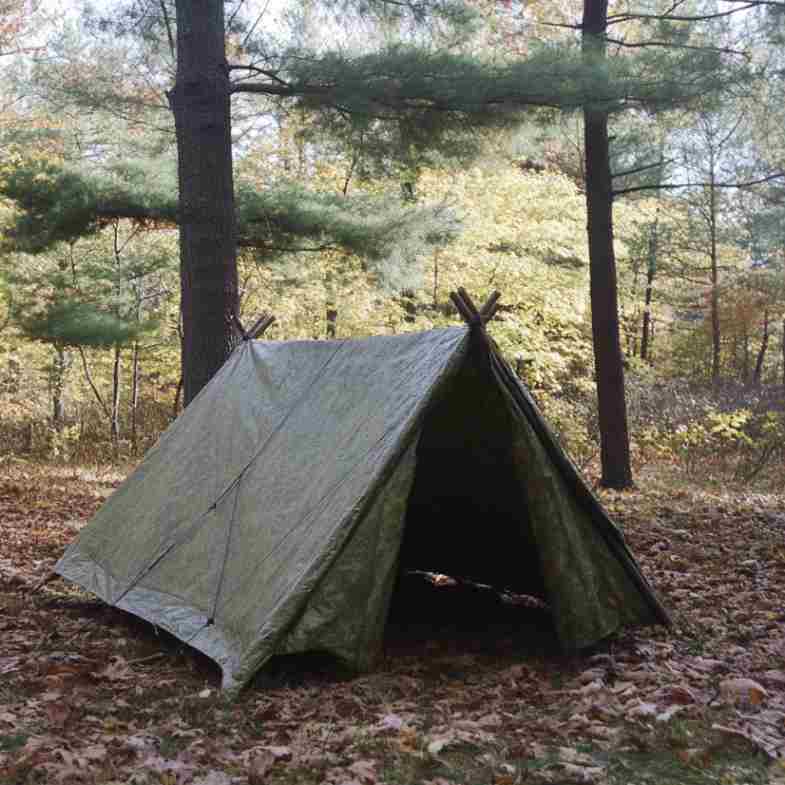
6. Tarp Canopy
Perfect for shade or rain protection, the canopy is easy to set up and versatile.
What You Need:
- 1 tarp (10×12 or larger)
- 4 stakes
- 4 lengths of rope
Instructions:
- Choose Height: Decide how high you want the canopy to be and tie a rope between two trees.
- Attach Tarp Corners: Use rope to tie the corners of the tarp to the rope above.
- Stake the Bottom: Pull the bottom corners of the tarp down and stake them to the ground, creating a taut surface.
- Adjust for Wind: Ensure the tarp is secured well to avoid flapping in the wind.
5. Tarp Hammock
If you need to rest or sleep off the ground, a tarp hammock can be an excellent option.
What You Need:
- 1 tarp (9×10 or larger)
- 2 trees
- 2 lengths of rope
Instructions:
- Find Trees: Locate two sturdy trees about 10-15 feet apart.
- Attach Ropes: Tie a rope around each tree at waist height.
- Create a Hammock: Fold the tarp in half lengthwise and drape it over the rope. The edges should hang down to create a pocket for your body.
- Secure the Edges: Tie down the bottom edges of the tarp to the ground or use stakes to hold it in place.

7. Tarp Ground Shelter
Ideal for camping or resting, this shelter provides a flat, protected area.
What You Need:
- 1 tarp (8×10 or larger)
- 4 stakes
Instructions:
- Select Ground: Clear a flat area of debris and rocks.
- Spread the Tarp: Lay the tarp flat on the ground.
- Secure Corners: Stake down each corner of the tarp to prevent it from moving.
- Add Insulation: For added comfort, layer leaves or grass underneath the tarp.
8. Parachute Tarp
This setup is great for larger groups needing shade or protection.
What You Need:
- 1 large tarp (12×16 or larger)
- 6 stakes
- 6 lengths of rope
Instructions:
- Find Support: Select multiple trees or poles in a large circle.
- Create a Ridge Line: Tie a rope from one tree to another to create a ridge line.
- Drape the Tarp: Spread the tarp over the ridge line, allowing the edges to hang down.
- Stake Down Edges: Pull the edges down to the ground and stake them for stability.

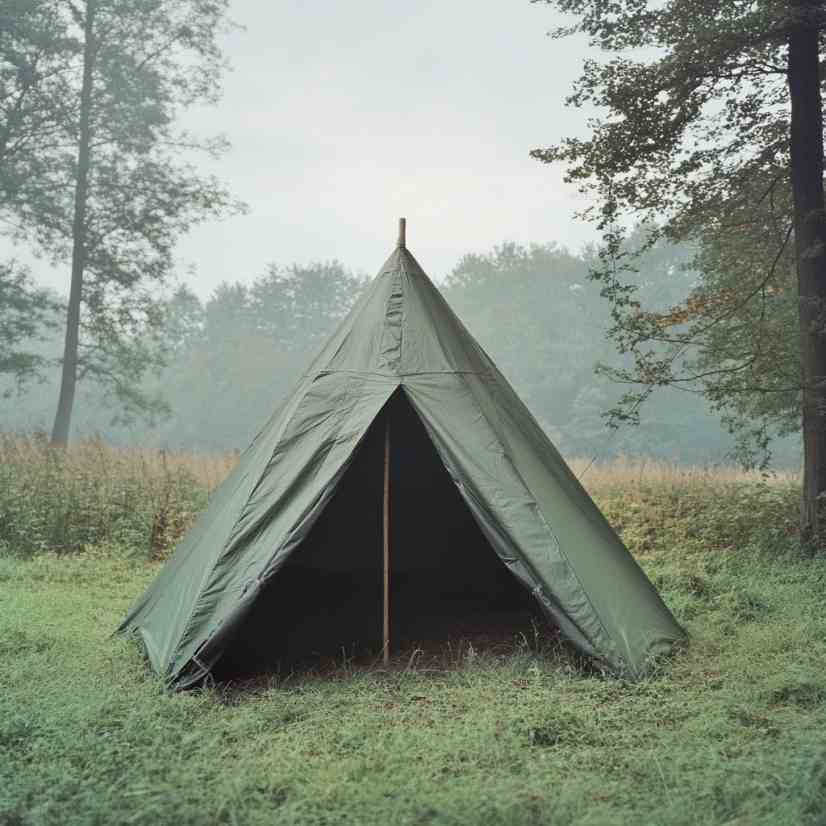
9. Tarp Pyramid
A pyramid shelter is perfect for one or two people, providing excellent wind protection.
What You Need:
- 1 tarp (8×8 or larger)
- 1 pole or sturdy branch
- 4 stakes
Instructions:
- Erect the Pole: Place a pole vertically in the center of your chosen location.
- Attach Tarp: Drape the tarp over the pole, allowing it to form a pyramid shape.
- Stake Corners: Stake down each corner of the tarp to secure it in place.
- Adjust Height: You can adjust the height of the pole for more or less headroom.
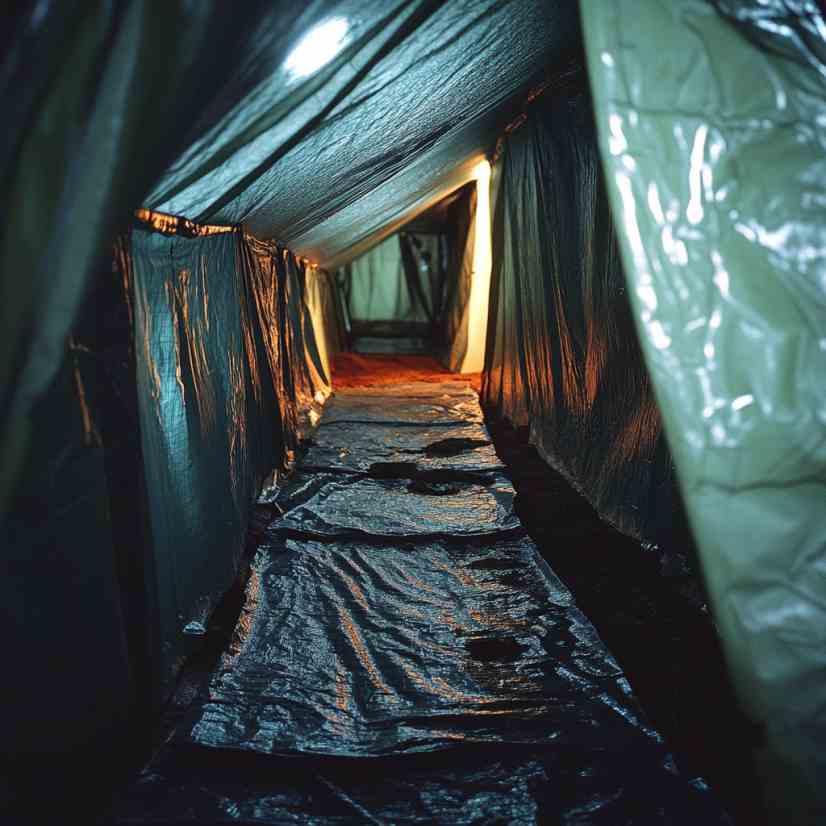
10. Tarp Tunnel
Great for longer-term setups, the tunnel offers privacy and space.
What You Need:
- 2 tarps (one for the roof, one for the sides)
- 6 stakes
- 4 lengths of rope
Instructions:
- Construct the Frame: Create a framework using stakes and ropes in a rectangular shape.
- Attach the Roof: Drape one tarp over the top to serve as the roof.
- Wrap the Sides: Use the second tarp to create walls, attaching it to the frame with stakes.
- Leave an Entrance: Ensure one side remains open for easy access.
Conclusion
With just a tarp and some basic materials, you can create a variety of shelters to suit different environments and conditions. Whether you’re hiking, camping, or facing an unexpected situation, these shelters can provide the protection you need. Experiment with these designs, and you’ll be well-equipped for your next outdoor adventure!