DIY Sugar Wax Recipe and Tutorial
Make sure to like Living Green and Frugally on Facebook, Shop at Amazon to help support my site and explore our PINTEREST BOARDS for innovative ways you can become self-sufficient.
How to Make DIY Sugar Wax for Easy, At-Home Hair Removal
Are you tired of dealing with pesky hair removal methods that leave your skin irritated and dry? Look no further! DIY sugar wax is a fantastic and natural alternative to commercial waxing products. With simple ingredients from your kitchen pantry, you can create a gentle, effective, and cost-effective hair removal solution in the comfort of your own home.
In this article, we will guide you through a step-by-step DIY sugar wax recipe and tutorial that will have your skin feeling smooth and hair-free. Plus, we’ll reference a helpful YouTube video, “DIY SUGAR WAX FOR BEGINNERS,” to ensure you have all the support you need to get started.
Benefits of DIY Sugar Waxing:
Before we delve into the recipe and tutorial, let’s explore some of the benefits of using DIY sugar wax for hair removal:
- Natural Ingredients: Unlike commercial waxing products that often contain chemicals and additives, DIY sugar wax is made from simple, natural ingredients like sugar, water, and lemon juice. This ensures that you’re treating your skin with care, reducing the risk of allergic reactions and skin irritations.
- Cost-Effective: Professional waxing treatments can be expensive, but DIY sugar waxing is incredibly budget-friendly. Most of the ingredients are readily available in your kitchen, making it a cost-effective hair removal method.
- Easy Clean-Up: One of the advantages of sugar wax is that it’s water-soluble, making clean-up a breeze. You won’t need any special removers or oils to get rid of wax residue from your skin or surfaces.
- Long-Lasting Results: Sugar waxing removes hair from the root, leading to slower regrowth and smoother skin for a more extended period compared to shaving.
DIY Sugar Wax Recipe and Tutorial:
To get started, gather the following ingredients:
- 2 cups of white granulated sugar
- 1/4 cup of water
- 1/4 cup of freshly squeezed lemon juice
- A medium-sized saucepan
- A wooden spoon or heat-resistant spatula
- Glass jar or container for storage
Step-by-step tutorial:
Step 1: Combine the Ingredients
In the saucepan, mix the sugar, water, and lemon juice. Stir the mixture gently until the sugar dissolves completely. Place the saucepan on the stove over low to medium heat. Avoid using high heat to prevent the mixture from burning.
Step 2: Cook the Mixture
Allow the mixture to cook on low to medium heat without stirring. The sugar will caramelize and turn golden brown. Keep a close eye on the mixture to avoid overcooking. This process usually takes around 10-15 minutes.
Step 3: Perform a Test
To check if the sugar wax is ready, drop a small amount of the mixture into a bowl of cold water. If it forms a pliable and slightly sticky ball, it’s ready. If it’s too runny, continue cooking for a few more minutes and retest.

Step 4: Let It Cool
Remove the saucepan from the heat and let the sugar wax cool down for a few minutes. It should be warm but not too hot to touch.
Step 5: Apply the Wax
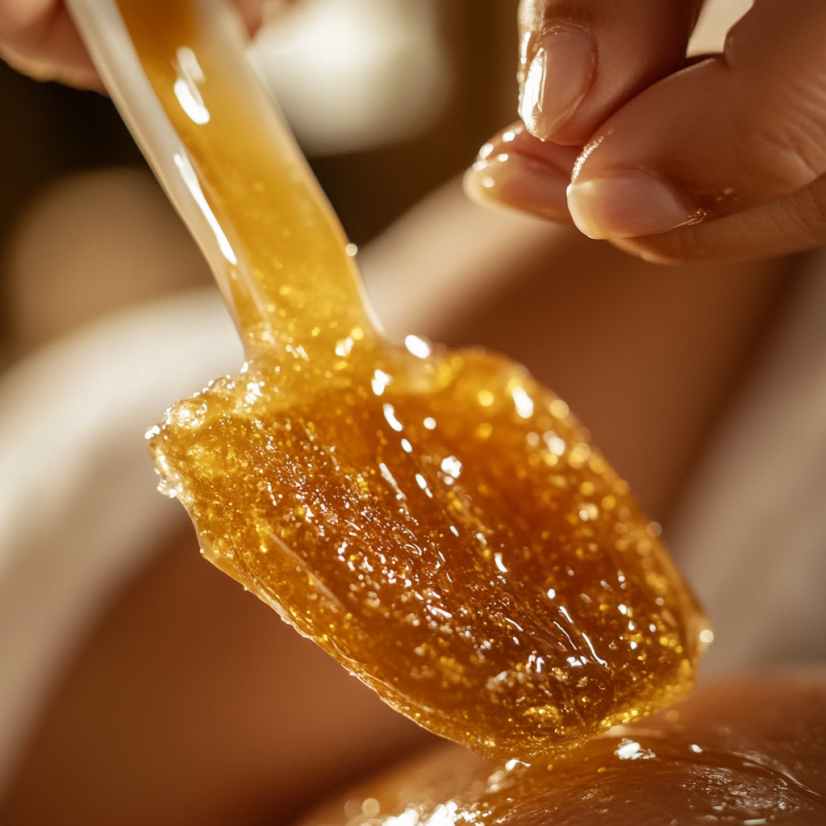
Using your hands or a spatula, apply the warm sugar wax to the area you want to wax in the direction of hair growth. Place a fabric strip or cloth over the wax and press down firmly.
Step 6: Waxing
Hold the skin taut with one hand and quickly pull off the fabric strip in the opposite direction of hair growth with the other hand. This should remove the hair from the root. Repeat the process until you’ve removed all the desired hair.
Step 7: Soothe the Skin
After waxing, soothe the skin with aloe vera gel or a gentle moisturizer to calm any redness or irritation.
Conclusion:
Congratulations! You’ve successfully learned how to make DIY sugar wax for easy, at-home hair removal. This natural and cost-effective hair removal method is gentle on your skin and provides long-lasting results. With the help of the referenced YouTube video, “DIY SUGAR WAX FOR BEGINNERS,” you can visualize the process and master the technique in no time. Embrace the feeling of smooth, hair-free skin without the hassle of expensive salon treatments. Happy waxing!
Pin for Later

