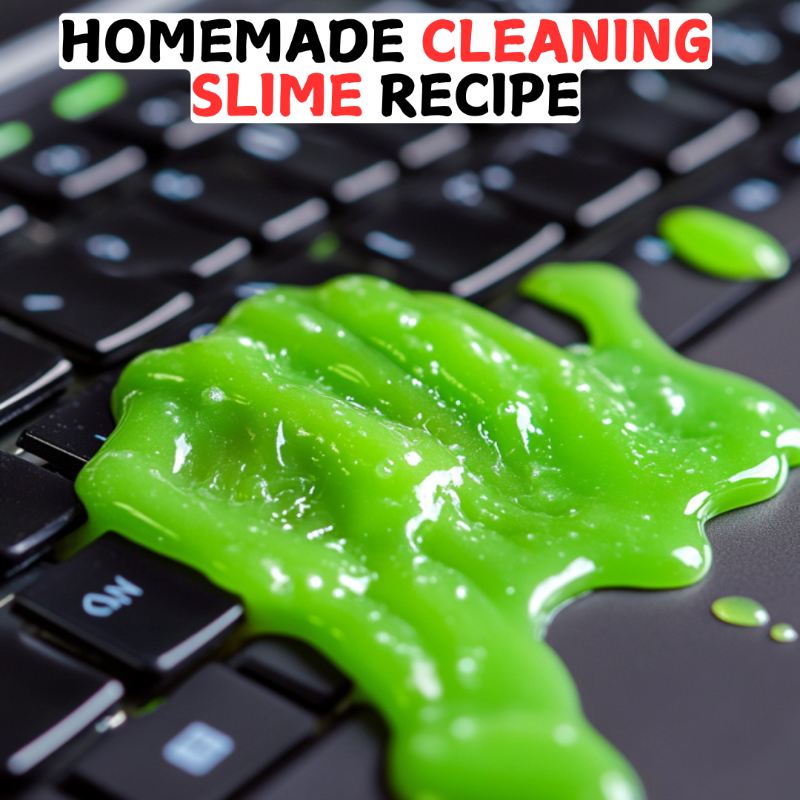
Homemade Cleaning Slime Recipe

Make sure to like Living Green and Frugally on Facebook, Shop at amazon to help support my site and explore our PINTEREST BOARDS for innovative ways you can become self-sufficient.
Homemade Cleaning Slime Recipe – Make Your Own Reusable Cleaner for Hard-to-Reach Areas!
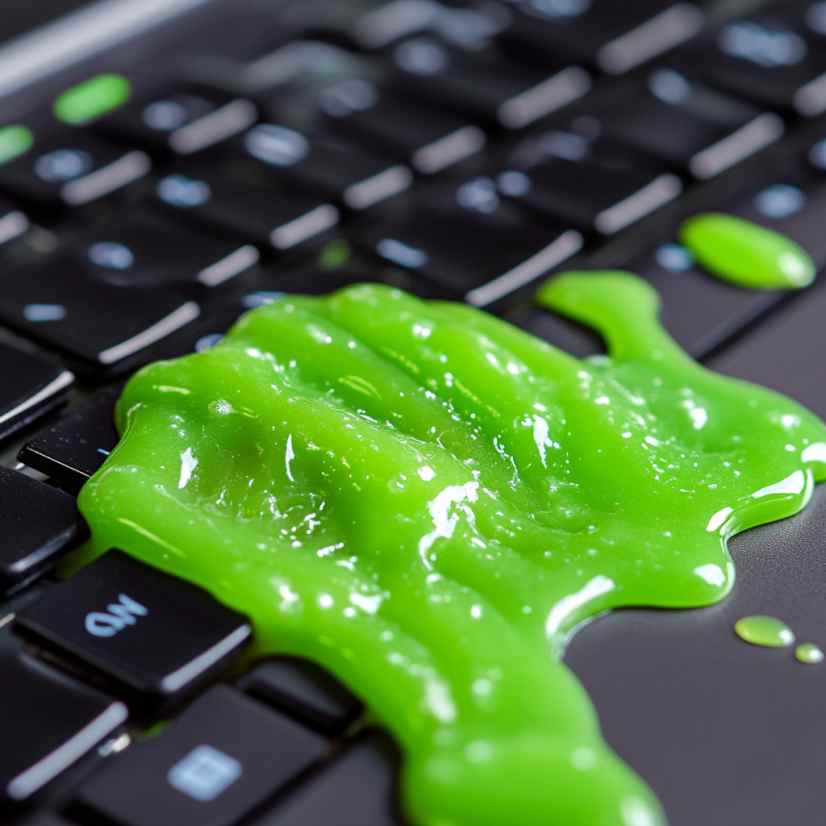
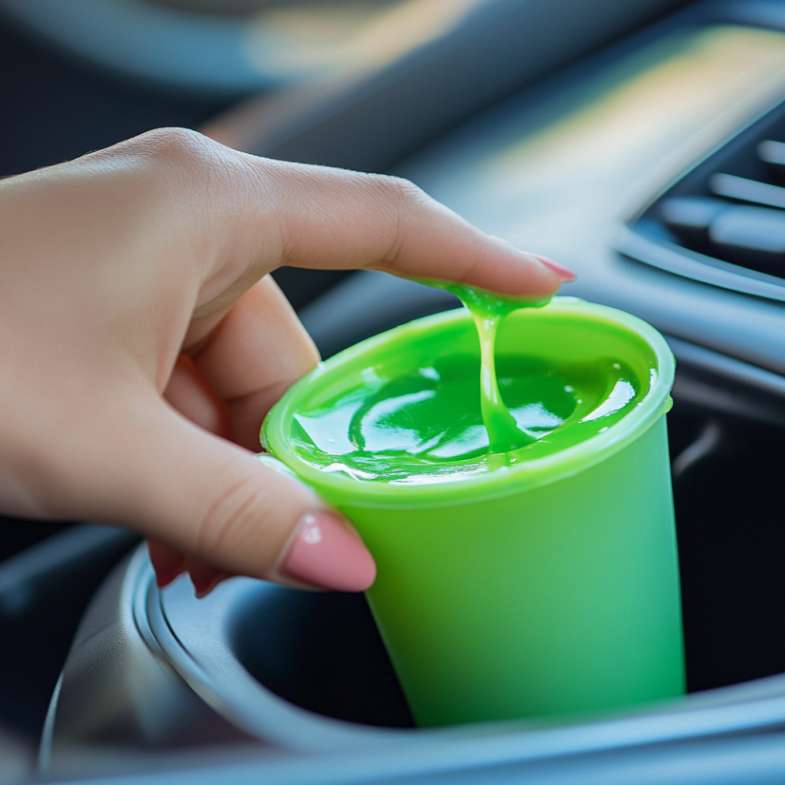
Dust, crumbs, and grime seem to have a knack for hiding in the nooks and crannies of our homes, don’t they? From keyboards and car vents to those tight spaces in door tracks and window sills, these spots can be frustrating to clean thoroughly. Thankfully, we have an easy, inexpensive, and fun solution: cleaning slime!
This DIY slime is a versatile, sticky tool that grabs onto dust and debris, pulling it right out of those tough spaces. Not only is it a lifesaver for detailed cleaning, but it’s also reusable for multiple cleaning sessions, making it both cost-effective and eco-friendly.
Why Cleaning Slime Works
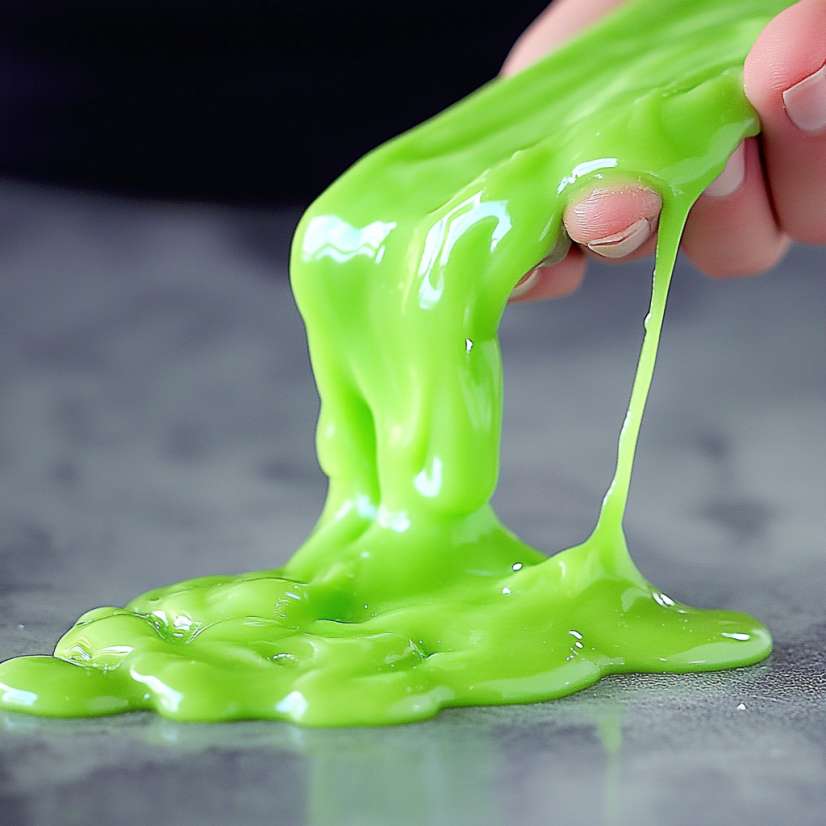
Cleaning slime, also known as dust-cleaning gel, is a soft, sticky material that acts almost like a vacuum for dust, dirt, and crumbs. Its tacky texture traps small particles without leaving residue, unlike some adhesive products. It’s flexible enough to press into tiny gaps, making it incredibly useful for areas where traditional cleaning methods might struggle.
This simple recipe is ideal for getting your space clean while minimizing waste. Plus, you can whip it up at home in no time and even customize it with your favorite color and scent.

How to Make Homemade Cleaning Slime
Ingredients:
- 1 cup of white school glue
- 1/2 cup of warm water
- 1/4 cup of liquid starch (or a mix of 1 tsp borax dissolved in 1/2 cup of water as an alternative)
- A few drops of food coloring (optional)
- 5–10 drops of essential oils (optional, for scent and antimicrobial properties)
Instructions:
- Prepare the Glue Solution: In a mixing bowl, combine the white school glue with warm water, stirring until thoroughly mixed.
- Add Color & Scent: If you’d like to add some personality to your slime, now’s the time! A few drops of food coloring and essential oil can make your slime a pleasant and fun addition to your cleaning routine.
- Incorporate the Starch: Slowly add the liquid starch (or borax solution) to the glue mixture. Stir until it starts to come together and pull away from the bowl. The mixture should begin to thicken into a slime-like consistency.
- Knead and Shape: Using your hands, knead the mixture until it’s no longer sticky, and has a soft, pliable feel. It should be stretchy but firm enough to hold its shape. If it’s too sticky, add a bit more starch or borax solution; if too firm, add a touch more glue.
Storage: Keep your cleaning slime in an airtight container, such as a zip-lock bag or small jar. Stored properly, it can last for a few weeks.
How to Use Cleaning Slime
- Press, Don’t Rub: Gently press the cleaning slime onto dusty surfaces, letting it mold into the crevices and pick up dirt. Avoid rubbing, as it can break down the slime faster.
- Avoid Wet Areas: Moisture will reduce the effectiveness of the slime and make it break down more quickly. Stick to dry, dusty areas like keyboards, air vents, and dashboards.
- Use with Caution on Fabrics and Textures: While cleaning slime works great on smooth surfaces, it might cling to fabrics or textured materials.

Tips for the Best Results
- Replace the Slime When It Gets Dirty: As it traps more dust and debris, the slime will become less effective. Replace it when you notice it’s no longer picking up as much dirt or it looks overly dirty.
- Store It Properly: Ensure your slime stays clean and ready for the next use by keeping it in a cool, sealed container.
- Customize with Antibacterial Essential Oils: Adding essential oils like tea tree, lavender, or eucalyptus can naturally enhance the slime’s cleaning power while adding a pleasant scent.
FAQs
Q: Can I use this cleaning slime on any surface?
A: Cleaning slime is best for non-porous, smooth surfaces. Avoid using it on fabric, textured surfaces, or areas with moisture, as it might leave a sticky residue. Stick to keyboards, vents, and hard-to-clean crevices.
Q: How often should I replace the slime?
A: Replace the slime when it becomes visibly dirty or when it no longer picks up dirt effectively. With proper storage, it can be reused multiple times before replacement.
Q: Is cleaning slime safe for electronics?
A: Yes, but use it with care! Avoid pressing it too hard onto electronic surfaces to prevent any residue from getting trapped. It’s great for dust removal on keyboards, remote controls, and other non-intrusive electronics.
Q: What can I do if my slime becomes too sticky?
A: If your slime is too sticky, try adding a little more starch or borax solution to firm it up. Knead it well to incorporate the extra solution, and it should reach a manageable consistency.
Q: Can I make cleaning slime without glue or borax?
A: While the glue and borax (or starch) combination is tried-and-true, alternatives like flour or cornstarch-based slimes exist but tend not to be as effective for cleaning. This classic formula has the perfect tacky texture for pulling out dust and grime.

Conclusion
This homemade cleaning slime is a fun, reusable, and customizable solution to keep your space spotless. It’s perfect for hard-to-clean areas, offering a simple way to tackle dust and dirt. Plus, with the added benefit of essential oils, your cleaning slime not only cleans but leaves a fresh scent behind. Enjoy creating your own eco-friendly cleaning tool and say goodbye to crumbs in the hard-to-reach spaces!