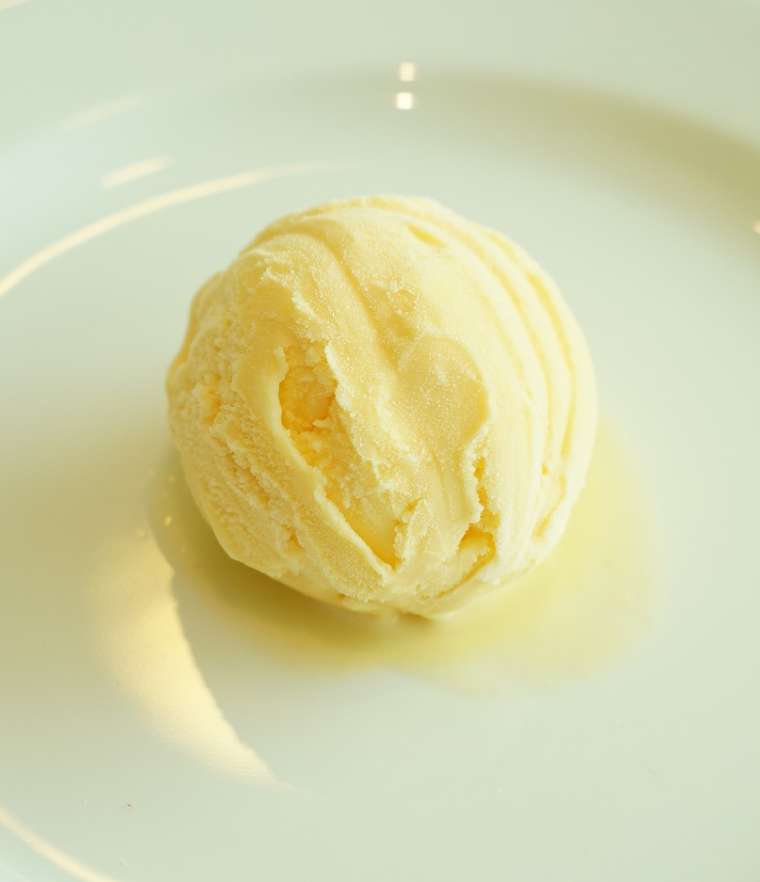
No Churn Ice Cream Recipe Using Only 3 Ingredients

Make sure to like Living Green and Frugally on Facebook, Shop at Amazon to help support my site and explore our PINTEREST BOARDS for innovative ways you can become self-sufficient.
Indulging in the creamy delight of homemade ice cream is a treat everyone enjoys, especially during the scorching heat of summer. But what if you could whip up this frozen delicacy without the need for fancy equipment or hours of churning? Introducing the no-churn ice cream recipe, a simple yet incredibly satisfying way to make your favorite frozen dessert using just three basic ingredients.
Traditionally, making ice cream involved the use of an ice cream maker, which requires time, effort, and sometimes patience. However, the no-churn method eliminates the need for any specialized equipment, making it accessible to anyone with a desire for homemade ice cream and a few spare minutes.
Why Choose No-Churn Ice Cream?
The allure of no-churn ice cream lies in its simplicity. With just three ingredients, it’s easy to customize flavors, control sweetness, and indulge in a guilt-free dessert. Additionally, since it doesn’t require an ice cream maker, this method is perfect for those who don’t have one or are short on kitchen space.
The Three Basic Ingredients:
- Heavy Cream: Also known as whipping cream, this is the key ingredient that gives your ice cream its creamy texture.
- Sweetened Condensed Milk: This thick and sweet dairy product serves as the base for your ice cream, providing sweetness and helping to achieve the desired consistency.
- Flavorings: This is where you can get creative! Whether you prefer classic vanilla, decadent chocolate, or fruity flavors like strawberry or mango, the options are endless. You can also add mix-ins like chocolate chips, nuts, or cookie crumbles to take your creation to the next level.
No-Churn Ice Cream Recipe:
Ingredients:
- 2 cups heavy cream, chilled
- 1 can (14 ounces) sweetened condensed milk
- 1 teaspoon vanilla extract (optional)

Instructions:
- Chill Your Equipment: Before you begin, place a mixing bowl and beaters in the refrigerator for about 15-20 minutes to ensure they are cold. This step helps the cream whip up faster and to higher peaks.
- Whip the Cream: In the chilled mixing bowl, pour the cold heavy cream. Using a hand mixer or a stand mixer fitted with the whisk attachment, whip the cream on medium-high speed until stiff peaks form. Be careful not to overmix; you want the cream to be thick and creamy, but not grainy.
- Combine with Condensed Milk: In a separate large mixing bowl, pour in the sweetened condensed milk. If desired, add vanilla extract for flavoring. Gently fold in the whipped cream using a spatula or a whisk until fully combined. Be careful not to deflate the whipped cream too much; a few gentle folds should suffice.
- Add Flavorings: This is where you can get creative! Stir in any additional flavorings or mix-ins you desire, such as cocoa powder for chocolate ice cream or pureed fruit for fruity flavors.
- Transfer to a Container: Pour the mixture into a freezer-safe container, spreading it out evenly. Cover with plastic wrap or a lid to prevent ice crystals from forming on the surface.
- Freeze: Place the container in the freezer and let the ice cream freeze for at least 6 hours or overnight until firm.
- Serve and Enjoy: Once the ice cream is fully frozen, scoop it into bowls or cones and enjoy your homemade treat! Garnish with your favorite toppings if desired, and savor every creamy bite.
With just three simple ingredients and a few easy steps, you can create delicious homemade ice cream that rivals any store-bought variety. Experiment with different flavors and mix-ins to customize your creation and enjoy the sweet taste of summer any time of year.