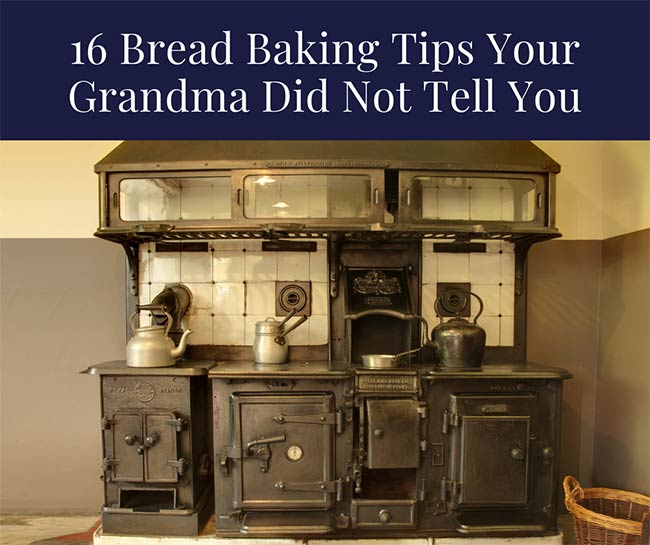
16 Bread Baking Tips Your Grandma Did Not Tell You

Make sure to like Living Green and Frugally on Facebook, Shop at amazon to help support my site and explore our PINTEREST BOARDS for innovative ways you can become self-sufficient.
16 Bread Baking Tips Your Grandma Did Not Tell You
There’s something deeply satisfying about baking bread—kneading dough with your own hands, the smell of yeast mingling with warm air, and the joy of pulling a golden loaf out of the oven. While Grandma’s bread recipes are often steeped in tradition and brimming with nostalgia, modern bakers have unlocked a treasure trove of techniques and tricks that even she might not have known.
Whether you’re new to bread baking or a seasoned dough-slinger, these tips will level up your loaves, demystify tricky processes, and help you troubleshoot common pitfalls. Let’s dive into 16 secrets that Grandma might not have passed down but will make you a bread-baking wizard!
Why These Tips Matter
Baking bread isn’t just about following a recipe—it’s about understanding the science and art behind it. These tips go beyond the basics of “proof until doubled in size” and “bake until golden brown.” They’ll empower you to troubleshoot, experiment, and consistently create bakery-worthy bread at home.
16 Bread Baking Tips Your Grandma Did Not Tell You
1. Room Temperature Ingredients Aren’t Always Best
While Grandma might have told you to keep your eggs and butter at room temperature for cakes, bread dough benefits from cold butter or even chilled eggs. Why? Cold ingredients slow fermentation, allowing flavors to develop more deeply during an extended proofing time.
2. Autolyse for Better Texture
Autolyse is a simple step where you mix just the flour and water, letting them sit for 20-60 minutes before adding yeast or salt. This hydrates the flour and kickstarts gluten development, leading to a more elastic dough and better crumb structure.

3. Use a Digital Scale Instead of Measuring Cups
Precision is key in bread baking. Measuring flour by volume can lead to inconsistent results, as the weight of a cup of flour can vary depending on how it’s scooped. A digital scale ensures you’re using the exact amount every time.
4. Master the Windowpane Test
Want to know if your dough is kneaded enough? Stretch a small piece between your fingers. If it forms a thin, translucent sheet without tearing, the gluten is properly developed. If not, keep kneading.
5. Invest in a Dough Scraper
A dough scraper is a simple tool, but it’s a game-changer. Use it to fold dough during bulk fermentation, scrape sticky dough off your counter, or even divide dough for shaping.
6. Steam is Your Friend
To achieve a crispy crust like artisan bread, create steam in your oven. Place a tray of water on the bottom rack or spray the oven walls with water right after putting your bread in. Steam helps the crust expand before it hardens.
7. Don’t Skip the Preheat—Especially for Cast Iron
If you’re baking bread in a Dutch oven or on a pizza stone, preheating is non-negotiable. A hot surface ensures a proper oven spring, giving your bread that airy, open crumb.
8. Experiment With Different Flours
All-purpose flour might be Grandma’s go-to, but there’s a whole world of flours to explore. Bread flour has higher protein for stronger gluten; einkorn and spelt add unique flavors; rye creates dense, hearty loaves.
9. Laminate Your Dough for Layers
Laminate your dough by gently stretching and folding it over itself during the bulk fermentation phase. This technique enhances gluten structure and gives your bread an airy, open crumb.
10. Retard Dough in the Fridge Overnight
Cold proofing slows fermentation, letting flavors develop further. It also gives you more control over timing—bake fresh bread in the morning without waking up at dawn!
11. Don’t Overproof—Or Underproof
Use the “poke test” to check proofing. Lightly press your finger into the dough; if it springs back slowly, it’s ready. If it bounces back too quickly, it’s underproofed; if it doesn’t spring back, it’s overproofed.
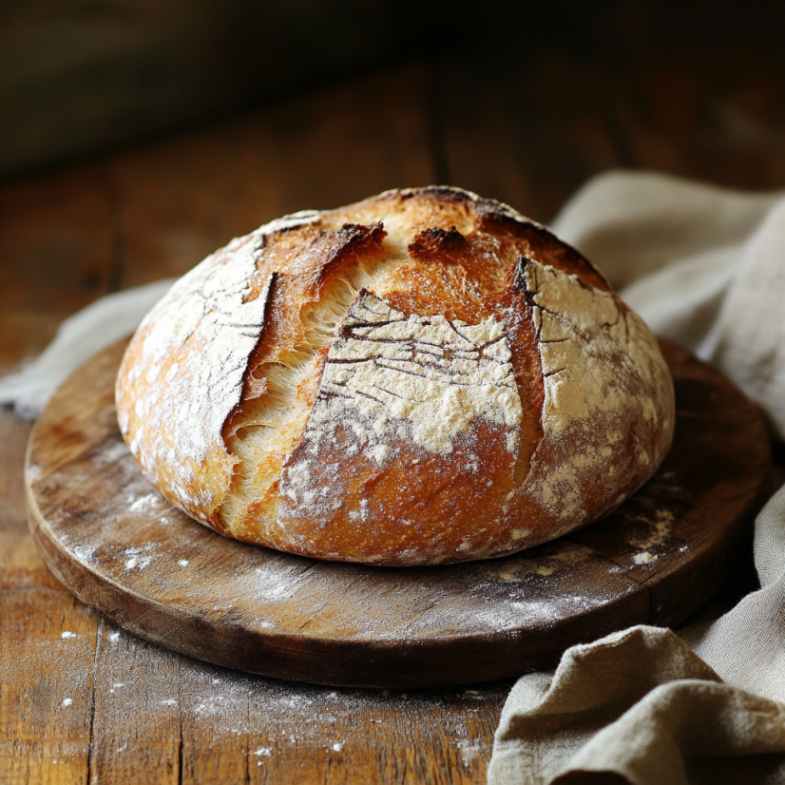
12. Slash for Success
Scoring your bread isn’t just decorative; it allows controlled expansion during baking. Use a razor blade or bread lame to create deep, confident slashes.

13. Salt Matters
Too much salt can inhibit yeast activity, while too little can leave your bread bland. Stick to the recipe, and if you’re experimenting, err on the side of caution. Fine sea salt disperses more evenly than coarse varieties.
14. Let It Cool Completely
Tempting as it is, cutting into bread right out of the oven can ruin its texture. Bread continues to cook and set as it cools, so let it rest for at least an hour before slicing.
15. Practice Mise en Place
French for “everything in its place,” mise en place means setting out all ingredients, tools, and equipment before you start. This ensures a smooth process and minimizes mistakes.
16. Keep a Bread Journal
Record your experiments, successes, and failures. Note down what works and what doesn’t—weather conditions, proofing times, and ingredient tweaks. Over time, this will become your personal bread-baking guide.
FAQs About Bread Baking
Why is my bread dense?
Dense bread is often a result of under-kneading, overproofing, or not using enough water. Try using the windowpane test to ensure gluten is well-developed and watch proofing times carefully.
How do I know when my bread is fully baked?
Tap the bottom of your loaf—it should sound hollow. For extra precision, use a thermometer; bread is done when the internal temperature reaches 190–210°F (depending on the type).
Can I freeze bread dough?
Yes! Shape the dough, let it proof partially, then freeze. Thaw in the fridge overnight and let it come to room temperature before baking.
The Final Slice
While Grandma’s bread-making wisdom is timeless, these modern tips can help you achieve bakery-quality results at home. Bread baking is as much about the journey as the final loaf—embrace the process, experiment fearlessly, and savor every slice.
Now, it’s time to roll up your sleeves and start baking. Your best loaf yet awaits!