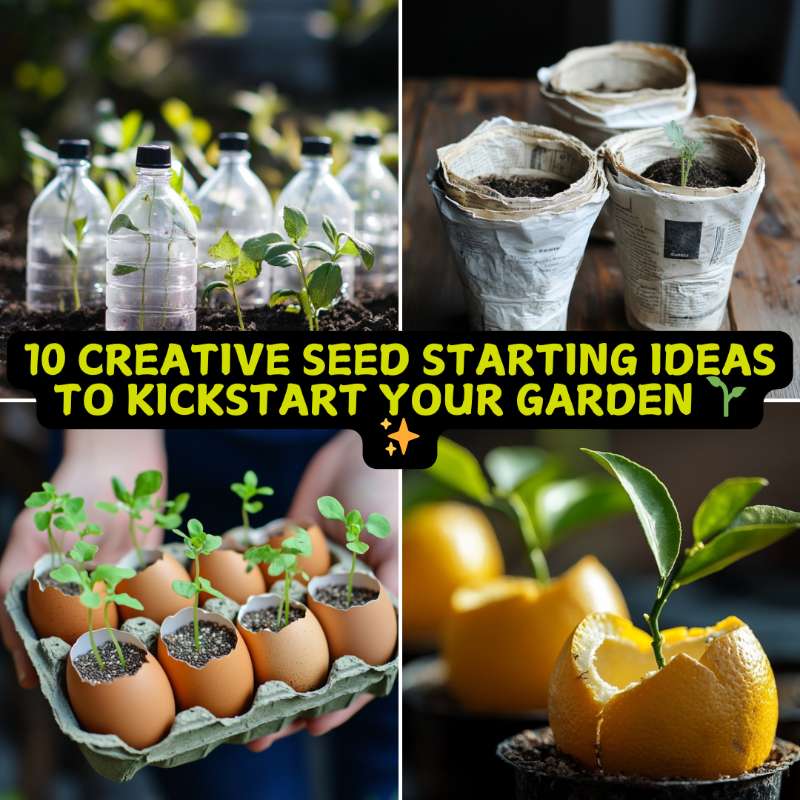
10 Creative Seed Starting Ideas to Kickstart Your Garden 🌱✨
Make sure to like Living Green and Frugally on Facebook, Shop at amazon to help support my site and explore our PINTEREST BOARDS for innovative ways you can become self-sufficient.
Starting seeds at home isn’t just about getting an early jump on the gardening season—it’s an adventure! 🌿 Whether you’re tight on space, looking to save money, or just love a good DIY gardening hack, these 10 creative seed-starting ideas will get your plants sprouting in no time.
Forget boring plastic trays! Let’s dive into fun, resourceful, and budget-friendly ways to start your seeds indoors.
1. Eggshell Seed Starters 🥚🌱
Instead of tossing eggshells, use them as tiny biodegradable pots! Eggshells are rich in calcium, which benefits seedlings.
How to Do It:
- Carefully crack eggs and remove the top.
- Rinse out the shells and poke a small drainage hole in the bottom.
- Fill with soil and plant your seeds.
- Once the seedlings grow, plant them—shell and all—directly in your garden!
💡 Pro Tip: Keep the eggshells in the carton for stability!

2. Toilet Paper Roll Seed Pods 🚽🌱
Why buy seed pots when you can make your own? Toilet paper rolls are free, biodegradable, and perfect for deep-rooted plants.
How to Do It:
- Cut toilet paper rolls in half.
- Fold the bottoms inward to create a base.
- Fill with soil and plant your seeds.
- Place them in a tray and water regularly.
🌟 Bonus: They break down easily when planted in the garden!
3. Citrus Peel Planters 🍊🌱
Give your seedlings a zesty start with citrus peels! Lemons, oranges, or grapefruits work great.
How to Do It:
- Cut a citrus fruit in half and remove the pulp.
- Poke a hole in the bottom for drainage.
- Fill with soil, plant your seeds, and water lightly.
- Once ready, plant the whole thing in the soil—the citrus peel will naturally decompose!
🍋 Pro Tip: Citrus can make the soil slightly acidic, perfect for tomatoes and peppers!

4. Sponge Seed Sprouting 🧽🌱
A kitchen sponge can act as a hydration station for germinating seeds—great for kids to watch seeds sprout up close!
How to Do It:
- Soak a clean sponge in water and place it in a shallow dish.
- Sprinkle seeds on top and press them gently into the sponge.
- Keep the sponge moist and place it near a sunny window.
🔍 Best for: Lettuce, basil, and other small seeds.
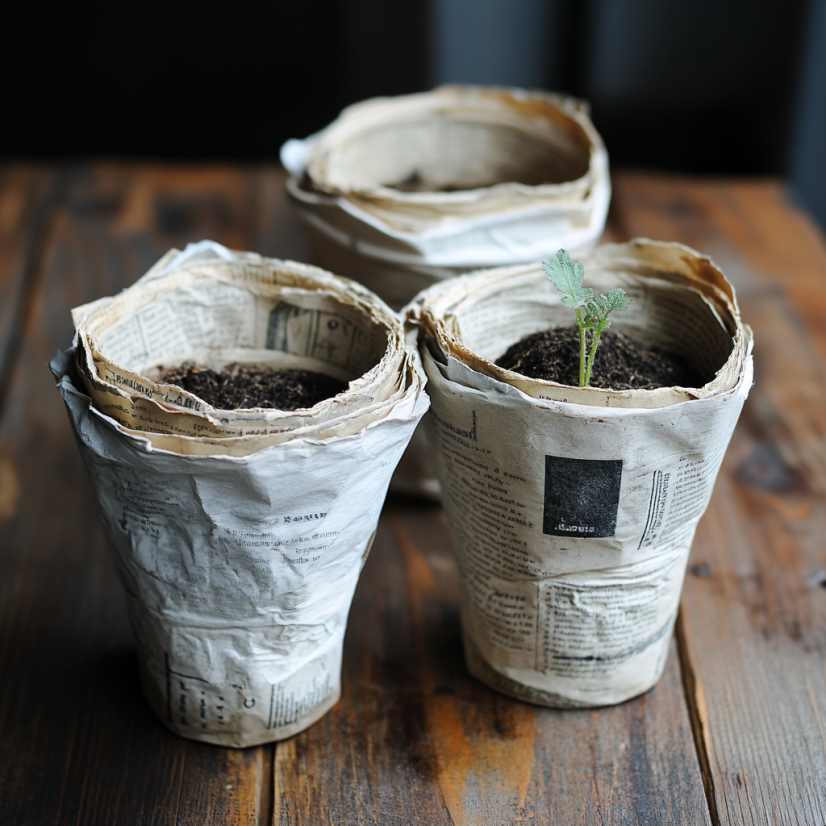
5. Newspaper Seed Pots 📰🌱
Old newspapers can be transformed into plantable pots—eco-friendly and compostable!
How to Do It:
- Cut newspaper into strips.
- Wrap around a cup to form a cylinder and secure with tape.
- Fold in the bottom to create a base.
- Fill with soil and start your seeds!
🌱 Pro Tip: Once plants are ready, plant the whole pot—it will decompose naturally.
6. Egg Carton Greenhouses 📦🌱
Egg cartons are compact, biodegradable, and perfect for seed starting!
How to Do It:
- Fill each section with soil and seeds.
- Cover with plastic wrap to create a mini greenhouse effect.
- Keep in a warm, sunny spot until seedlings appear.
🐣 Bonus: Cardboard cartons can be planted directly into the soil!
7. Ice Cube Tray Seed Starters 🧊🌱
An old ice cube tray makes a perfect seed-starting container!
How to Do It:
- Fill each cube with soil.
- Add seeds and lightly water.
- Once sprouted, transplant them into larger pots.
💡 Best for: Small herbs like basil, chives, and thyme!
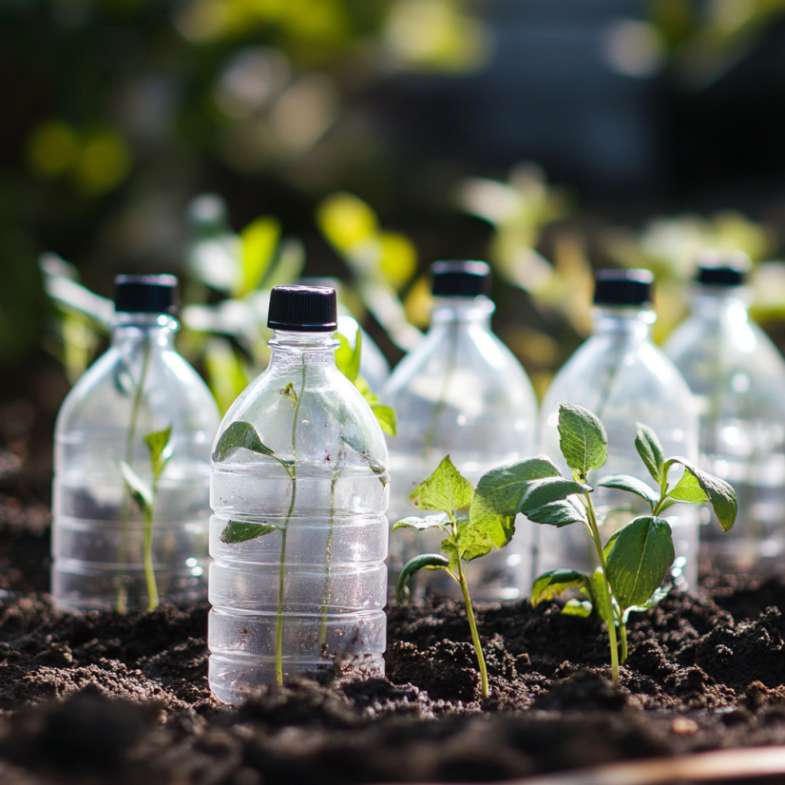
8. Upcycled Plastic Bottles 🥤🌱
Turn old water bottles into mini greenhouses!
How to Do It:
- Cut a plastic bottle in half.
- Fill the bottom with soil and seeds.
- Use the top half as a lid to trap moisture.
♻ Bonus: This method is great for retaining humidity and warmth!
9. Paper Towel Germination Method 🧻🌱
Perfect if you want to check seed viability before planting.
How to Do It:
- Place seeds on a damp paper towel.
- Fold it over and seal it in a plastic bag.
- Leave in a warm spot and check in a few days for sprouting!
🔍 Best for: Testing old seeds before planting.
10. Muffin Tin Seed Starters 🧁🌱
Got an old muffin tin? Use it as a structured seed-starting tray!
How to Do It:
- Line each cup with parchment paper or cupcake liners.
- Fill with soil and plant seeds.
- Once sprouted, transplant to bigger containers.
🥄 Pro Tip: Use a spoon to gently scoop out seedlings when transplanting!
🌿 Why These Ideas Work
✅ Budget-Friendly – Most items are free or repurposed.
✅ Eco-Friendly – Many of these methods are biodegradable.
✅ Beginner-Friendly – Easy enough for kids and new gardeners.
✅ Fun & Unique – Adds creativity to your gardening process!
🌱 FAQs
❓ Can I reuse seed-starting trays every year?
Yes! Just sanitize them with vinegar and water before reusing.
❓ How long does it take for seeds to sprout?
Most seeds germinate within 5-10 days, depending on the plant.
❓ What’s the best DIY seed-starting method?
It depends! For eco-friendliness, try eggshells; for space-saving, use ice cube trays; for fun, go with sponge sprouting!
🔥 Final Thoughts
Starting seeds doesn’t have to be expensive or boring! With a little creativity, you can grow your garden using items you already have at home. 🌍♻
Which method will you try first? Let me know in the comments! ⬇
🚀 Happy Gardening! 🌱✨