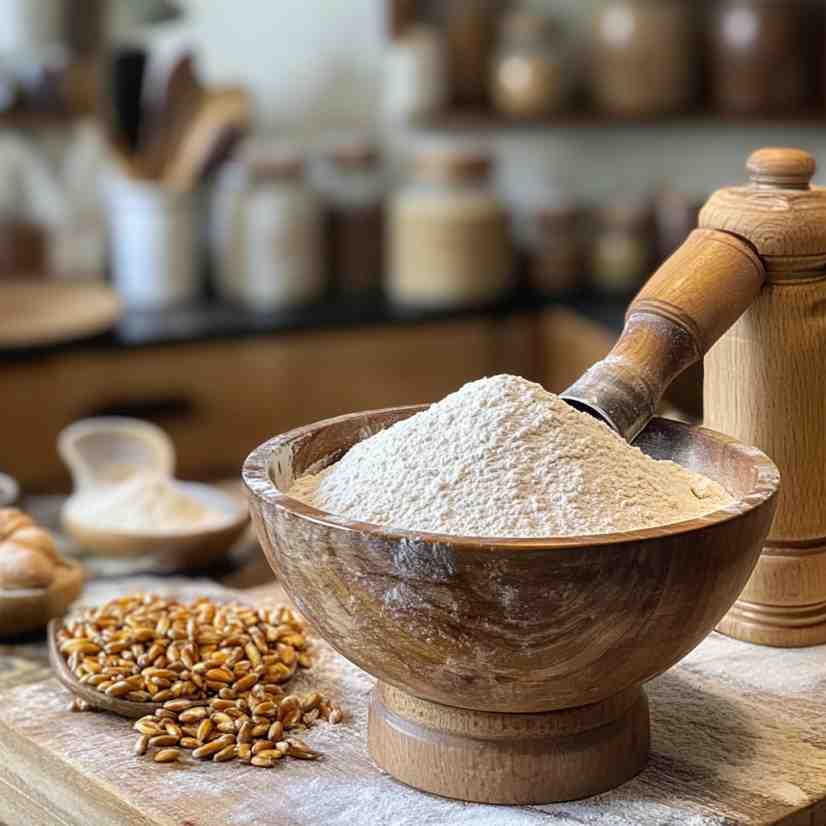
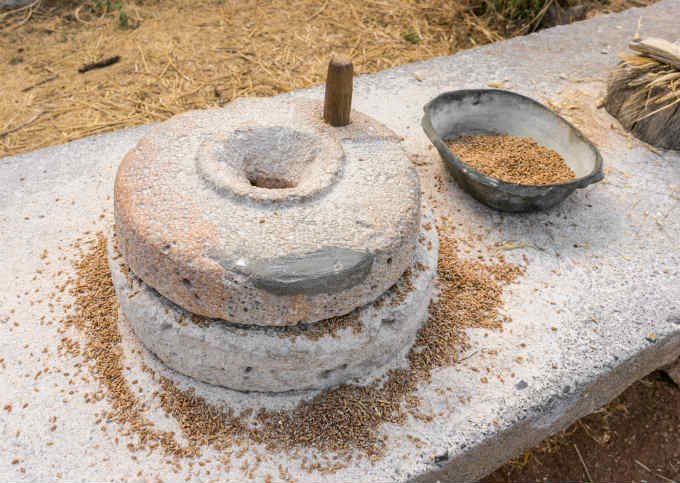
How to Grind Your Own Flour and Why It’s Worth It

Make sure to like Living Green and Frugally on Facebook, Shop at Amazon to help support my site and explore our PINTEREST BOARDS for innovative ways you can become self-sufficient.
Grinding Your Own Flour: A Nutritious Choice for Home Baking
In recent years, the practice of grinding your own flour from whole grains has gained traction among home bakers and cooking enthusiasts. This trend has been fueled by a desire for greater control over ingredient quality and the nutritional benefits that fresh flour can offer.
Let’s explore in depth the advantages of grinding your own flour, the nutritional value it provides, the process involved, effective storage techniques, and recommended equipment like the grain mill available on Amazon.
Benefits of Grinding Your Own Flour
Fresher and Nutrient-Rich Flour: Grinding whole grains just before use retains essential nutrients and flavors that are often lost in pre-packaged flours due to oxidation. This freshness ensures a healthier and tastier end product for your culinary creations.
Superior Nutritional Profile: Whole grains, containing bran, germ, and endosperm, are packed with nutrients like B vitamins, antioxidants, and healthy fats. By grinding whole grains, you preserve these components, resulting in a flour with a higher nutritional value compared to refined alternatives.
Customizable Flour Blends for Health Needs: Tailoring flour blends from different grains allows customization for specific dietary requirements. Those with gluten sensitivities can grind alternative grains like buckwheat or amaranth to create gluten-free flour blends, offering options for various dietary restrictions.

How to Grind Your Own Flour
Grinding your own flour involves a straightforward process that can be accomplished with the right equipment and grains:
- Selecting the Right Grains: Choose high-quality, whole grains free from debris or moisture. Experiment with different grains or blends to achieve desired flavors and textures in your flour.
- Preparing the Grain Mill: Set up and calibrate your grain mill following the manufacturer’s instructions. Ensure the mill is clean and ready for use.
- Grinding Process: Pour the grains into the mill’s hopper and adjust settings for the desired coarseness or fineness. Start the mill and let it grind the grains into fresh flour.
- Storing Freshly Ground Flour: Store the freshly ground flour in airtight containers made of glass or food-grade plastic. Keep these containers in a cool, dark place to maintain freshness and prevent spoilage.
Tips and Considerations
Storing Ground Flour for Longevity: To extend the shelf life of freshly ground flour, consider refrigerating or freezing it. Refrigeration or freezing slows down oxidation, preserving the flour’s quality. Allow frozen flour to reach room temperature before use to prevent moisture condensation.
Conclusion
Grinding your own flour from whole grains offers numerous benefits, including superior nutrition, freshness, and the ability to cater to specific dietary needs. Proper storage techniques ensure the flour maintains its nutritional value and flavor, making it an excellent choice for healthier and more flavorful baking and cooking options.
For those looking to explore grinding their own flour at home, consider investing in a reliable grain mill like this one available on Amazon to kickstart your culinary journey. Having the right equipment can significantly enhance the quality of your homemade flour.
